Last Updated on December 17, 2025 by Leslie
Let me guess.
You tried to make an “educational” Reel. You had real tips. Real value. Maybe even a tiny script. And then… the views were fine, but people didn’t stick. The drop-off hit fast.
That moment is so common it’s basically a creator rite of passage.
And it’s not because your advice is bad. It’s usually because the Reel feels like a mini class. Like the viewer just enrolled in something they didn’t ask for. On Reddit, people put it in a blunt way: informative Reels die when they feel like homework. What actually works is momentum—tiny surprises, quick steps, and visuals that keep moving. That’s the vibe.
So in this guide, I’m going to show you a simple system you can actually repeat. Not a “viral hack.” Just a workflow that makes it easier to create Reels that teach and still feel like Reels.
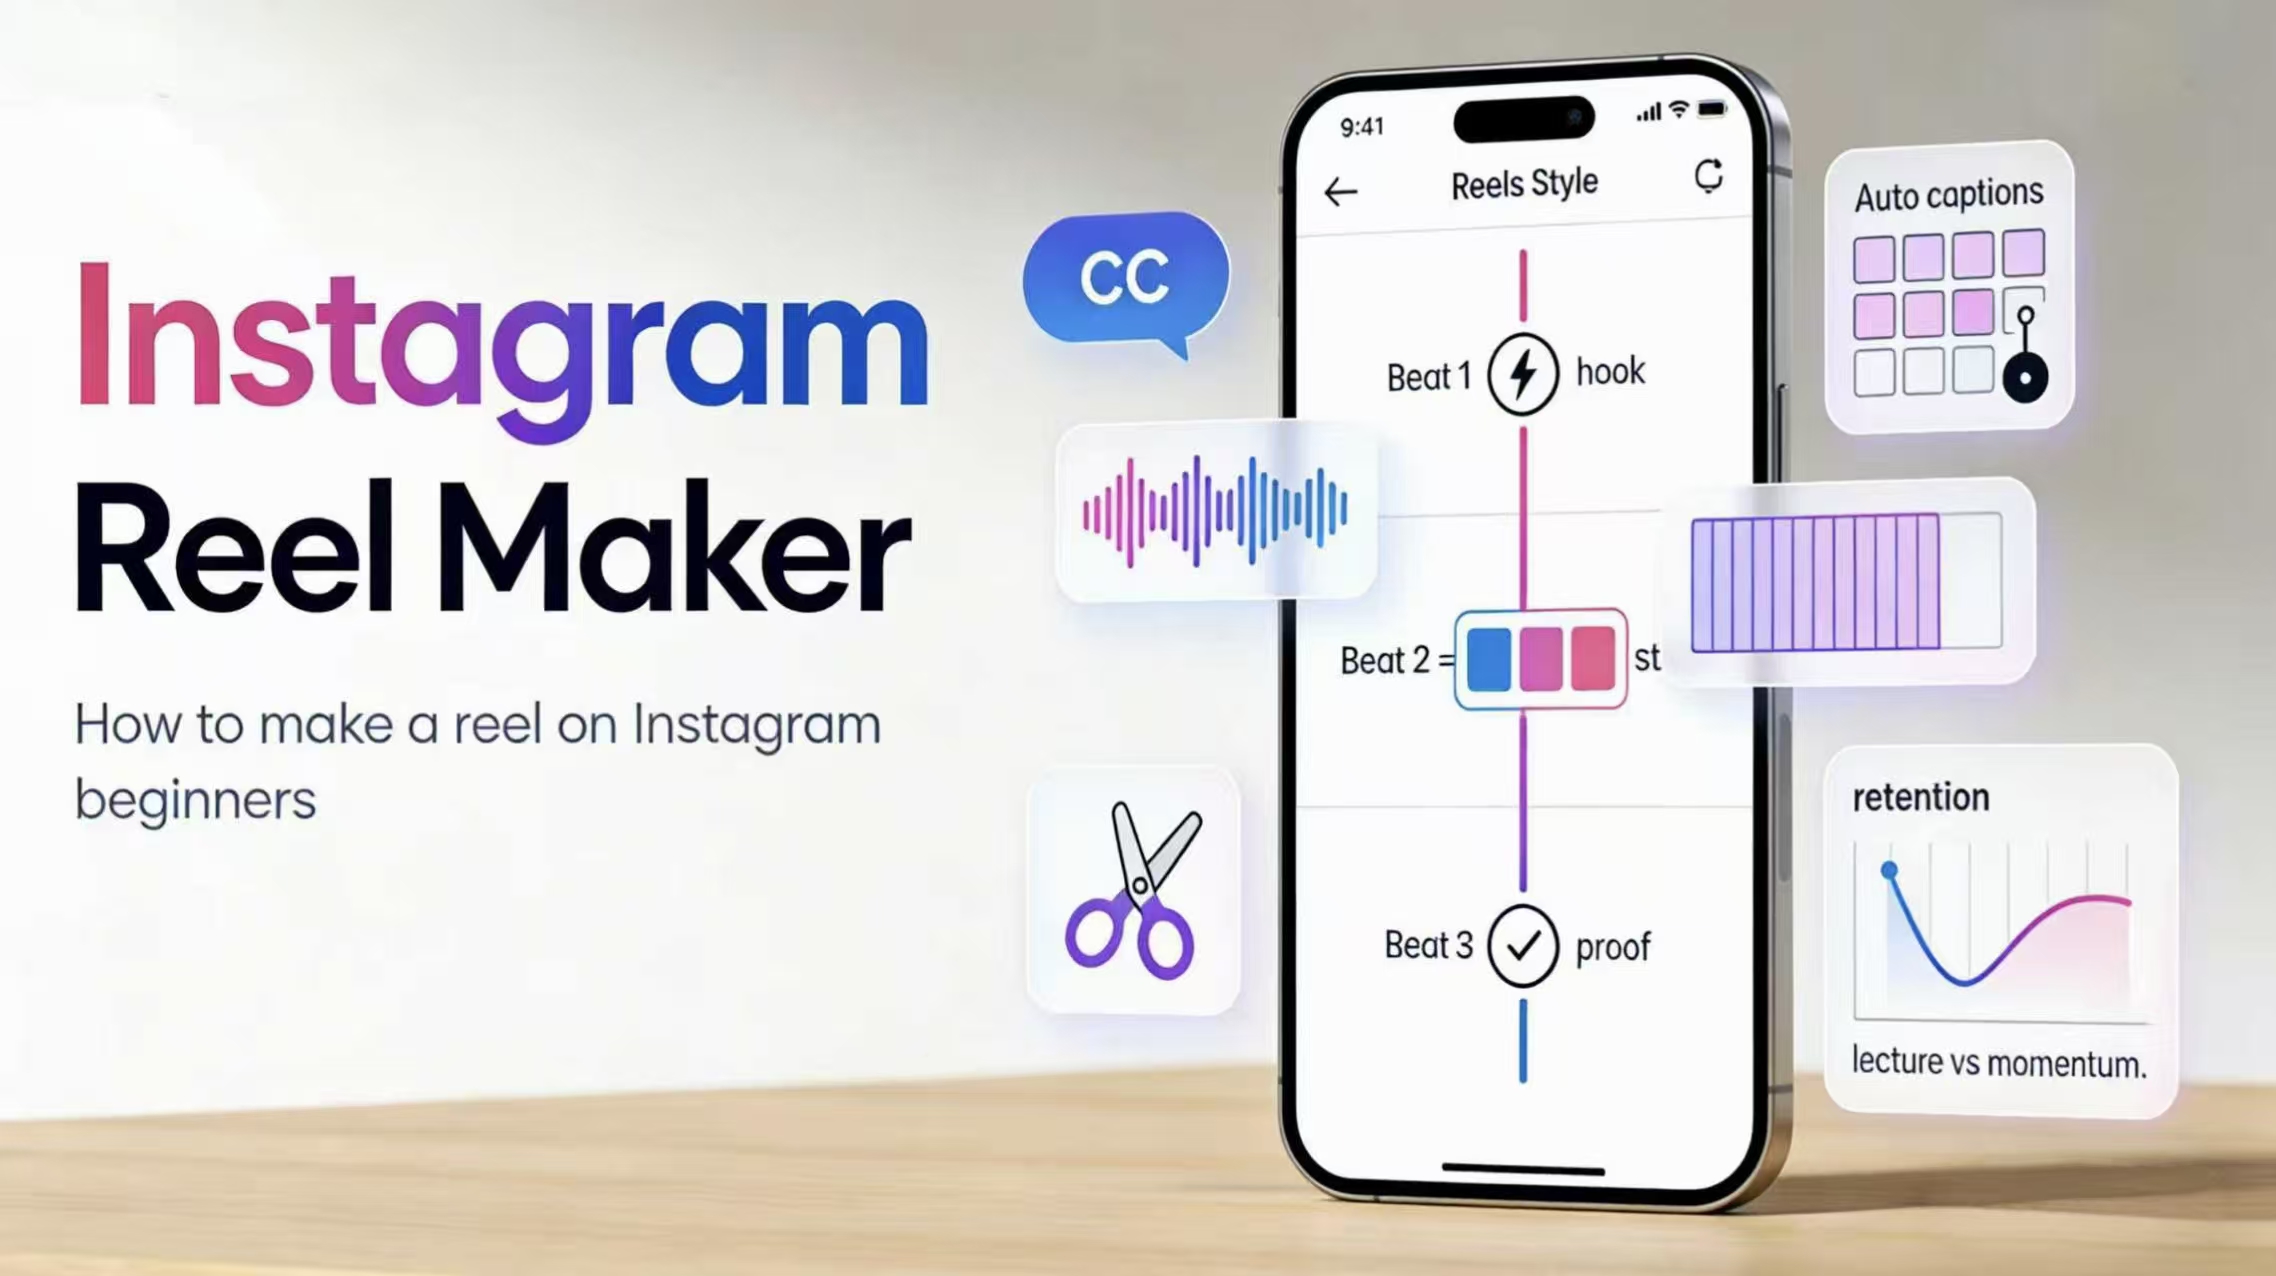
We’ll cover the basics of how to make a reel on Instagram, and then the part that actually saves your sanity: using an Instagram Reel Maker (or an instagram reels maker, same idea) to speed up editing, captions, and timing. And if you’re sitting on long videos, we’ll also talk about how to create reels from video without re-editing your life away.
What an Instagram Reel Maker actually does
An Instagram Reel Maker is basically a shortcut machine. Not for ideas—ideas are still on you—but for all the annoying steps that eat time.
It helps you start with a layout (so you’re not staring at a blank screen like… “okay, now what?”), it helps you cut faster, it helps you add captions without manually nudging every word, and it helps your Reel look “clean” even if you’re not a designer.
Some people search reels maker for instagram. Some type instagram reels generator. Some even go for stuff like auto reel maker or auto reels maker hoping the tool will do everything. In real life, most of these tools are doing a few key things:
They reduce friction.
That’s it. That’s the magic.
Also, quick reality check: no tool will fix a Reel that has no hook, no structure, and no reason to keep watching. So we’ll fix that first.
The real problem: informative Reels often feel like a lecture
Here’s what happens to a lot of beginners (and honestly, to experienced creators too):
You start explaining. You explain well. You explain with details because you’re being responsible. And the viewer is like… “cool, but I’m also trying to doomscroll in peace,” and they swipe.
That Reddit thread basically boils down to three pain points:
First, people try to dump the whole lesson into one Reel. It’s too dense, too early. Viewers feel the weight of it.
Second, the Reel doesn’t move. No little twist, no quick “here’s the trick,” no progress. Just talking.
Third, it tells instead of showing. Reels are visual. If the viewer can’t see the steps or the proof, the Reel feels like a podcast clip… except shorter and more stressful.
So the fix is not “teach harder.”
It’s: teach lighter. Faster. With visuals.
Which leads to the simplest structure I know for this.
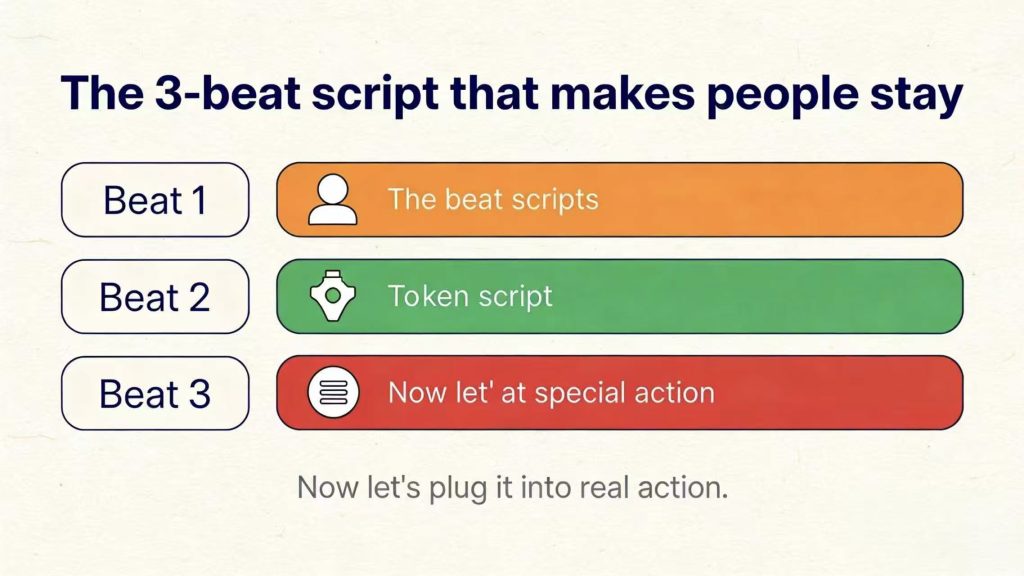
The 3-beat script that makes people stay
If you want a Reel that’s informative but doesn’t feel like school, use a 3-beat script. It’s almost stupidly simple, and that’s why it works.
Beat 1: the tiny jolt (0–2 seconds)
This is the pattern break. The “wait—what?” moment.
You’re not trying to be dramatic. You’re just trying to earn the next second.
A few hook styles that usually work (and don’t sound too fake):
“You’re doing this backwards.”
“Stop. This is why your Reels feel boring.”
“Here’s the shortcut nobody tells you.”
“I wasted hours on this. Don’t do that.”
That’s it. Short. Punchy. No warm-up. No “hey guys.”
Beat 2: three fast beats (3–15 seconds)
Here’s the rule I want you to remember: one idea per beat, one visual per beat.
Not five ideas in one sentence. Not five sentences for one idea.
If you’re teaching something, you can often compress it into three moves:
Do this → then this → then this.
And while you’re saying it, you show it. Screen recording. Hands. Before/after. Whatever fits.
Beat 3: proof + clean ending (last 5–10 seconds)
A lot of Reels fail at the ending. They just… stop. Or they ramble.
Instead, end with proof. The result. The before/after. The final screen. The moment where the viewer goes “ohhh, okay.”
Then one clean closer. Not a 10-second CTA speech. Just one line:
“Save this for later.”
“Try it and tell me if it worked.”
“Want part two?”
That’s the whole structure.
Now let’s plug it into real action.
How to make an Instagram reel
If you’re new, I actually recommend you start inside Instagram first. Don’t over-tool too early. Learn the basic motion, then upgrade.
Here’s a simple version of how to make an instagram reel without turning it into a complicated production:
You pick your clip (record in-app or upload), trim it hard, add text that makes the idea obvious, add captions, add music, pick a cover, post.
That sounds basic, but the devil is in the tiny details—especially the first two seconds.
Step 1: pick your raw footage
If you’re comfortable talking to camera, recording in-app is fine. It feels casual and native.
If you’re not comfortable (or you want cleaner control), upload clips instead. You can reshoot without pressure, and you can grab visuals that actually support the teaching.
Step 2: trim like you’re slightly mean
The first two seconds decide everything.
Cut out:
The greeting.
The “so today we’re gonna…”
The pause where you inhale.
The part where nothing changes on screen.
Harsh? Yes. Necessary? Also yes.
Step 3: put the lesson on-screen
This is where many beginners accidentally make their Reel harder to watch.
They put a paragraph on the screen. Or they put tiny text. Or they change the font every three seconds.
Try this instead: one short line per screen, big enough to read quickly. Reels are not a PDF.
Step 4: captions
Even if your audio is clear, captions help retention. People watch on trains. In bed. In public. With low volume. Captions are basically a cheat code.
Step 5: music
If you’re talking, your voice is the star. Music should sit underneath it, not wrestle with it.
Step 6: cover
Your cover should show the result or the payoff. Not just a random frame of your face mid-blink.
If your Reel is “how to make instagram reels that people finish,” your cover should say something like:
“3-beat script for informative Reels”
or show a before/after retention graph, or show the final edit.
Simple wins.
Okay—now you know how to make a Reel on Instagram in the most straightforward way.
But if you’re planning to post regularly, editing inside Instagram can start to feel… slow. Like you’re building a house with a spoon.
That’s where tools come in.
Using an Instagram Reel Maker to speed up editing
Here’s what most people actually want when they search Instagram Reel Maker:
They want the Reel to look decent without taking forever.
So don’t get distracted by 50 features. Look for three things that speed you up immediately.
First: templates.
A template gives you structure. Text placement. Safe spacing. A “finished” vibe. You drop your clips in and you’re already halfway there. This is why people love the “reels maker for instagram” style tools—starting from a template removes that blank-page panic.
Second: automatic captions with consistent styling.
Not just captions, but captions that look the same every time. Same font. Same size. Same placement. That consistency makes you look more “real” as a creator, even if you’re just getting started.
Third: beat timing.
This is the sneaky one. A Reel can be pretty simple, but if cuts land on the beat, the whole thing feels sharper. That’s basically what people mean when they say stuff like reels maker for instagram beat. It’s not magic. It’s timing.
This is also why keywords like reels generator or auto reel maker keep showing up. People are really asking, “Can I get to a finished edit faster?”
And yes. You can. Just don’t expect the tool to invent your hook and your story. Use it to remove repetitive work.
Create Reels from video
If you have long content—tutorials, interviews, podcast clips, livestreams—this is where you can win fast.
Because you don’t need new ideas every day. You need better extraction.
Here’s the simplest workflow to create reels from video:
You pick one long video and hunt for 3–5 moments that can stand alone. A “moment” is one clear idea that can be explained quickly and shown visually.
Then you wrap each moment in the 3-beat script:
Tiny jolt → three fast beats → proof.
Then you batch it. You make several Reels in one session. Same caption style. Same layout. Same pacing. Suddenly you have a week (or two) of content.
This is the part where an instagram reels generator mindset can actually be useful—again, not because it generates “viral,” but because it speeds up turning long footage into short, vertical clips.
If your workflow includes tools like an AI clip generator, even better. The point is: you’re not re-editing from scratch. You’re extracting and packaging.
That’s the difference.
A quick note if you already have long videos: this is where a clip maker saves you from rewatching everything. For example, GStory’s AI Clip Maker is built for turning long videos into short, platform-ready clips you can post to Instagram Reels. Instead of manually hunting for the “good parts,” it’s designed to spot attention-grabbing hooks and pull out key moments faster—so you can focus on writing a tighter hook, adding captions, and shipping more Reels in one sitting.
A quick export checklist
Before you post, do a fast sanity check.
Is it vertical 9:16?
Is your text sitting too low (getting covered by the UI)?
Is the first two seconds actually tight?
Is the text readable on a phone?
Did you accidentally cram three topics into one Reel?
That’s it. Not a big checklist. Just enough to avoid the classic “why does this look bad now?” moment.
Final thought
A lot of creators assume their problem is “I need better tips.”
Most of the time, the tips are fine.
The real issue is pacing and proof.
So if you want a simple plan you can reuse:
Use the 3-beat script.
Trim hard.
Show the steps.
End with proof.
Then let an Instagram Reel Maker handle the time-sucking parts—templates, captions, beat timing—so you can focus on the actual idea.
If you want, tell me what niche you’re in (fitness, beauty, ecommerce, education, whatever) and I’ll generate 10 hook lines + 10 Reel topics using this exact structure—optimized to naturally include your target keywords like how to make a reel on instagram and create reels from video without sounding spammy.
Leave a Reply