Last Updated on December 25, 2025 by Leslie
If you’ve ever opened CapCut online thinking, “I’ll do a quick edit,” and then ended up stuck on laggy playback, missing assets, or export settings that don’t match what you expected…
The CapCut website editor is powerful, but it’s not the exact same product as the mobile/desktop app—even though the name makes it sound like it should be.
This guide is built around the real problems creators hit: timelines that get messy fast, exports that look “1080p but somehow still blurry,” surprise paywalls, and drafts you’re scared to close.
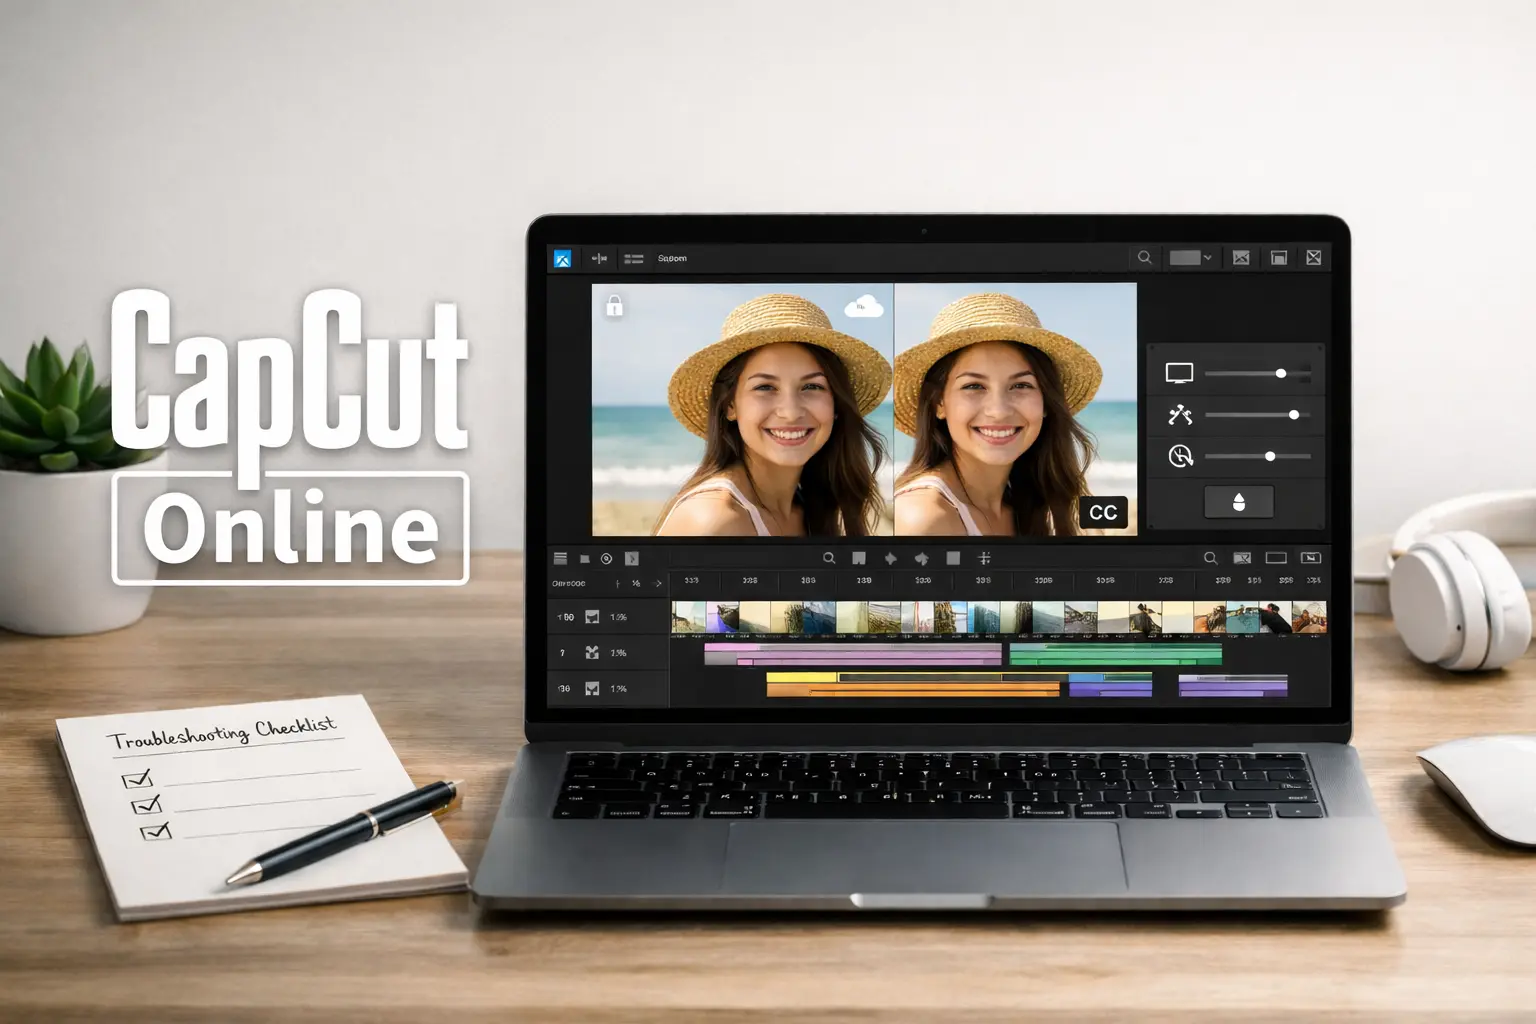
CapCut Online vs App: The “Same Name, Different Workflow” Reality
CapCut runs on multiple platforms (browser, Windows/Mac, iOS/Android), and the workflow differences are real, especially once your project gets bigger than a simple template edit.
CapCut website editor limits that change your edit plan
Here’s what usually changes your plan when you switch from app → CapCut editor online:
- Performance is browser-bound. Heavy effects + long timelines can feel fine on desktop apps, but stutter in a browser if your RAM/CPU is under pressure.
- Media management feels different. Web workflows often rely more on cloud/workspace-style organization, which is great—until you assume it behaves like local drafts. (Treat it as “project files in a workspace,” not “a folder on your drive.”)
- Export controls are there, but easy to skip. CapCut’s online editor supports export settings via “Advanced Settings” (quality/frame rate/format), but many people hit Export too fast and regret it later.
When CapCut online edit is the best choice
Use CapCut online edit when you want:
- A bigger screen for cleaner trimming, text placement, and layer control
- A quick project that doesn’t need extreme effects stacking
- A workflow where you edit + export + share from one place
Avoid CapCut edit online when:
- You’re editing long-form, effect-heavy timelines and your browser starts gasping
- You need strict asset control (multiple editors, locked versions, approvals)
- You’re doing “quality rescue” work (bad lighting, noise, softness) that needs more specialized enhancement before editing
How to Edit on CapCut: Start an Edit That Won’t Break Later
Most “CapCut problems” aren’t really CapCut problems—they’re timeline hygiene problems. If you start clean, you finish clean.
How to make edits on CapCut with a clean timeline setup
If you’re asking how to make edits on CapCut without chaos, do this first:
- Pick your target format upfront (9:16 Shorts, 16:9 YouTube, 1:1, etc.).
- Import only what you’ll actually use (leave the “maybe” clips out until later).
- Create a simple track rule:
- Track 1 = main video
- Track 2 = B-roll / overlays
- Track 3 = text
- Track 4 = captions
This prevents the classic “why is my text attached to the wrong clip” spiral.
How to edit on CapCut: templates, text, and layers without chaos
Templates are fast… and also the #1 reason people end up with messy layers.
If your goal is how to edit on CapCut with templates without breaking the timeline:
- Use templates for structure (timing, vibe), then replace assets carefully.
- After replacing footage, do one pass just for text (font, spacing, safe margins).
- Then do one pass for overlays/effects so you’re not debugging five problems at once.
Think “three passes”: structure → text → polish. It’s boring. It works.
CapCut editor online pre-export checklist
Before you export from CapCut editor online, do a quick sanity check:
- Scrub the full timeline once (look for black frames, missing media, weird jumps)
- Check the first 2 seconds and last 2 seconds (outros love to break)
- Confirm captions aren’t covering UI elements (bottom nav bars on Shorts are ruthless)
- If you used heavy effects, preview the heaviest section again—slowdowns often show up there first
CapCut Edit Online Export Settings: Get a Clean File Before Social Apps Ruin It
CapCut can export a file that looks great. Social platforms can still crush it. Your job is to give them a file that survives recompression.
CapCut’s online editor lets you customize export settings (including resolution and “Advanced Settings” like quality/frame rate/format).
CapCut online edit resolution vs bitrate (why 1080p can still look bad)
Creators fixate on resolution. But bitrate is what keeps detail from turning into mush.
CapCut explicitly supports adjusting bitrate in export settings (including custom options depending on the workflow).
The practical takeaway:
- 1080p + low bitrate = blurry/detail-less video
- 1080p + healthier bitrate = cleaner edges, fewer compression blocks
So yes—your “1080p export” can still look terrible if bitrate/quality settings are too low.
The compression trap after export (TikTok/Reels/YouTube Shorts)
Even a perfect export can get wrecked when you upload:
- Fine textures (hair, skin, gradients) get smeared
- Dark scenes get blocky
- Text overlays lose crispness
The fix is simple: export a clean “master” file, then upload that. Don’t download → reupload → re-download → reupload. Every generation loses quality.
A 60-second quality check before your final export
Do this right before you hit export (seriously, 60 seconds):
- Zoom in on a face: do you see halo outlines from over-sharpening?
- Look at motion (hands, hair): do you see blocky pixels?
- Check text: does it shimmer or crawl?
- Listen for the first 10 seconds: is audio synced?
If anything looks off, fix it now, not after you’ve posted it everywhere.
CapCut Editor Online Paywalls & Pricing: Avoid “I Edited for an Hour Then Hit Pro”
CapCut has both free and paid tiers, and what gets locked can feel inconsistent—because pricing and availability may vary by region, platform (web vs app), taxes, and promotions. So if your friend sees “$X” and you see something else, both can be true.
The most painful moment is building an edit on Pro-only assets (templates, fonts, effects), then discovering the paywall at export. The safest workaround is simple: audit early. Before you commit, quickly check whether any key assets are labeled premium/Pro—swap them now if you want to stay free, or decide upfront that this is a paid project.
A quick decision rule: paying makes sense when you publish often, rely on premium assets regularly, or need smoother workflow features (like storage/collab). If it’s a one-off edit, don’t get trapped—replace the premium pieces and move on.
CapCut Online Edit Reliability
Draft-loss prevention for CapCut editor online (versions, exports, naming)
Treat drafts like important documents:
- Name versions like:
projectname_v01,v02_captionfix,v03_final - Export a “checkpoint” file after major milestones (rough cut / captions / final)
- Keep a tiny text file (or notes doc) with: fonts used, music track, export settings
CapCut also promotes cloud/workspace style storage and collaboration—helpful, but you still want your own version discipline.
Browser fixes for CapCut online (lag, crashes, stuck exports)
If CapCut online starts lagging or exports get stuck:
- Close extra tabs (memory pressure is real)
- Disable heavy extensions (ad blockers/script tools can break web apps)
- Try Chrome/Edge in a fresh session
- Reduce timeline load: temporarily mute effects, hide overlay tracks, or split the project into parts
Not glamorous—but it saves weekends.
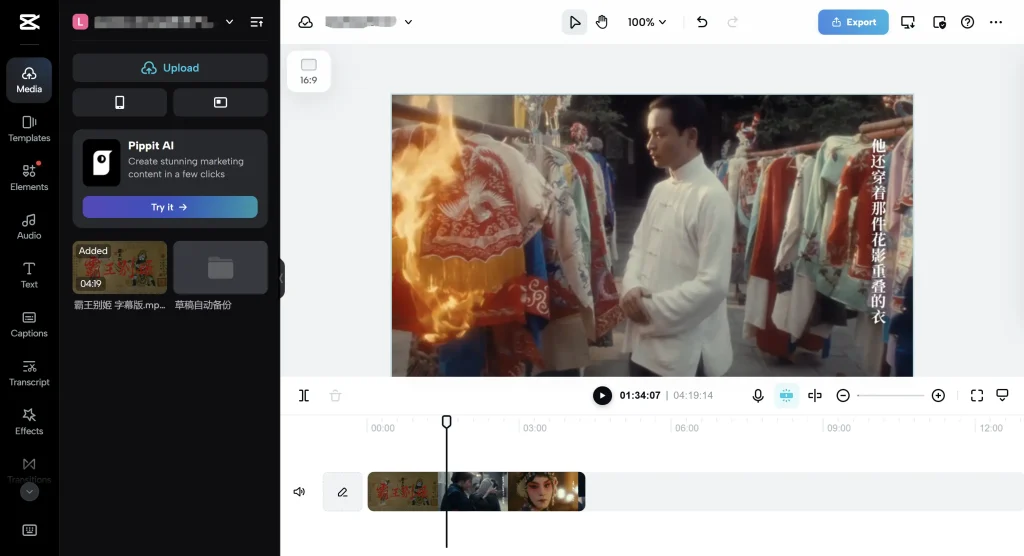
CapCut Online Captions: The Sticky Feature Most Alternatives Can’t Match
CapCut heavily emphasizes auto captions, multilingual support, and subtitle workflows across its tools.
Multilingual captions that don’t drift out of sync
A good caption workflow is:
- Generate captions from clean audio
- Fix obvious errors (names, brand terms)
- Re-check timing around fast speech
CapCut’s web resources describe AI captions + translation options as part of its subtitle workflow.
Bilingual subtitles workflow (two languages, one clean layout)
Bilingual subtitles get messy fast unless you control layout.
A clean approach:
- Keep Language A on the first line (larger)
- Keep Language B on the second line (smaller, lighter weight if possible)
- Maintain consistent line breaks (don’t let CapCut auto-wrap differently each caption)
If you need bilingual subs for global content, treat readability like design—not just text.
When CapCut Online Isn’t Enough: A Feature-Based Exit Plan
If you need captions + translation at scale (mention GStory)
CapCut is great for editing + captions inside the edit. But if you need repeatable subtitle generation and translation workflows (especially across many videos), you’ll move faster with a dedicated pipeline.
That’s where GStory Subtitle Generator helps: generate captions quickly, then bring subtitle files back into your CapCut timeline when you want the “final polish” edit.
And for translation-focused workflows, GStory Video Translator supports video subtitle translation for localization-style publishing. ubtitle-generator?utm_source=chatgpt.com
If you need quality rescue for weak footage
If your raw footage is noisy, soft, or underexposed, editing harder won’t fix it—you’ll just export a cleaner version of a bad source.
Use a “rescue first, edit second” approach with GStory AI Video Enhancer, then edit the improved clip in CapCut.
If you need collaboration and asset control
If multiple people touch the same project, you need:
- a shared source-of-truth folder structure
- clear naming/version rules
- locked “master exports” that don’t get overwritten
CapCut offers collaboration/cloud concepts, but your real reliability comes from workflow discipline (versions + exported checkpoints + asset naming).
Leave a Reply