Last Updated on February 27, 2026 by Arya Xu
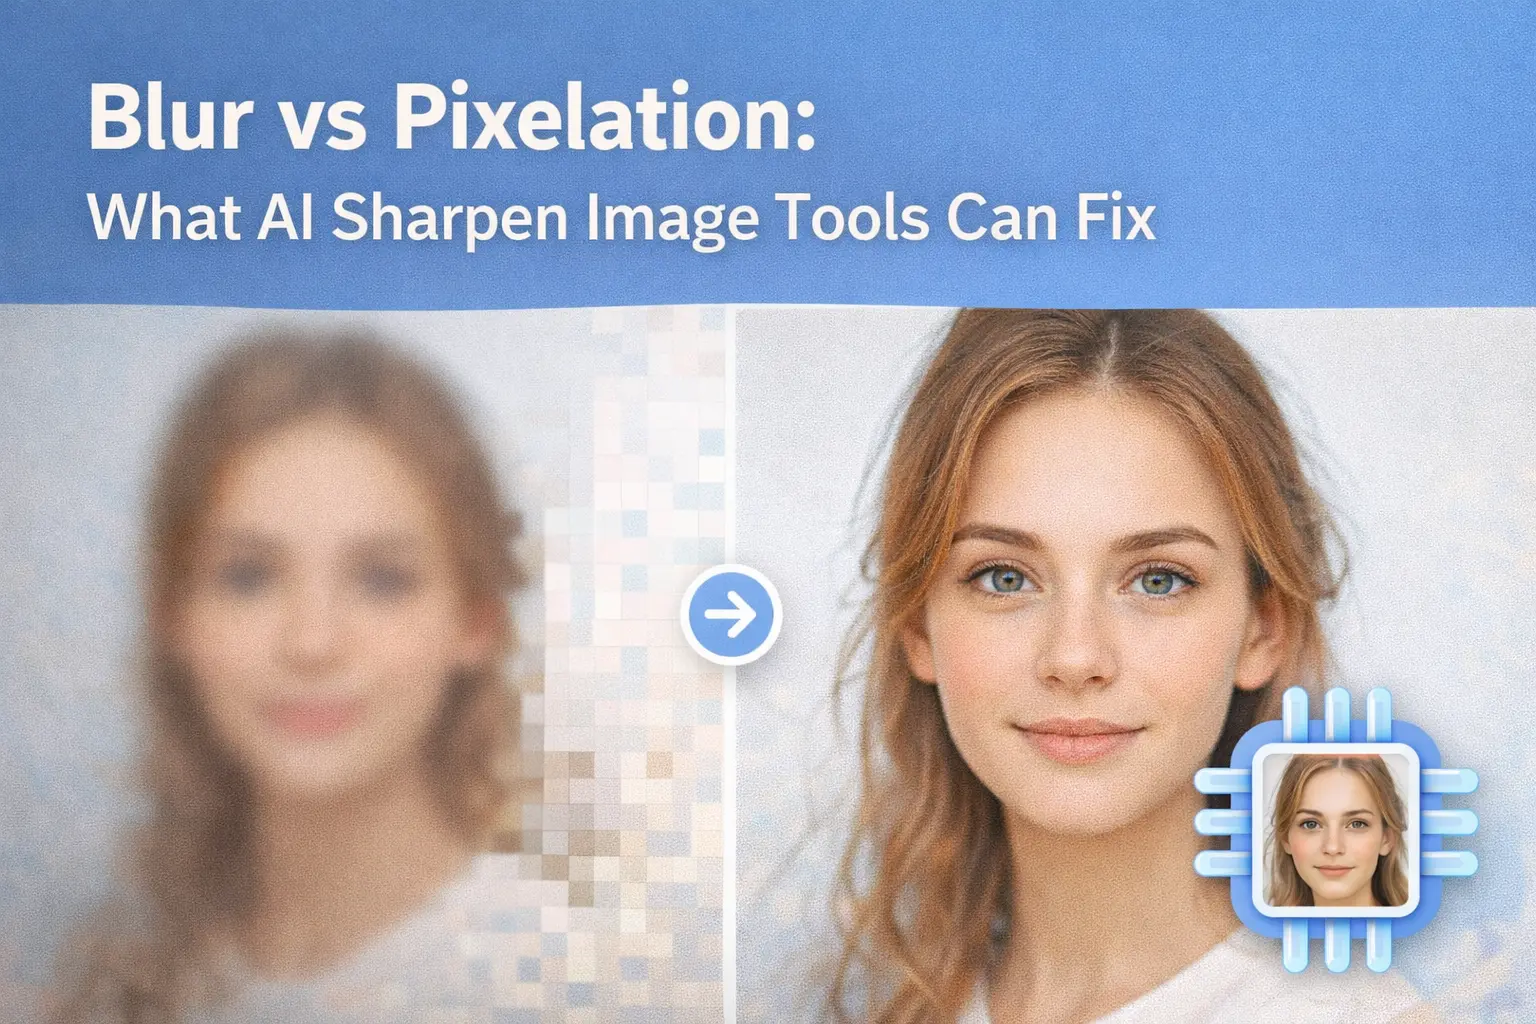
Ever run a photo through an AI sharpener only to watch it get worse? You’re not alone—and it’s probably not the tool’s fault.
The problem isn’t the technology. It’s a mismatch between your image’s actual problem and the solution you’re applying. Most users don’t realize that blur, pixelation, and out-of-focus images require completely different AI approaches.
This guide teaches you to diagnose exactly what’s wrong with your image, then match it to the AI technology that can actually help. By the end, you’ll know precisely when to AI sharpen image files—and when to reach for a different tool entirely.
Understanding Why Images Look Bad Before AI Sharpen Image
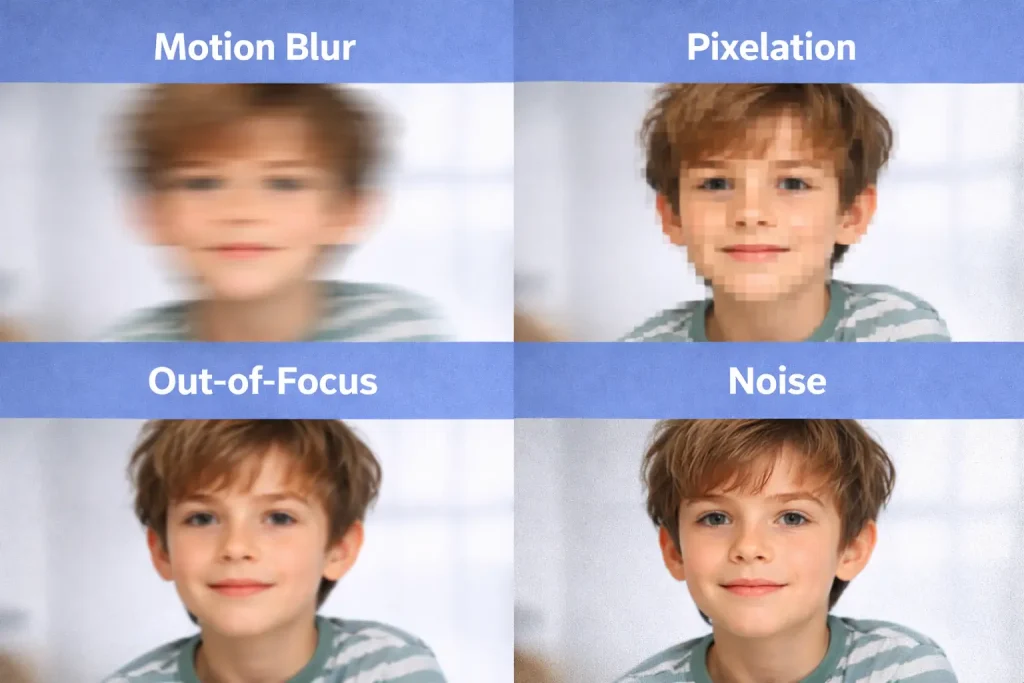
Before throwing your photo at any AI tool, you need to understand what’s actually wrong with it. There are four distinct types of image degradation, and each responds differently to AI processing.
Motion Blur: When Movement Causes Streaking
Motion blur happens when either the camera or subject moves during exposure. You’ll recognize it by directional streaking—edges appear smeared in a specific direction, creating ghost trails.
The good news? Motion blur is highly fixable with AI sharpening tools. The image actually captured sharp detail; it’s just smeared across adjacent pixels. AI can analyze the blur pattern and reconstruct the original edges.
Pixelation: When Resolution Is Too Low
Pixelation occurs when you enlarge a small image or apply heavy compression. The telltale signs are visible square blocks and jagged, stair-stepped edges where curves should be smooth.
Here’s the critical point: pixelation requires upscaling, not sharpening. Sharpening a pixelated image just makes the blocks more defined—and more obvious.
Out-of-Focus: When Light Information Was Never Captured
This is where most AI disappointments happen. Out-of-focus images show uniform softness with no directional pattern. Everything simply looks soft.
The hard truth: out-of-focus cannot be truly fixed because the light information was never recorded by the camera sensor. AI can simulate sharpness, but it’s essentially guessing what details might have been there.
Noise and Grain: When Sensors Struggle in Low Light
Digital noise appears as random colored speckles, most visible in shadows and solid-color areas. It comes from high ISO settings or insufficient lighting.
Noise requires denoising, not sharpening. In fact, sharpening noisy images makes them worse—the AI treats noise particles as edges and enhances them.
How AI Sharpen Image Technology Actually Works
Understanding the technology helps set realistic expectations and choose the right tool.
Edge Detection and Enhancement
Traditional AI sharpening identifies edges—boundaries where colors or brightness change rapidly—and increases the contrast between them. This makes boundaries appear crisper.
This approach works well for motion blur and generally soft images. It fails on pixelation because those block boundaries become sharper blocks, not smooth detail.
Pattern Recognition and Prediction
Modern AI tools go beyond simple edge enhancement. They’re trained on millions of images to predict what sharp details should look like based on the blurry input.
This is where results split between “restoring” detail (bringing back what was captured) and “inventing” detail (guessing what might have been there). Tools using diffusion models like Magnific lean toward creative enhancement, while traditional tools like Topaz stick closer to the original.
The Difference Between Sharpening, Upscaling, and Denoising
These three processes require different AI models trained for different tasks:
| Process | What It Does | Best For |
| Sharpening | Enhances edge contrast | Motion blur, soft images |
| Upscaling | Adds new pixels using AI prediction | Low resolution, pixelation |
| Denoising | Removes noise artifacts | Grainy low-light photos |
Key Takeaway: Using the wrong tool doesn’t just fail—it often makes your image worse.
Visual Diagnosis Guide: Identifying Your AI Sharpen Image Problem
Before processing any photo, run these three quick tests.
The Zoom Test: Checking for Pixelation
Zoom your image to 100% (actual pixels). Look for visible square blocks, especially along edges and in areas with gradual color transitions.
If you see blocks, you need upscaling first. Tools like GStory Photo Enhancer can upscale images by up to 200% before you attempt any sharpening.
The Edge Test: Checking for Blur vs Out-of-Focus
Examine high-contrast edges in your image—where light meets dark, or where text appears.
- Motion blur: Edges smear in a specific direction
- Out-of-focus: Edges show uniform halos in all directions, no directional pattern
This distinction matters because motion blur has much better recovery potential than out-of-focus softness.
The Shadow Test: Checking for Noise
Look at the darkest areas of your image and any large solid-color regions. Noise appears as random colored dots scattered throughout.
If you see significant noise, denoise before any other processing. Sharpening amplifies noise dramatically.
When to AI Sharpen Image vs Use Other Solutions
Now that you can diagnose the problem, here’s which solution to apply.
Use AI Sharpening For: Motion Blur and Soft Details
AI sharpening excels when:
- Camera shake caused slight blur
- Subject moved slightly during capture
- Image is at full resolution but appears soft
- Old photos have lost edge definition
Expected results: Edge definition improves, details become clearer, but don’t expect miracles on severely blurred images.
Use AI Upscaling For: Pixelation and Low Resolution
Reach for upscaling tools when:
- Enlarging small images for printing
- Working with old low-resolution photos
- Processing heavily cropped images
- Cleaning up screenshots
AI upscaling adds new pixels intelligently, transforming blocky edges into smooth curves.
Use AI Denoising For: Grainy Low-Light Photos
Choose denoising when:
- High ISO caused visible grain
- Smartphone night photos look speckled
- Shadow areas show colored dots
Always denoise before sharpening to prevent amplifying artifacts.
Accept Limitations For: Severely Out-of-Focus Images
Be realistic about what AI cannot fix:
- Severely out-of-focus images (where no detail was captured)
- Extreme motion blur (complete subject streaking)
- Heavy compression artifacts (permanent data loss)
Slight out-of-focus can be improved. Severe focus misses remain unfixable with current technology—no AI tool can recreate light information that was never recorded.
Getting the Best AI Sharpen Image Results
Even with the right tool, technique matters.
The Right Processing Order: Denoise First, Then Upscale, Then Sharpen
Follow this workflow for best results:
- Denoise – Remove grain so sharpening doesn’t amplify it
- Upscale – Increase resolution to give AI more pixels to work with
- Sharpen – Enhance edges on the clean, high-resolution image
Processing in the wrong order compounds problems rather than solving them.
Avoiding the “Plastic Skin” Effect on Portraits
One common complaint from Reddit communities: AI sharpening makes skin look artificial and waxy. Solutions include:
- Lower intensity on facial areas
- Use tools with face detection that automatically reduce processing on skin
- Apply selective masking to exclude faces from aggressive sharpening
- Accept slight softness in skin rather than over-processing
Using Browser-Based Tools for Quick Fixes
For users wanting quick solutions without software installation, browser-based tools offer convenience. GStory Photo Enhancer works directly in your browser with no downloads required, offers free credits to test results, and handles both upscaling and enhancement in one workflow.
FAQs About AI Sharpen Image
Can AI Sharpen Image Tools Fix Old Scanned Photos?
Yes, but often requires multiple steps. Old scanned photos typically need denoising for scanner artifacts, upscaling for resolution, then sharpening. GStory Photo Enhancer includes old photo restoration features that combine these steps.
Why Did AI Sharpening Make My Photo Look Worse?
Usually means wrong tool for the problem. Sharpening a pixelated image creates sharper blocks. Sharpening a noisy image amplifies the noise. Diagnose the actual problem first using the tests above.
Is There a Free AI Sharpen Image Tool Without Watermarks?
Several options exist:
- GStory offers free credits on signup with no watermarks
- Upscayl is free open-source but requires a dedicated GPU
- Microsoft Designer provides free basic enhancement
Can AI Fix Blurry iPhone Photos?
Depends on the blur type:
- Motion blur from shaky hands: Yes, good recovery potential
- Out-of-focus from missed autofocus: Limited improvement only
- Low-light noise: Use denoising first, then optionally sharpen
What’s the Difference Between Sharpening and Upscaling?
Sharpening enhances edges within existing pixels. Upscaling adds new pixels to increase resolution. A pixelated image needs upscaling; a soft full-resolution image needs sharpening. Some tools combine both—first upscaling, then enhancing the result.
Conclusion
Different image problems require different AI solutions. Motion blur responds well to sharpening. Pixelation needs upscaling. Noise needs denoising. And severe out-of-focus has real limitations that no AI can currently overcome.
The key is diagnosis before treatment. Use the zoom test, edge test, and shadow test to identify your specific problem—then match it to the right tool.
Ready to fix your images the right way? Diagnose your image problem using the tests above, then try a browser-based solution like GStory to see results without any software installation. Free credits let you test before committing.
Leave a Reply