Last Updated on February 28, 2026 by Leslie
That product photo would look perfect if the cluttered background stopped stealing attention. You want a clean cutout fast, but full photo editors feel like too much for a simple task.
Canva can do it in seconds with its AI tool, but many people hit two problems. The first is access, because the one click remover is mainly a Pro feature. The second is reliability, because even Pro users sometimes see blank results, rough edges, or a white background after download.
This guide keeps it simple on purpose. You will learn the shortest workflows that work in real life, plus the problems most people actually run into. If you are on Canva Free, you will also get a practical alternative using GStory, so you can still get a transparent PNG and keep designing inside Canva.
What background removal means in Canva
Most frustration comes from mixing up two different steps.
Background removal means the background pixels are removed from your image. Transparent export means Canva downloads the file without adding a new background color.
If your cutout looks perfect inside Canva but turns white after download, the removal worked and the export step did not.
How to remove background in Canva with Canva Pro
If you have Canva Pro or you are on a trial, this is the fastest path.
Step 1 Upload and place your image
Upload your photo to Canva, then add it to your design. Click the image once so it is selected.
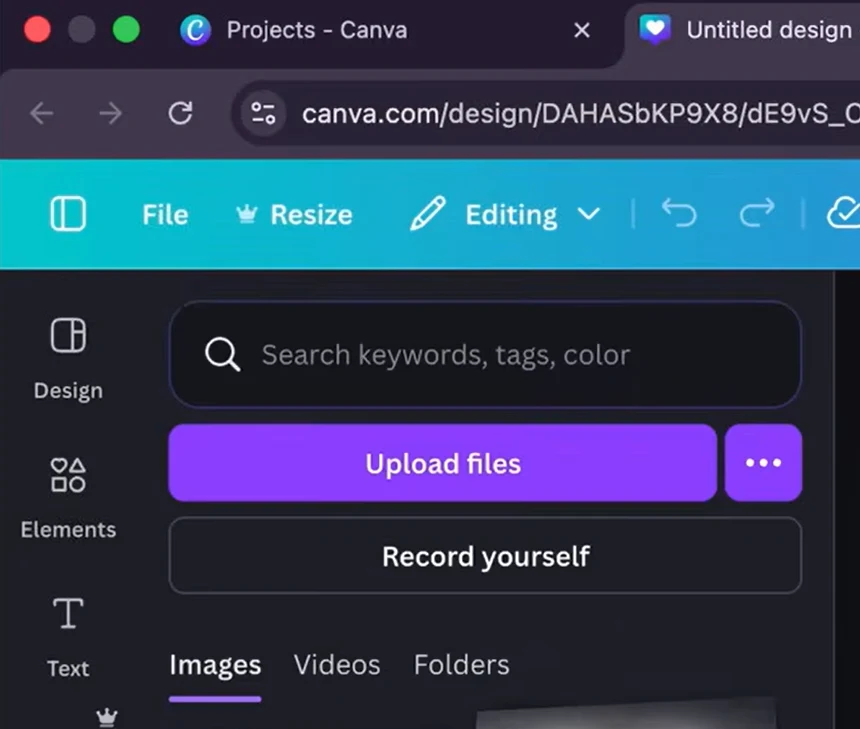
Step 2 Open the editor panel
In the top toolbar, click Edit image. A side panel opens with tools and effects.
Step 3 Run Canva Background Remover
Find Background Remover and click it. Canva processes your image in a few seconds and removes the background automatically.
If you do not see Background Remover, scroll inside the Edit image panel and check the Effects section. Canva moves labels around during updates, so the tool location can change.

Step 4 Clean up edges for a better cutout
After removal, zoom in and check the edges. Hair, thin straps, and product shadows are the usual weak spots.
Look for the refine controls that include Erase and Restore. Use Restore to bring back missing parts and Erase to remove leftover background pixels. Use small strokes and zoom in. This is faster than trying to fix everything at normal zoom.
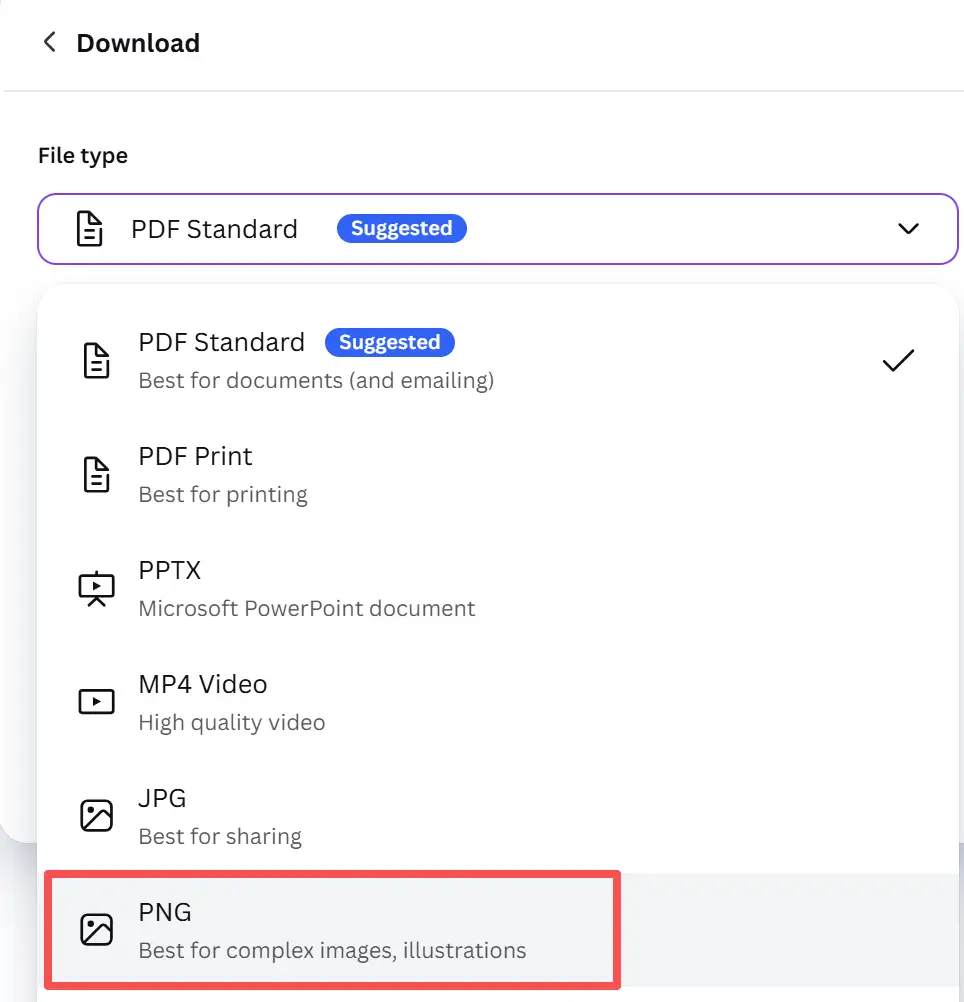
Step 5 Download as a transparent PNG
Click Share, then Download. Choose PNG as the file type. Turn on Transparent background and download.
A lot of people export as JPG out of habit. JPG cannot store transparency. If you export as JPG, Canva will fill the background with white.
How to remove background in Canva for free using a simple workflow
If you are on Canva Free, you can still get the result you want. The easiest approach is to remove the background outside Canva, then upload the transparent PNG back into Canva.
This matches what people mean when they search Canva background remover free. They want a free way to get the same cutout result.
The fastest free workflow using GStory
GStory is a practical alternative when Canva locks the remover behind Pro, especially when you have multiple images to process.
Step 1 Upload your image to GStory Photo Background Remover
Step 2 Remove the background and export the result as a transparent PNG
Step 3 Upload the transparent PNG into Canva
Step 4 Continue designing as usual and export your final design
This approach works well for product photos because you can keep your cutouts consistent across a batch. If you are editing a catalog or a store listing, that consistency matters more than perfection on a single image.
If you only remove backgrounds once in a while, this workflow still saves time because you avoid hunting for a Pro only feature inside Canva.
Export without a white background using this quick checklist
If your image looks transparent in Canva but downloads with a white background, run this checklist.
1 Choose PNG, not JPG
2 Make sure the download settings keep transparency enabled where available
3 Test the exported PNG by placing it on a dark background in another app
4 Watch for platform conversions after upload, because some sites convert PNG to JPG or flattened WebP
If you are on Canva Free and cannot enable transparent export for certain designs, the GStory workflow solves it because the transparency is already baked into the PNG you upload.
Canva background remover not working, the fixes that work most often
When people search Canva background remover not working, they usually mean one of these issues.
You cannot find Background Remover in Canva
Click the image, then click Edit image. Scroll the tools list and check Effects. The layout varies between desktop and mobile, so the button may not appear in the same place.
If you are on Canva Free, the tool may be limited or hidden. In that case, use the GStory workflow and upload the transparent PNG into Canva.
The result is blank or looks white after processing
This is often a browser or temporary processing issue.
Try these fixes in order:
Use Chrome if you are not already
Refresh once and retry
Open an incognito window and try again
Re upload the image as a fresh file
Increase contrast slightly, then try again, because low contrast images confuse the AI
The edges look rough, hair is cut off, or background pixels remain
AI removal struggles most with hair, fur, transparent objects like glass, and backgrounds that match the subject color.
Fixes that usually work:
Use Restore on missing edges, then Erase on leftover pixels
Zoom in to 200 percent or more for accuracy
Add a subtle shadow behind the cutout in Canva to hide tiny edge artifacts
If the image still looks messy, run it through GStory and compare, because different models handle detail differently
Download fails or the export does not complete
If Canva fails to download, it can be caused by file size or temporary server issues.
Try:
Reduce the image size and export again
Duplicate the design and export from the copy
Export the transparent PNG from GStory first, then build the Canva design around it
FAQs
Is Canva background remover free
The one click Canva background remover is mainly a Pro feature. Canva Free may offer limited access in some cases, but it is not reliable for ongoing use. If you need a consistent free method, remove the background with GStory, download a transparent PNG, then upload it to Canva.
How do I remove background in Canva and keep it transparent
Remove the background first, then export as PNG with transparency enabled where available. If you export as JPG, your background will turn white.
Why is my Canva transparent background white after download
Most of the time it is because the file type was JPG or the transparency option was not enabled. Another common reason is that the platform you upload to converts your PNG into a non transparent format. Always test the exported PNG on a dark background to confirm.
Where is background remover in Canva
Select the image, click Edit image, then look for Background Remover in the tools list. Canva changes the UI from time to time, so check Effects if you do not see it immediately.
Conclusion
If you have Pro, the fastest workflow is straightforward. Upload your image, open Edit image, run Background Remover, clean up edges, then export as a transparent PNG.
If you are on Canva Free, you do not have to get stuck. Use GStory to remove the background, download the transparent PNG, and upload it into Canva. You get the same practical outcome and you keep Canva as your design workspace.
This is the real goal in 2026, a clean cutout that exports correctly and does not waste your time.
Leave a Reply