Last Updated on September 8, 2025 by Leslie
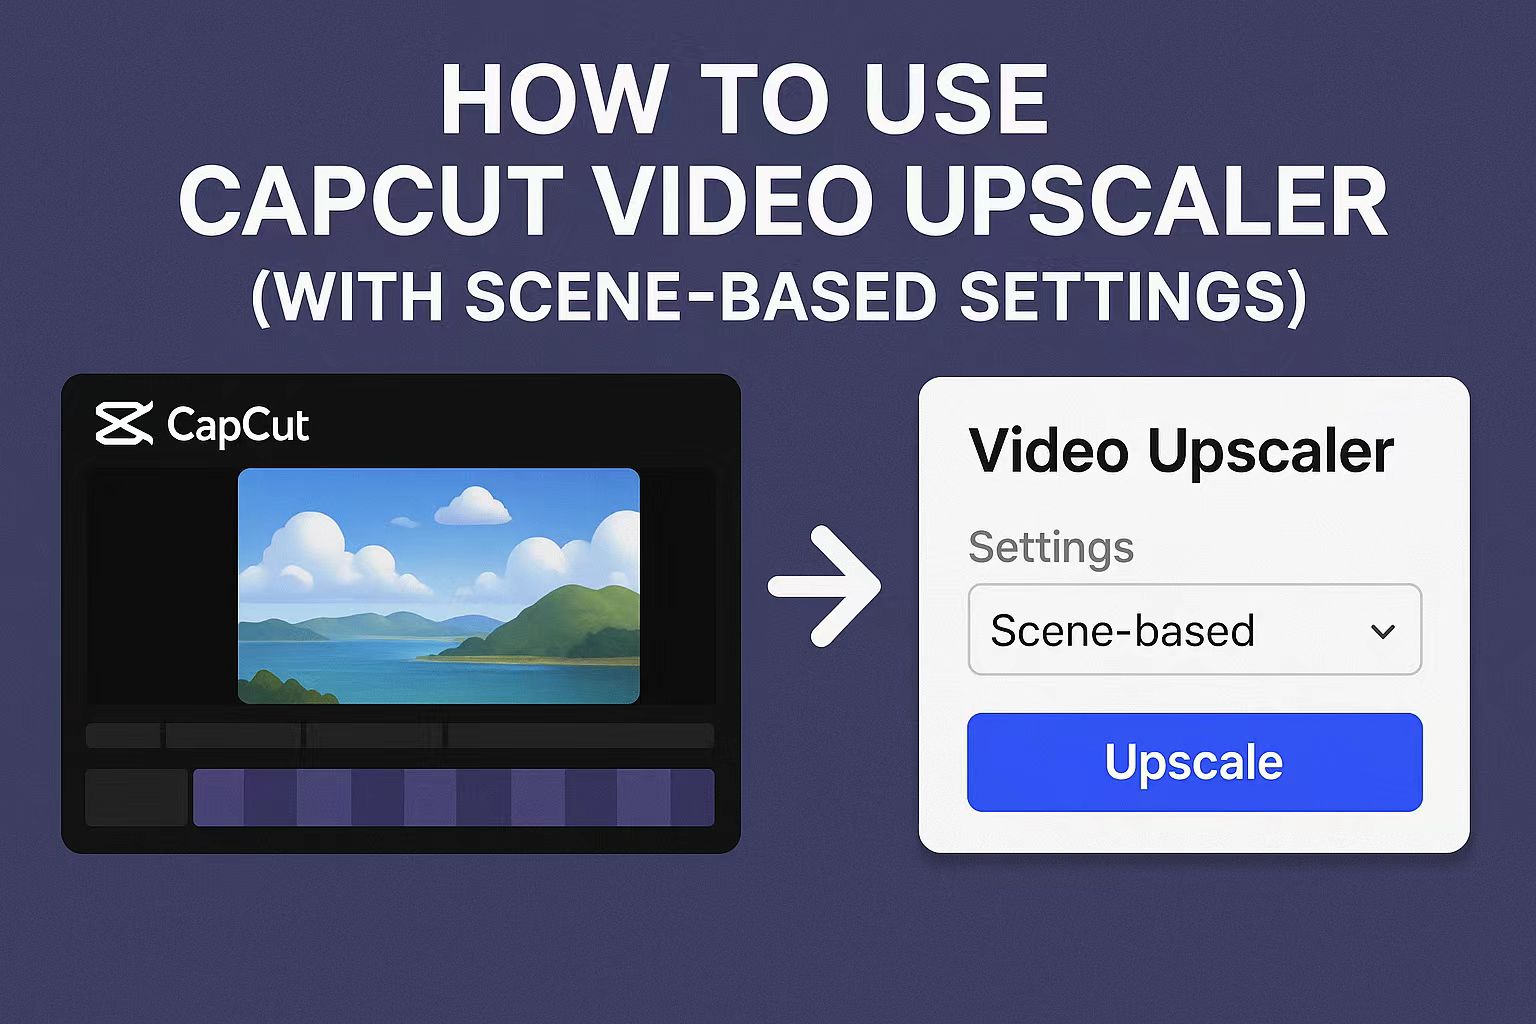
Videos look best when they are clear, sharp, and easy to watch. But not every clip you record is perfect—some are dark, some are blurry, and some just don’t “pop.” That’s where CapCut’s built-in video upscaler comes in. It can quickly improve quality and make your footage look more professional without needing extra software.
In this guide, I’ll walk you step by step through how to use CapCut’s video enhancer, give one simple example setting for a common scene, explain when CapCut won’t be enough, and finally share a stronger AI alternative you can try.
👉 Tip: Don’t miss the settings section—it gives you ready-to-use values you can copy straight into your project.
How to Enhance Video Quality in CapCut
If you want more control over your video’s quality, CapCut gives you simple manual tools. Here’s how to adjust sharpness, contrast, and more using the desktop version. This works well for scenes like daytime outdoor clips.
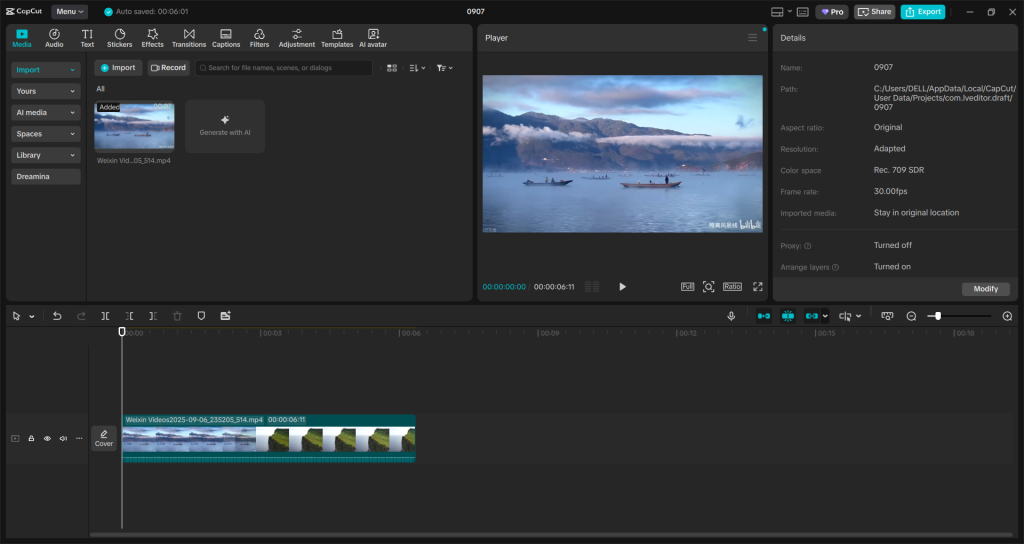
Step 1: Import Your Video
- Open CapCut on your computer.
- Click “New Project”, then “Import” to add your video.
- Drag the video to the timeline.
Step 2: Open the “Adjust” Panel
- Select your video clip in the timeline by clicking on it.
- At the top, find the “Adjust” button and click it.
- A new panel will appear with sliders for video settings.
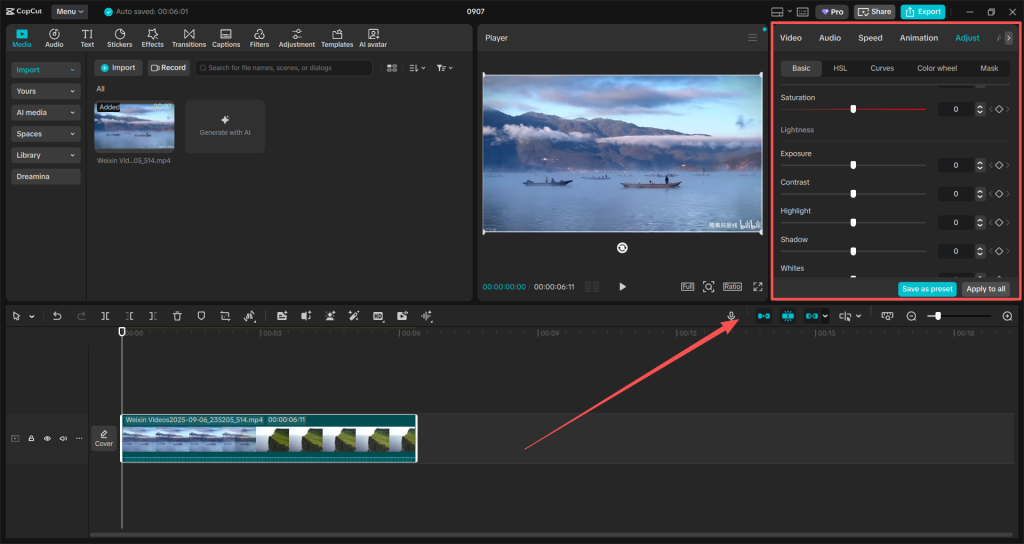
Step 3: Tweak Key Settings for Better Clarity
You’ll see different sliders like Brightness, Contrast, Saturation, Sharpen, and more.
Here’s one example for an outdoor video in daylight:
| Setting | Recommended Value |
| Brightness | +5 to +10 |
| Contrast | +10 to +15 |
| Saturation | +10 to +20 |
| Sharpen | +15 to +25 |
| Highlights | -5 to 0 |
| Shadows | +5 to +10 |
💡 Tip: Don’t max out the sliders—small changes often look better. You can preview the results instantly.

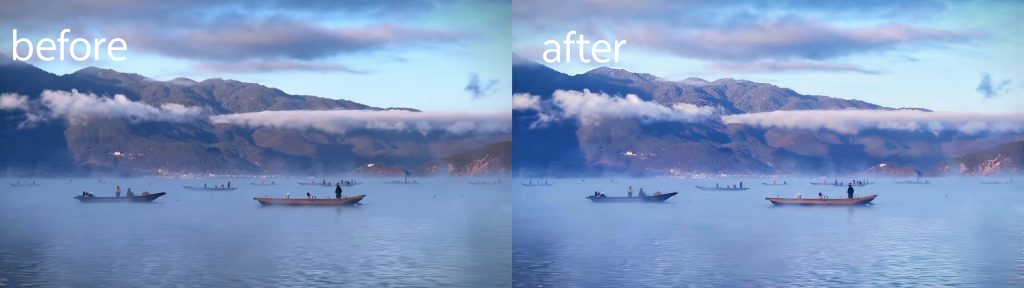
Step 4: Preview Your Changes
- Press the play button to see how it looks.
- You can toggle the adjustment on/off to compare before and after.
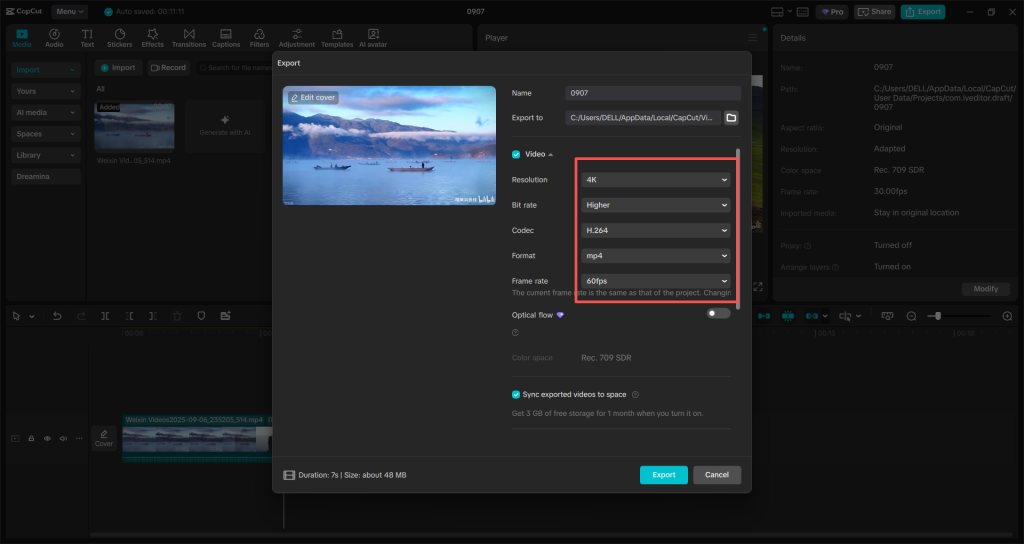
Step 5: Export the Final Video
- Click Export in the top right corner.
- Choose your resolution (1080p or 2K) and click Export again.
- Save the video to your computer.
Scene-Based CapCut Video Upscaler Settings to Improve Video Quality
You don’t need to guess what values to use—here’s a simple cheat sheet for different kinds of videos. Whether you’re fixing a blurry night shot or just making colors pop in a daytime clip, these settings give you a great starting point.
✅ You don’t have to follow these numbers exactly. They’re just safe starting values. Always preview as you adjust!
| Scene Type | Brightness | Contrast | Saturation | Sharpen | Shadows | Highlights | Best For |
| ☀️ Daylight Outdoor | +5–10 | +10–15 | +10–20 | +15–25 | +5–10 | -5 to 0 | Travel vlogs, nature, parks |
| 🌙 Low-Light / Night | +15–25 | +5–10 | +5–10 | +10–20 | +10–15 | -10 to -5 | Night walks, concerts, indoor shots |
| 🎞 Old or Blurry Video | +5–15 | +10–15 | +10 | +20–30 | +5 | -5 to 0 | Old phone videos, low-quality clips |
| 👤 Talking Head / Face Cam | +5–10 | +5–10 | +5–10 | +5–15 | 0 | -5 | Tutorials, interviews, reactions |
When CapCut 4K Video Upscaler Isn’t Enough
CapCut is great for basic enhancement—but it’s not magic. Some videos are just too damaged or complex for its built-in tools. Here are three types of videos where CapCut usually struggles, no matter how much you tweak the settings.
1. Very Old or Damaged Footage
If your video is from an old phone, VHS, or downloaded from a low-quality source, CapCut can’t restore missing details. The sharpen tool only makes edges harsher, not clearer. You’ll end up with something slightly brighter, but still blurry.
👉 What happens? Grainy textures stay grainy. Faces lose detail. Movement stays jittery.
2. Fast-Moving or Shaky Clips
CapCut doesn’t have motion smoothing or frame interpolation. So if your video includes running, fast pans, or shaking, it won’t look smooth even after enhancement.
👉 What happens? You might get sharper frames, but movement will still feel rough or unstable.
3. Dark Indoor Scenes with Noise
Videos shot in dim rooms often have noise (tiny flickering dots or color blobs). CapCut lacks strong noise reduction. Even if you increase brightness, it just makes the noise more visible.
👉 What happens? You get brighter noise, not a cleaner image.
Best Video Upscaler Alternative to CapCut: Try GStory for 4K Ultra HD
Sometimes, no matter how carefully you adjust the sliders in CapCut, the video still doesn’t look right. That’s where GStory Video Enhancer steps in. It’s not just another editing tool—it uses AI to understand what your video needs and fix it in ways manual settings can’t. GStory doesn’t just enhance videos—it also enhance photos, helping you sharpen, upscale, and restore images with the same AI precision.
You don’t need to be a tech expert. Just upload your clip, click one button, and let the AI do the heavy lifting. Within minutes, your blurry, noisy, or low-res video comes back sharper, smoother, and clearer.
This is especially useful if:
- You’re working with old or low-quality clips
- The video is dark and full of grain
- There’s motion blur or fast movement
- You want high-res output without re-shooting
No need to download any software. GStory runs entirely in your browser and supports MP4, MOV, and other common formats. The best part? You can preview the enhanced result before you decide to download—so you know it works before spending anything.
👉 If CapCut is your basic toolkit, GStory is your secret weapon for tough video repairs.
Final Thought
CapCut’s video upscaler is a solid tool for quick touch-ups, especially if you know what settings to use for different scenes. It’s simple, accessible, and works well for most casual edits. But when your footage needs deeper restoration—like fixing motion blur, heavy noise, or low resolution—manual tweaks just aren’t enough. That’s where tools like GStory Video Enhancer come in, using AI to rescue videos CapCut can’t. Whether you’re enhancing a travel vlog, restoring old clips, or prepping content for social media, using the right tool for the right job makes all the difference.
FAQs: CapCut and GStory Video Enhancement Tools
Q1: Can CapCut upscale video to 4K?
A: Yes, but only on the desktop version of CapCut. It allows exporting up to 4K. If you’re using the mobile app or browser version, the maximum is usually 1080p or 2K.
Q2: Is CapCut’s AI upscaler any good?
A: It’s okay for small fixes like sharpening and brightness. But it’s not built for serious tasks like fixing blur or restoring old videos. If you want real AI-powered detail recovery, GStory does a much better job.
Q3: Do I need to download anything to use GStory?
A: No! GStory is 100% web-based. You just open the site, upload your video, and let it work. When it’s done, you can download the improved video.
Q4: My video is old and low quality—can CapCut save it?
A: Probably not. CapCut can clean it up a little, but it won’t bring back lost details. For very old, blurry, or compressed videos, GStory is a better fit.
Q5: Is GStory free? Are there limits?
A: GStory has a free preview mode so you can test it. If you want to export longer or higher-quality videos, you’ll need a paid plan. You can check all the limits and prices on the GStory website.
Q6: Can I edit in CapCut first, then enhance with GStory?
A: Absolutely! This is a great workflow. You can trim, color-correct, or add text in CapCut first. Then send the video to GStory for final quality boost and upscale.