Last Updated on December 9, 2025 by gaojie
Introduction — Why It Matters
Have you ever taken a photo and thought: “This background is messy — I wish the subject could stand out more”? Or maybe you want to make a product photo look cleaner for your online shop, or a portrait look more professional. That’s where removing the background or “color” from an image becomes useful.
By removing background or unwanted colors, you can:
- Make your subject pop (people, products, text, etc.).
- Give your image a clean, professional look (great for social media, online shops, presentations).
- Easily replace background with a new one — like a plain white, an abstract pattern, or something creative.
In this article, I’ll show you:
- What kinds of tools exist (from simple one-click tools to manual editing).
- How to use them — in a simple, step-by-step way.
- What to watch out for (when AI tools struggle).
- How to choose a tool depending on your need.
Let’s get started.
How to Remove Background / Color: Tools & Methods
There are broadly two ways to remove background/color from images: automatic tools (fast, easy) and manual editing (for precise control).
Option A: Use an Online Tool (Automatic, Quick)
If you just want a quick fix — no Photoshop, no complicated editing — online tools will save you a lot of time.
Why this works: modern tools use smart algorithms to find the main subject (person, product, object) and separate it from the background. For many normal photos — people on simple backgrounds, products on plain surfaces — the result is excellent within seconds.
Example: GStory’s Photo Background Remover
- Upload your photo (formats like JPG, PNG, WEBP, etc.).
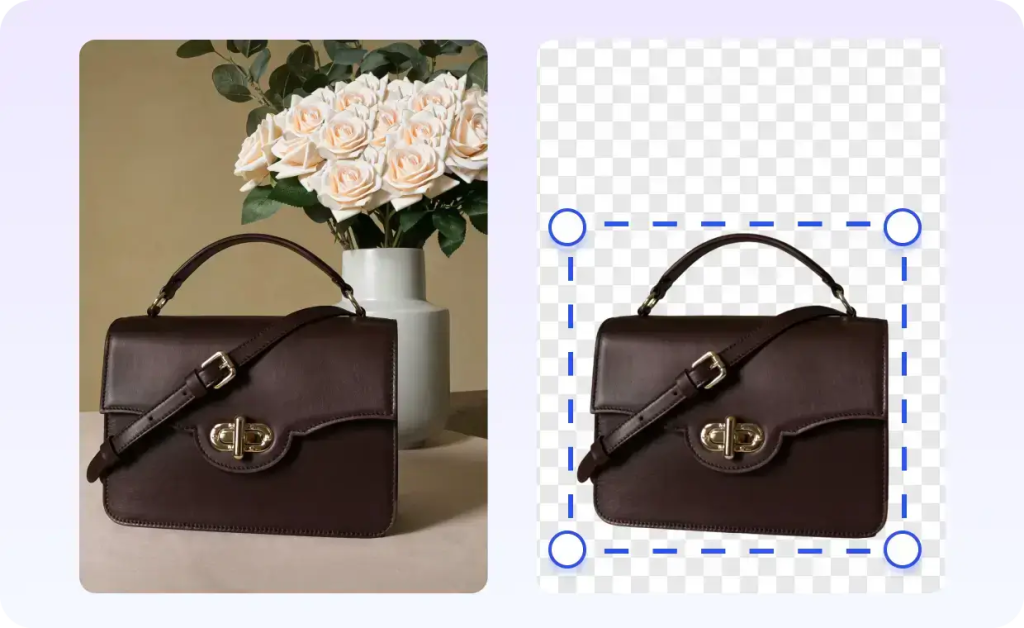
- The tool automatically removes the background — giving you a clean “foreground” (the main subject) with no distracting background.
- Then you can choose a new background (solid color, pattern, another image) or leave it transparent.
- Download the result — typically within seconds.
If you want a clean, fast, “good enough” result — for e-commerce photos, social media posts, or quick edits — this is the easiest way.
When this works best:
- Subject and background have clear contrast (e.g., a person wearing a colorful shirt standing in front of a plain wall).
- Objects are well-defined and don’t have extremely fine or semi-transparent edges (like hair, glass, or water).
Pros: super fast, no skill needed, convenient, works on phone or computer.
Cons: may make mistakes on complex edges, hair, fur, or transparent/reflective items.
Option B: Manual Editing — For Precision (e.g., using Photoshop or Other Editors)
If you care about very clean edges, fine details, or you have objects with hair, fur, or semitransparency — automatic tools sometimes mis-cut. In those cases, manual editing gives you full control.
For example, using a tool like Adobe Express (or full-featured editors) you can remove background more precisely: you might need to use masking, manual brush tools, undo/redo — but you get better result especially for tricky photos.
When to use manual editing:
- When the subject has lots of fine details (hair, fur, transparent parts).
- When you need the best possible quality (e.g. for professional prints, high-end product images, magazine-like photos).
Pros: precise control, better results on hard images.
Cons: requires some skill, more time, possibly need paid software.
Automatic vs Manual: Which to Use When
Here’s a quick comparison to help you choose:
| Your Need | Recommended Method | Why |
| Fast result, simple background, little work | Online tool (e.g. GStory) | Quick, easy, usually good quality |
| Lots of fine details (hair, fur, semi-transparent objects) | Manual editing (Photoshop / similar) | More control, better precision |
| Many images (bulk processing) | Online tool (batch support) | Saves time |
| Single important image (advertisement, print) | Manual editing | Best quality guarantee |
| You’re a beginner or not familiar with photo editing | Online tool | No learning curve needed |
How to Actually Use an Online Tool — Step by Step
Let’s walk through using GStory’s background remover (or any similar tool) to process a photo:
- Go to the site and find the Photo Background Remover tool.
- Upload your image (JPG / PNG / WEBP, under the size limit — usually around 10 MB).
- Wait a few seconds while the AI detects and removes the background.
- Preview the “cut-out” result. If it looks good — download it. If edges look rough, you may switch to manual editing.
- (Optional) Add a new background — white, colored, or patterned — depending on your purpose (product listing, social post, portfolio).
That’s it. Even kids or beginners can do this within a couple of minutes.
When Automatic Tools Struggle — And What to Do
Automatic removal tools are powerful, but they are not perfect. Here are common problems — and how to handle them:
- Hair, fur, fine edges — AI might cut poorly. → Use manual editing for touch-ups.
- Transparent or reflective objects (glass, water, metal) — AI may misinterpret. → Manual mask + careful edge refinement.
- Background similar to subject colors — hard to separate. → Use a manual tool or retake photo with clearer contrast.
- Shadows / Lighting effects — background removal might remove some of the natural shadow or light, making image look “floating.” → After removal, add a subtle shadow or use a background with ground to make it look natural.
Knowing these limitations helps you decide when to trust the AI — and when to go manual.
Best Use Cases for Background / Color Removal
Removing background or color from images is not only “fun,” but also highly useful. Here are several common scenarios where it’s especially helpful:
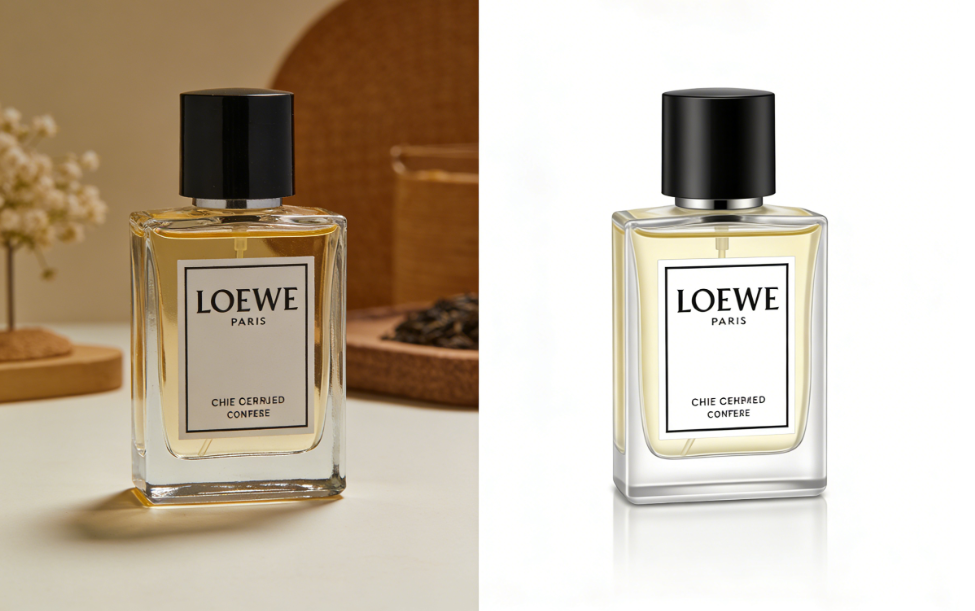
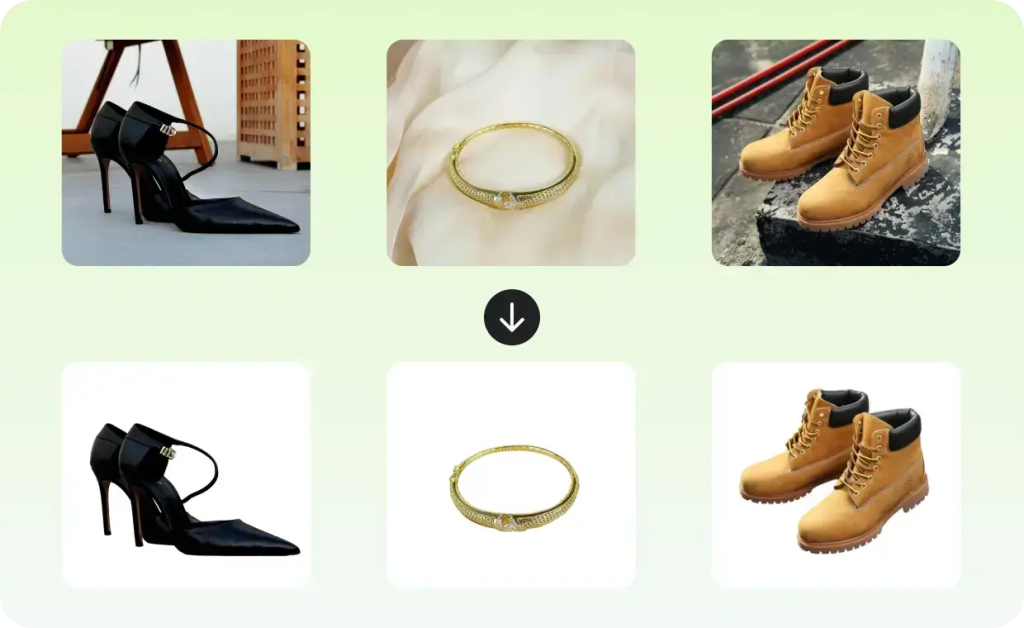
- E-commerce / Product Photos — add clean white or consistent background to make product pop.
- Social Media Posts / Thumbnails / Marketing — clean visuals stand out more; unified style builds brand identity.
- Presentations / Documents — remove distractions so that focus stays on content or subject.
- Photography / Portraits — isolate subject from busy background for professional look (e.g. profile pics, portfolio).
- Graphic Design / Collages / Creative Projects — easier to combine multiple subjects/images when background is removed.
My Recommendation: A Balanced Workflow
If I were you and needed to process photos regularly, here’s what I would do:
- Start with an online tool — fast, easy, good for 90% of simple photos.
- Check result carefully — zoom in on edges, see if there are mistakes.
- If result is clean enough — great. If not (hair issues / weird edges) → switch to manual editing.
- For important photos (product listing, ad, print, professional use) always check manually — don’t blindly trust AI.
- Keep original file — so you can retry editing or choose different backgrounds later.
This workflow gives a nice balance between speed and quality.
How to Choose the Right Tool
With many tools out there, how to pick one? Here are factors to consider:
- Ease of use: Is it drag-and-drop? Works in browser? Works on phone?
- Speed: Does it process quickly? Useful if you have many photos.
- Quality of result: Does it handle hair / fine edges well? Does it respect semi-transparent parts?
- Output options: PNG (transparent), JPG, ability to replace background, batch processing.
- Cost / Limits: Free or paid? File size limit? Number of images per day?
- Privacy: Where are images processed (local vs server)? Is your image safe?
For many people, a free online tool is enough. For others — especially for high-quality or sensitive work — manual editing or premium tools may be better.
Why Tools Like GStory and AI Background Removers Are Popular
- They turn a complex task into “one click.” No need to learn Photoshop or complicated software.
- They save tons of time — instead of manually cutting out every photo, you can process many in minutes.
- They lower the barrier for non-designers. Everyone can make clean, professional images.
- They’re useful across many fields: online shops, social media, graphic design, presentations, personal hobbies.
- They make it easier to keep a consistent visual style (same background, same look) across many images.
Because many people search for “how to remove background from photo,” “color remover from image,” or “remove background online,” creating a helpful, easy-to-understand guide can attract a lot of readers.
A Simple Tutorial: Remove Background from a Photo (in 5 Minutes or Less)
Here’s a simple mini-tutorial — from upload to final download:
- Go to GStory (or any similar tool) → “Photo Background Remover” page.
- Upload your photo (make sure file format and size are supported).
- Wait a few moments — the AI will detect the subject and remove background.
- Preview the result. If it looks good, download as PNG (transparent) or JPG.
- (Optional) Add a new background — white, colored, or pattern — to suit your use (product page, social post, etc.).
That’s it! Even a kid or beginner can follow these steps.
When to Use Manual Editing Instead (and How)
If you need more accuracy — for example: hair, fur, glass, water, transparent objects — you may need manual editing. Here’s a quick outline of how you might do that (e.g. in Adobe Express or similar editor):
- Use mask tools or selection brushes to carefully outline the subject.
- Refine edges — zoom in, smooth jagged lines, correct “halo” effects.
- Adjust lighting/shadows if needed, to keep photo natural.
- Save final image in appropriate format (PNG for transparency, high-quality JPG for print, etc.).
Manual editing takes longer — but gives you full control, which matters when quality counts.
Tips for Bloggers & Writers: Why This Kind of Article Ranks Well (and Attracts Readers)
As someone writing a blog, you might wonder: why is an article like this likely to do well? — Here’s why:
- It solves a real problem many people have (how to get clean images fast). This satisfies search intent.
- It combines multiple useful angles — explanation + step-by-step tutorial + pros/cons + when to use manual vs auto. Readers like that.
- It’s easy to read. Short paragraphs, clear headings, simple language — good for beginners (even middle-school level). That also helps mobile readers.
- It uses credible sources / real tools (like GStory, Adobe Express, AI background removal tools) — which helps build trust and authority.
- It avoids over-stuffing keywords, but keeps the topic clear. That matches good SEO practice (so the post doesn’t feel spammy).
- It gives actionable value — readers can finish reading and immediately try removing background.
All of these match modern best practices for blog writing and SEO.
Bonus: How to Make Your Blog Post Even Better (SEO & Reader-Friendly Tips)
If you publish this post on your blog, consider doing the following to improve its reach and usefulness:
- Write a clear, clickable title, such as: “How to Remove Background from Images — Easy Step-by-Step Guide”. Keep it under ~60 characters if possible.
- Add a meta description summarizing the key benefit (150–160 characters). This helps with click-through when people see your article in search.
- Use headers (H2, H3, etc.) to structure your content — makes it easier to read and scan.
- Keep paragraphs short (2–4 sentences), use lists or tables — easier on eyes, especially mobile readers.
- Link to authoritative sources or tools (external links) when you mention them (like GStory, Adobe). This builds trust.
- If you have other related posts (e.g. “How to make product photos for e-commerce”, “Easy Photoshop editing for beginners”), link internally. This helps keep readers on your site longer and improves SEO structure.
By doing these, your post is more likely to be indexed well by search engines, easy to read, and helpful — which is exactly what readers and search engines both like.
Final Thoughts
Removing the background or unwanted color from an image — whether for fun, business, or marketing — is now easier than ever. With tools like GStory (and many others), you don’t need to be a design expert to get clean, professional images in minutes.
But don’t forget: for tricky photos (hair, fur, reflections, transparent objects), sometimes it’s worth spending a little extra time doing manual editing. That way, you ensure the quality — and for important uses (product photos, prints, ads), quality matters.
If you write blogs or manage an online store, articles like this — that solve a real problem clearly and simply — can attract many readers. And when combined with good SEO practices, such posts can keep generating traffic for months or even years.
So go ahead: try removing a background on your next photo. And if you liked this guide, maybe try creating a few example images — and maybe even write your own blog post to help others!
Leave a Reply