Last Updated on December 31, 2025 by Leslie
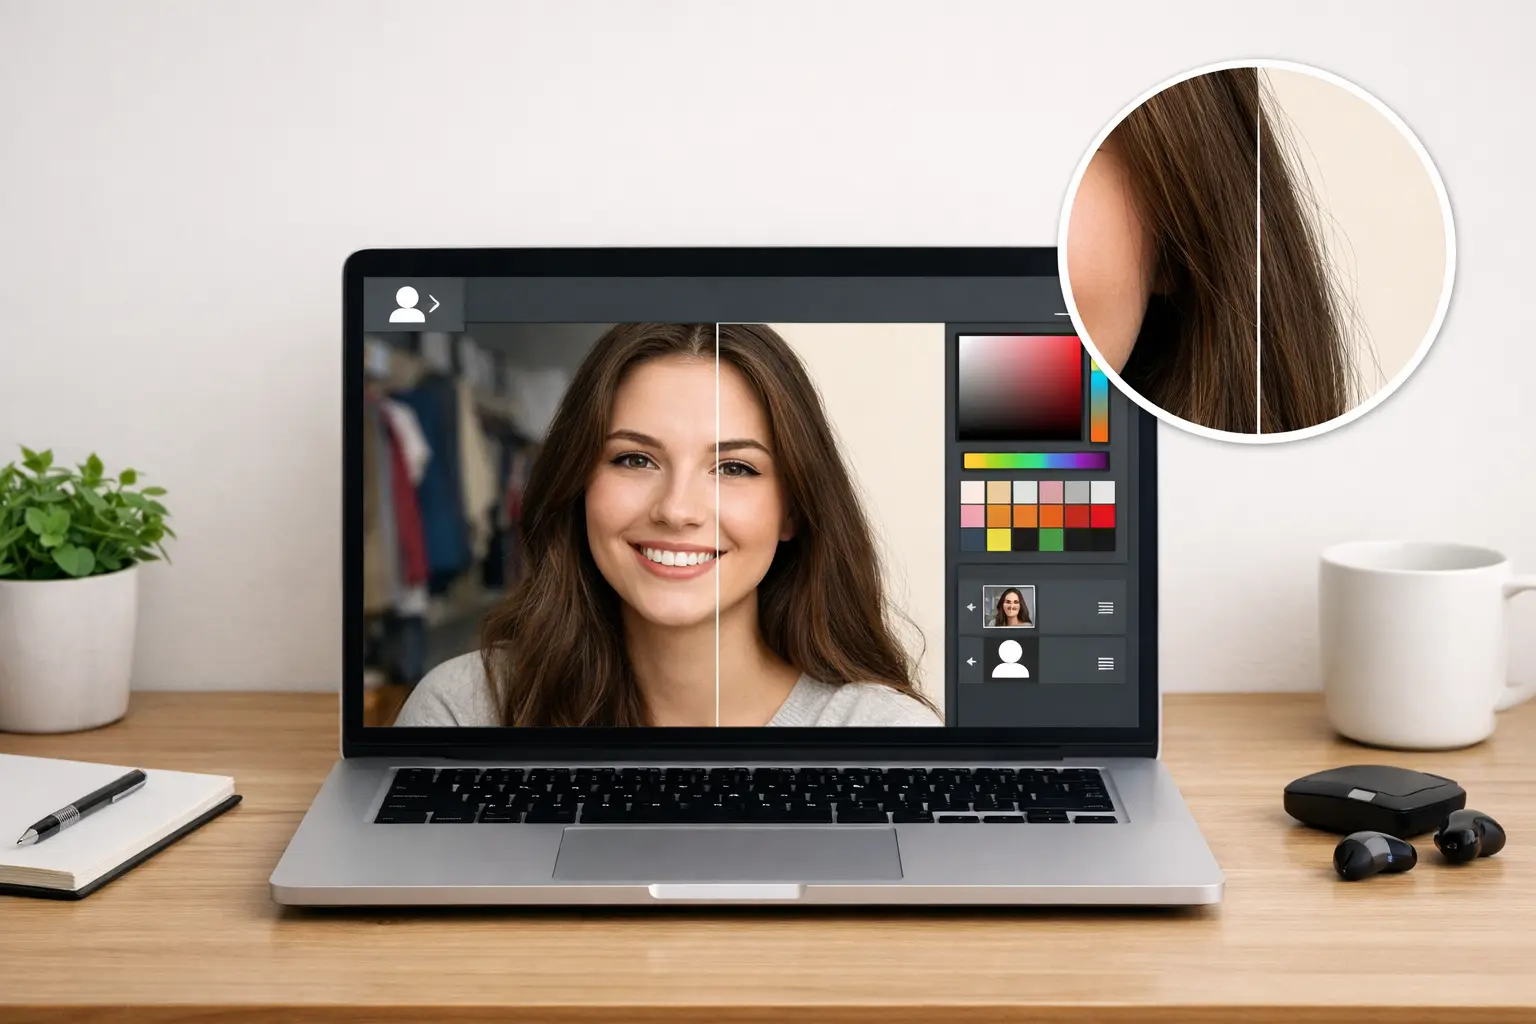
A photo can be 95% perfect… and still unusable because of the background.
The lighting is nice. Your face looks normal. The subject is sharp. Then you notice the chaos behind you: a messy room, a weird yellow wall, a random person, or a brand color that doesn’t match anything you’re posting.
That’s why so many people end up searching how to change background color. They don’t want “a fancy edit.” They want a clean background color change that doesn’t scream “cut out.” No jagged edges. No glowing outline. No hair that looks like it was trimmed with garden scissors.
This guide walks you through changing background color online in a way that still looks like a real photo—fast when speed matters, and clean when quality matters.
Background Color Change: Why People Want a Clean BG Color
Most background edits aren’t artistic decisions. They’re practical decisions.
People want a better bg color because the image has a job to do:
E-commerce photos often need a consistent white or neutral background. ID-style headshots need to look clean and distraction-free. Social posts need a background that supports the message instead of fighting it. Posters and covers need readable space for text.
So when you see searches like bg color change, what users are really saying is:
“I need this to look intentional, and I don’t have time to become a professional designer.”
Changing Background Color Online: How These Tools Actually Work
Whether a tool is “AI” or “manual,” the core workflow is almost always the same:
- Separate the subject from the background.
- Put a new background behind the subject.
That new background might be a solid color, a gradient, or transparency (so you can reuse the cutout later).
The difference is how the tool separates the subject. Older approaches rely heavily on color contrast or hard selections. Newer “AI” approaches try to understand edges and objects—hair vs sky, fingers vs wall, glasses vs face—so the cutout looks more natural.
From background removal to a clean background color change
Think in layers:
- A subject layer (often a cutout on transparency)
- A background layer (your chosen color or gradient)
Once you understand that, changing background color becomes less mysterious. You’re not “repainting” the photo. You’re rebuilding what sits behind the subject.
Quick vs thorough: what you trade in a one-click bg color change
One-click tools are fast, but they’re also the most likely to produce:
- messy edges and halos
- color bleed (old background tint clinging to hair or clothing)
- missing shadows (which makes the subject look like it’s floating)
A more careful method takes longer, but you only refine the areas that actually need it. That’s how you keep it realistic.
How to Change Color Background Fast in Under a Minute
If speed is your priority, this is the “good enough” path—and it’s honestly perfect for a lot of real-world use.
Step-by-step: quick changing background color online
- Upload your photo to an online background editor.
- Use the automatic “remove background” feature.
- Choose your new bg color (white, gray, brand color, etc.).
- Export as JPG for quick sharing, or PNG if you need transparency.
If you want a single place to do the cutout and background swap without juggling apps, you can use GStory’s Photo Background Remover as the first step in your workflow.
When this fast method is genuinely enough
It’s usually enough when:
- the image will be viewed mostly on a phone
- the background is simple
- the subject edges aren’t complicated (no wild hair, no lace, no thin glass objects)
A simple rule: if it looks clean at normal viewing size, don’t torture yourself trying to make it perfect at 200% zoom.
Where one-click background color change struggles
You’ll see quality issues when:
- hair blends into the background
- the old background color reflects onto the subject (especially around hairlines)
- lighting is complicated and shadows matter
That’s when you move to the cleaner method.
BG Color Change With Clean Edges: The No-Halo Method
This method is what you use when the result needs to hold up in e-commerce, branding, or anything people might inspect closely.
Start with non-destructive editing
Non-destructive editing is a fancy phrase for a simple habit:
never destroy your original photo.
Work on a copy. Use masks instead of erasing pixels. Keep a version you can go back to if you hate the result tomorrow.
This matters because “I saved over my original” is still one of the most common editing regrets on the internet.
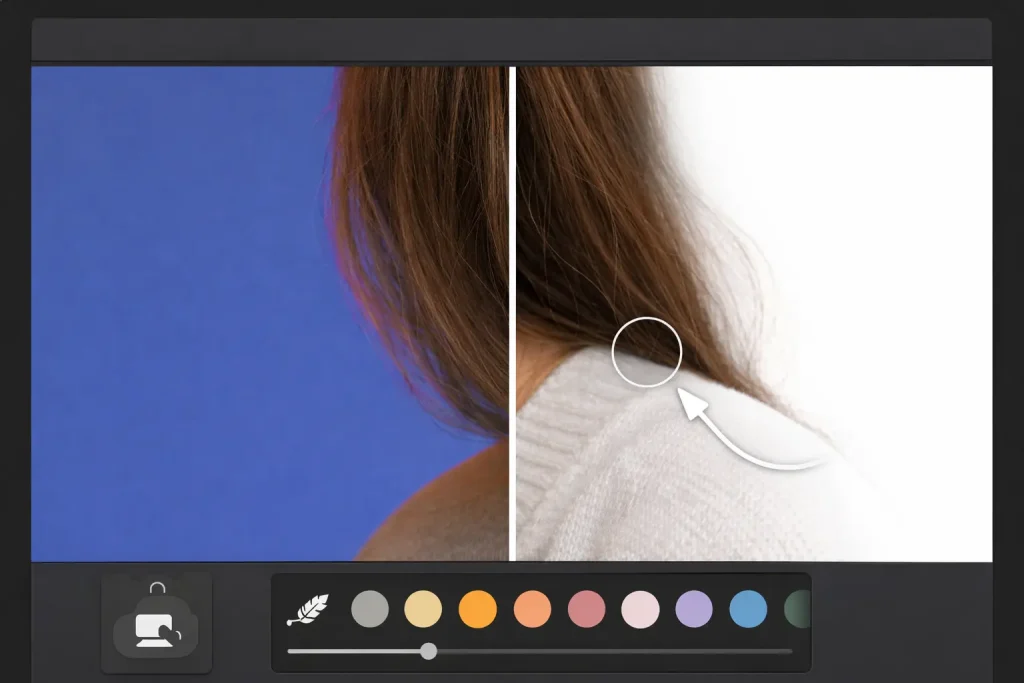
Fix messy edges and halos without over-editing
Most halo problems come from edges being too hard or too wide. The fix is usually small, not dramatic:
Zoom in and refine only the problem areas. Use a soft brush. Nudge the mask slightly inward when you see a bright outline. Keep transitions natural.
Also: don’t delete every shadow. Real photos have contact shadows. Remove them and your subject starts floating like a sticker.
Flyaway hair and color bleed: the two annoying problems
Flyaway hair shouldn’t look perfect. Real hair is messy. The goal is “natural,” not “surgical.”
For color bleed (old background tint along the edges), the most realistic fixes are subtle:
- pick a slightly calmer background color (less saturated)
- add a gentle shadow behind the subject so the edge transition looks natural
- avoid extreme contrast between subject and background unless you want that cutout look
Background Color Change Choices: Solid, Gradient, or Transparent
A background isn’t just “a color.” It’s a design decision, and the right choice depends on where the image is going.
Solid bg color for clean, consistent results
A solid background is best when:
- you’re listing products
- you need consistency across many images
- you want a professional “catalog” look
White and light gray work because they’re neutral and platform-friendly.
Gradient background when you want the image to pop
A gradient is great for:
- social media covers
- posters
- brand visuals
The key is restraint. If the background is louder than the subject, the subject loses.
Transparent background when you need reuse
Transparency is best when you’ll place the subject into other designs later (slides, thumbnails, web layouts). PNG is the usual format for this.
Troubleshooting: Why Your Background Color Change Still Looks Off
If you changed the background and something feels weird, it’s usually one of these.
Messy edges and halos
Symptoms: a glowing outline, jagged shoulders, a “cutout” vibe.
Fix: refine edges with a smaller brush, soften slightly, and nudge the mask inward. Check hair, fingers, and glasses at 100% zoom.
Color bleed from the old background
Symptoms: green/blue tint around hairlines, weird edge discoloration.
Fix: reduce saturation of the new background a little, add a soft shadow behind the subject, and avoid harsh subject/background contrast.
Hair looks chopped or overly smooth
Symptoms: missing strands, “helmet hair,” unnatural edge smoothing.
Fix: refine only the hair zone and accept slight imperfection. Over-smoothing screams “edited.”
The result looks over-processed or AI fake
Symptoms: crunchy edges, too-sharp face, background too intense, lighting mismatch.
Fix: lower contrast/sharpening, choose a softer background, and keep lighting believable. If the photo needs a light clarity boost after the edit, a gentle enhancement pass is better than aggressive sliders—tools like GStory’s Photo Enhancer can help with subtle cleanup.
How to Change Background Color on Instagram Story Without Looking Edited
If your real question is how to change background color on Instagram story, you usually care about speed and vibe, not pixel perfection.
Here’s what works best: prepare a clean cutout first, then put it on a simple bg color or a subtle gradient that matches your story style. Instagram’s built-in options are quick, but they can’t always handle messy edges well—so the cleaner your starting cutout, the more “native” it looks when posted.
If you want to keep your workflow simple, do the cutout + background swap first, export, then post. That way your bg color change looks intentional instead of improvised.
Where GStory Fits in a Practical Changing Backgrounds Workflow
A realistic workflow is: let AI do the heavy lifting, then refine only what matters.
Start with a clean cutout and background swap using GStory’s Photo Background Remover, refine only the tricky edges if needed, and do a light polish step if the image needs it. If you want to explore other tools for your content workflow, the simplest entry point is the GStory homepage.
Leave a Reply