
Last Updated on November 4, 2025 by gaojie
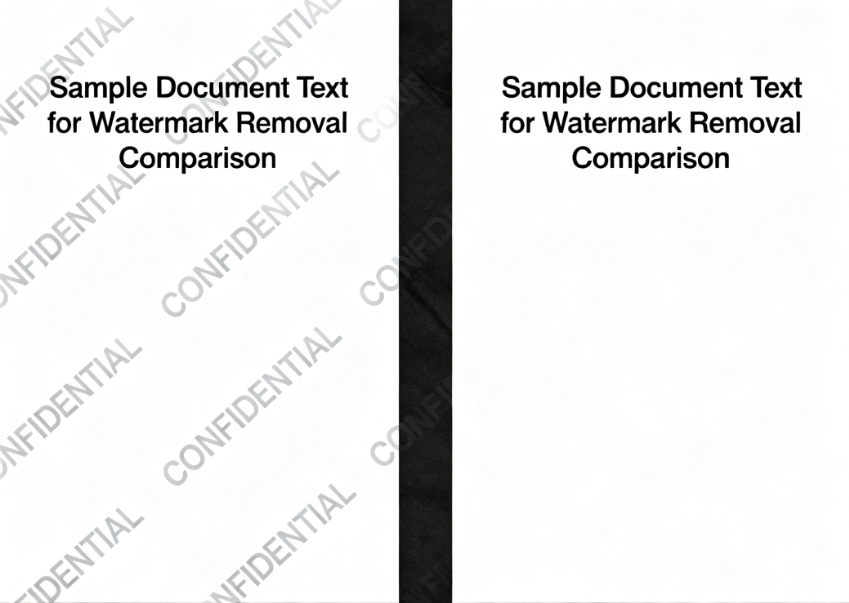
If you’ve ever opened a Word document and found a big “CONFIDENTIAL” or “DRAFT” stamp across every page, you’re not alone. Many people wonder how to remove watermark in Word without ruining the formatting of their document.
Luckily, removing a watermark in Microsoft Word is easier than it looks. Whether you’re using Word 2010, Word 2016, Word 365, or even the Mac version, this guide will show you step by step how to delete, hide, or customize those watermarks so your pages look clean and professional again.
What Is a Watermark in Word?
A watermark is a faint background image or text that appears behind your document’s content. It’s often used to show a document’s status (“Draft”, “Confidential”, “Sample”) or to add a company logo for branding.
Microsoft Word allows you to easily add or remove watermarks. However, sometimes users struggle to delete them—especially when dealing with documents that include multiple sections, headers, or templates.
Let’s explore why this happens and how to fix it.
Why You Might Want to Remove a Watermark
There are several reasons why someone wants to remove a watermark from a Word file:
- You’re editing a template and no longer need the “Sample” or “Draft” label.
- You received a document from someone else, and the watermark is distracting.
- You’re preparing a final version of a report or proposal and want a clean design.
- You want to replace the old watermark with your own branding.
No matter your reason, the method below works for almost every Word document.
Step-by-Step: How to Remove Watermark in Word (Windows)
- Open your document in Microsoft Word.
Make sure you’re in the “Print Layout” view so you can see all page elements clearly. - Go to the “Design” tab.
In older versions like Word 2010 or 2013, this might be under “Page Layout.” - Find the “Watermark” option.
It’s usually on the right side of the ribbon. - Click “Remove Watermark.”
Instantly, your document should refresh — and the watermark disappears from every page.
That’s it! 🎉 You’ve just learned the simplest method to remove a watermark in Word.
When “Remove Watermark” Doesn’t Work
Sometimes, clicking “Remove Watermark” doesn’t delete it. This happens if:
- The document uses multiple sections or different headers/footers.
- The watermark was inserted manually (as a shape or text box).
- You’re working on a copied or converted PDF that still has embedded graphics.
Here’s what to do in those cases.
Method 1: Delete It from the Header or Footer
Double-click near the top (or bottom) of your page to open the Header and Footer view.
Click directly on the watermark text or image until small borders appear around it.
Press Delete or Backspace on your keyboard.
Exit the header/footer view.
👉 Tip: If the watermark exists only on certain pages, repeat this step in those sections individually.
Method 2: Use “Select Objects” Tool
If you suspect the watermark is just a shape or image:
- Go to the Home tab → Select → Select Objects.
- Click the watermark once; a box will appear around it.
- Press Delete.
This works great for older Word files or converted PDFs where the watermark was pasted as an image.
Method 3: Remove Watermark from Specific Sections
In multi-section documents, each section can have its own header and watermark.
- Open the Header and Footer pane.
- Turn off “Link to Previous.”
- Delete the watermark manually in each section.
- Check all pages before saving.
It takes a bit longer, but ensures that every watermark is gone.
Removing Watermark in Word on Mac
For Mac users, the process is almost identical:
- Open your Word file.
- Click Design on the top ribbon.
- Select Watermark → Remove Watermark.
- If it doesn’t disappear, double-click the header and manually delete it.
Older versions like Word 2011 use Page Layout → Watermark instead.
How to Remove Watermark from Only One Page
Microsoft Word doesn’t offer a direct “remove on one page only” feature, but here’s a quick workaround:
- Split your document into sections (Layout → Breaks → Next Page).
- Turn off “Link to Previous” in the new section.
- Go to the header and delete the watermark for that section only.
Now you’ll have one clean page and the rest still watermarked — perfect for cover pages or title sheets.
Advanced Tip: Removing Hidden or Embedded Watermarks
Sometimes watermarks are part of background images or templates imported from PDFs.
If you can’t select or delete them, try these steps:
- Copy your text into a new blank Word document.
This removes any hidden background layers. - Save the file as .docx instead of older formats like .doc.
- Check Insert → Header → Edit Header, then remove any images inside.
If it still doesn’t work, you might be dealing with an image watermark that’s been “flattened.” In that case, convert the file to a PDF, then back to Word — this often resets the layout and removes the background.
Bonus: Remove Watermark from a PDF Converted to Word
When you convert a PDF to Word, sometimes the watermark becomes part of the page design.
To remove it:
- Right-click on the watermark area.
- Choose Cut, or select it and press Delete.
- If it doesn’t select properly, switch to “Draft” view and try again.
If none of these methods work, re-export the PDF using an AI-based converter that recognizes and separates layers — such as Gstory’s online subtitle and video tools.
Related Tip: Use AI Tools to Edit and Translate Document Videos
While you’re cleaning up your Word files, you might also be working on presentations or videos that include text.
Tools like Gstory’s Subtitle Generator use advanced AI to auto-detect, translate, and subtitle videos in multiple languages.
For example, if your Word report includes screenshots from a training video, you can use Gstory to:
- Automatically generate subtitles in English, Spanish, or French.
- Remove unwanted captions or text overlays.
- Re-translate content for global teams without manual editing.
It’s quick, free to try, and perfect for creators, students, or professionals who want to polish their content the same way they clean up their documents.
Common Mistakes to Avoid
When removing a watermark in Word, avoid these pitfalls:
| Mistake | What Happens | Fix |
| Deleting only one section | The watermark remains on other pages | Check all sections individually |
| Forgetting to unlink headers | Watermarks reappear | Turn off “Link to Previous” |
| Editing in “Read Mode” | Watermarks can’t be selected | Switch to “Print Layout” |
| Overwriting template | You lose document formatting | Save a backup copy first |
These small details make the difference between a messy file and a clean, professional one.
FAQs About Removing Watermarks in Word
Q1. Can I remove a watermark from a read-only document?
Not directly. You’ll need to create an editable copy first, then follow the steps above.
Q2. Why can’t I select the watermark?
It may be embedded as an image in the header. Double-click the header or footer area and try again.
Q3. Will removing a watermark affect my content?
No — deleting a watermark won’t change your main text or formatting.
Q4. Can I replace a watermark instead of deleting it?
Yes. Go to Design → Watermark → Custom Watermark and choose your own text or image.
Pro Tip: Create a Clean Template for Future Use
If you frequently edit documents that come with unwanted marks, create a clean template:
- Open a watermark-free version of your document.
- Save it as a .dotx file (Word Template).
- Use this file for all new projects.
This ensures you’ll never have to remove watermarks again — and your future files stay neat from the start.
Why Clean Design Matters for Professionals
A clean document is more than just an aesthetic choice — it shows professionalism and attention to detail.
Whether you’re sending a résumé, submitting a school report, or sharing client proposals, clear pages make your work easier to read and more trustworthy.
In fact, many companies now use automated tools to check document formatting before final approval. A leftover “Confidential” or “Draft” watermark can make a document look unfinished — something you can easily avoid once you know how to remove watermark in Word.
Final Thoughts
Removing a watermark in Microsoft Word doesn’t have to be complicated.
With a few clicks — or some light troubleshooting — you can clean up any document, restore its professional look, and make it ready for printing or sharing.
If you’re looking to elevate all your content, not just Word files, tools like Gstory’s Subtitle Generator can help polish your multimedia materials the same way: clear, accurate, and free of unnecessary marks.
Remember: clarity makes communication stronger — in documents, videos, and everything you create.
Leave a Reply