Last Updated on September 20, 2025 by Leslie
In a world where everything from e-commerce to social media is driven by visuals, image quality is your first impression. Whether you’re a creator, a business owner, or just someone preserving family memories, having a high-resolution photo isn’t a luxury—it’s a necessity. But what if your original image is blurry, pixelated, or too small to use?
That’s where smart tools and editing techniques come in. From AI-powered enhancers like GStory Photo Enhancer to manual sharpening tricks in Photoshop, there are now more ways than ever to upscale your images and make them shine.
Let’s explore why photo resolution still matters—and how to actually improve it the right way.
Why Photo Resolution Still Matters in 2025
In the age of 4K resolution and retina screens, low photo resolution stands out—in the worst possible way. Whether you’re prepping product images for your online store, restoring old memories, or grabbing a thumbnail from a video, having high-resolution photos isn’t just about sharpness—it’s about credibility.
But here’s where most people get it wrong: enlarging an image doesn’t automatically make it high resolution. Stretching a photo only makes the pixels bigger—unless you use smarter tools or techniques that actually add new pixel data.
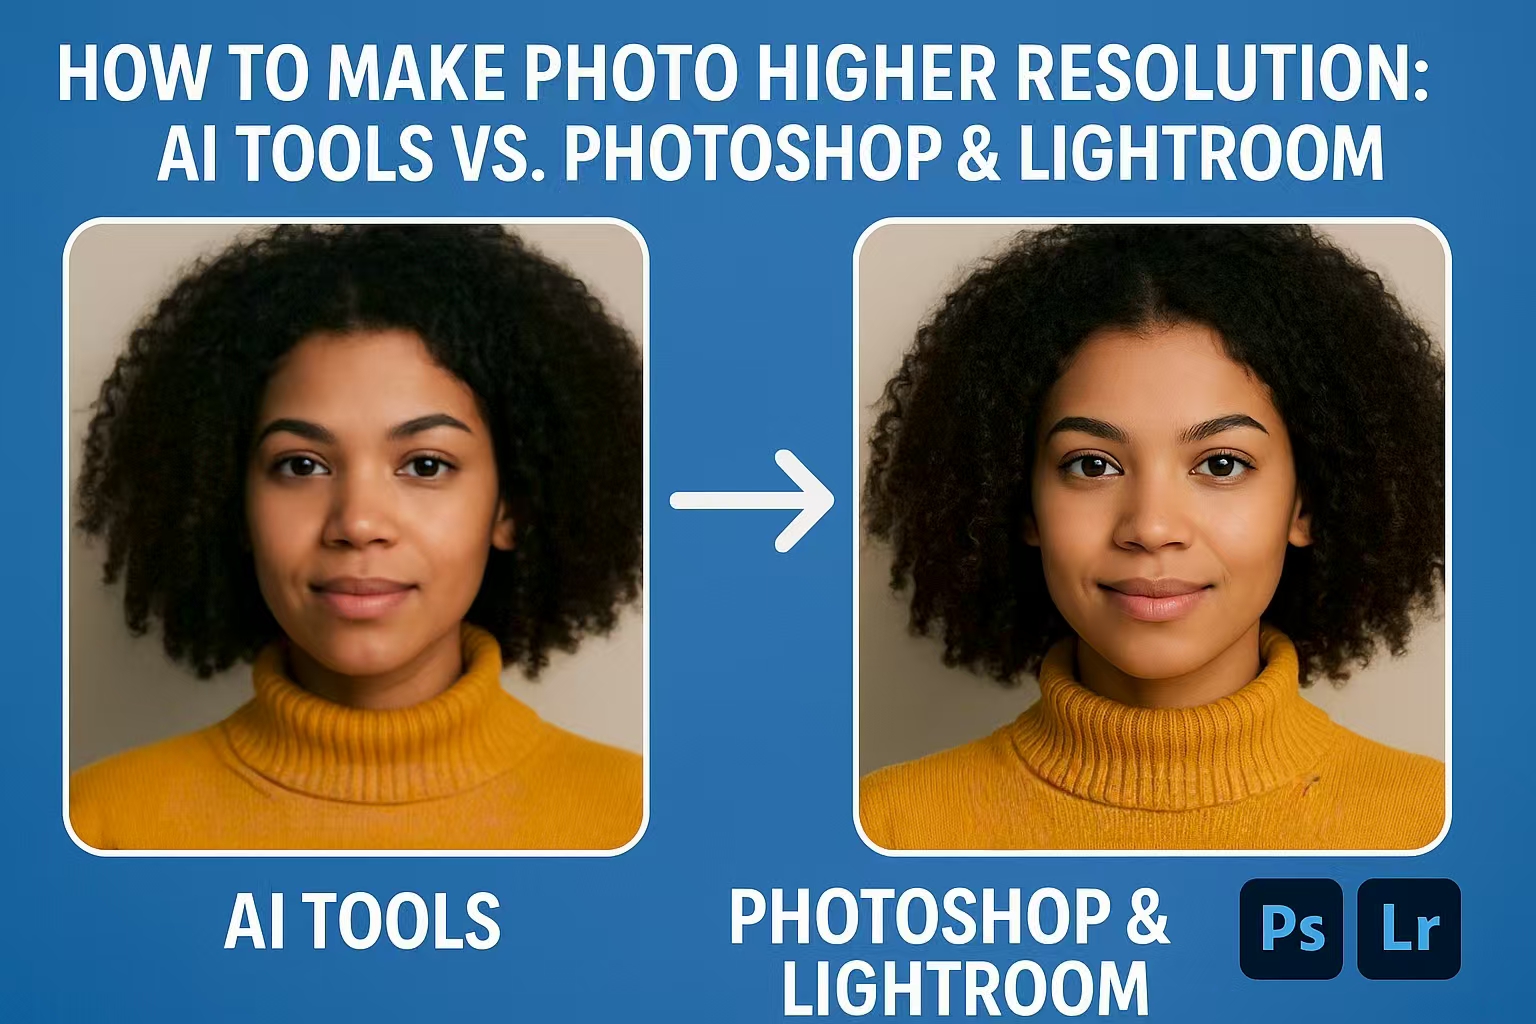
So, should you let AI do the work, or stick with professional editing software like Photoshop or Lightroom? Let’s break it down.
Method 1: AI Tools Like GStory Photo Enhancer
AI image enhancer tools have completely changed the way we deal with low-resolution photos. Instead of simply stretching pixels, they use machine learning to intelligently fill in missing details—enhancing textures, sharpening edges, and using AI sharpen image capabilities to make blurry photos look surprisingly crisp.
A great example of this is the GStory Photo Enhancer, which allows you to upscale any photo online to 4K quality, making it a reliable 4K converter for old or blurry pictures. It works on popular formats like JPG, PNG, and WEBP, and doesn’t just enlarge your image—it also reduces noise, corrects blur, and enhances detail automatically. You can even process multiple images in one go if you’re working in bulk.
Here’s how most AI image enhancement tools work, including GStory:
- Upload your image to the tool (GStory supports JPG, PNG, WEBP)
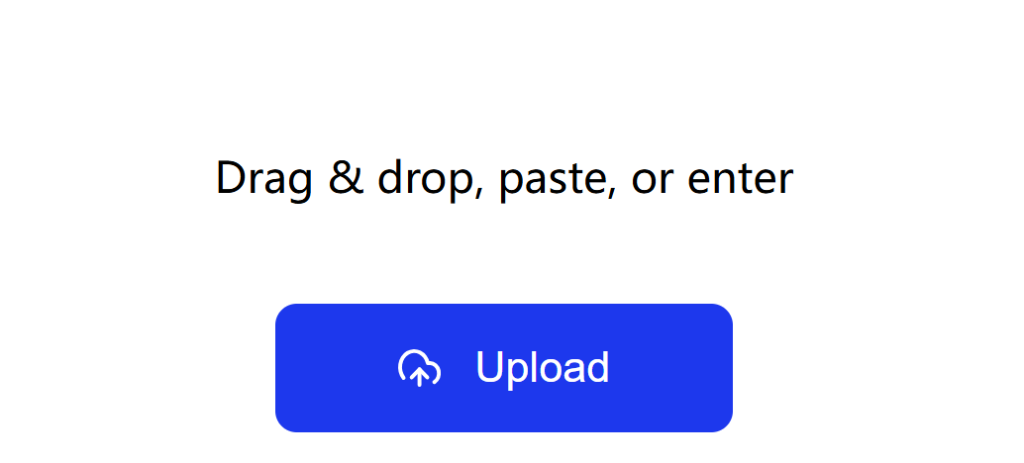
- Click “Process” to begin the process

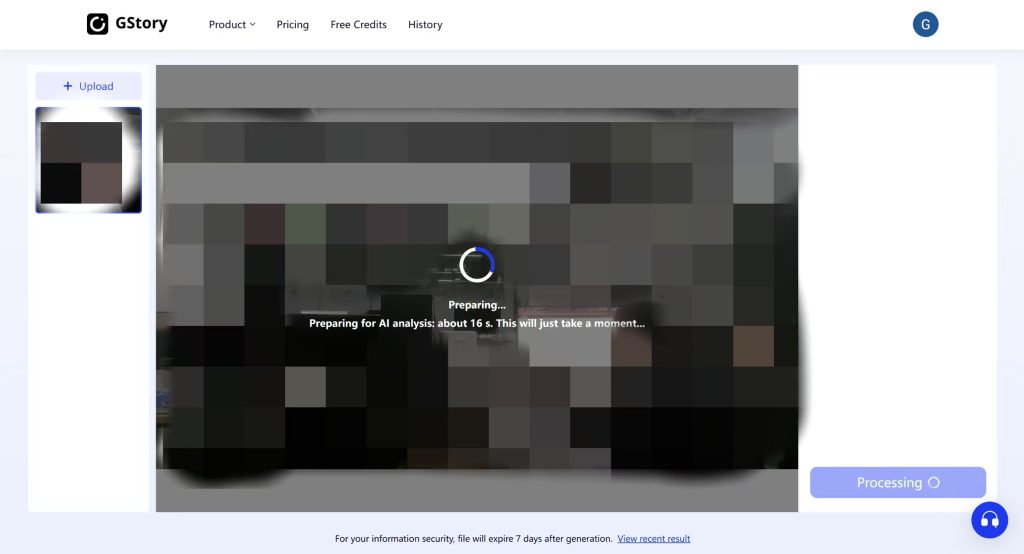
- Wait a few seconds while the tool sharpens details, removes blur, boosts clarity, and acts as an effective image sharpener online
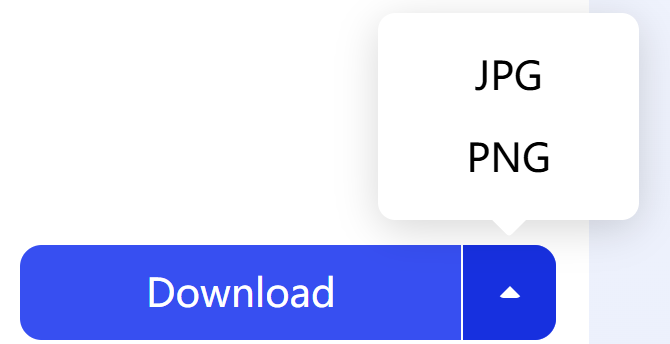
- Download your enhanced image, now at a much higher resolution—up to 4K
This kind of AI image sharpener is perfect when you need fast results for things like product photos, old scanned images, or social media posts that didn’t quite come out sharp.
That said, AI tools—while incredibly convenient—do have limitations. They work best when the original image is somewhat decent. If a photo is extremely pixelated or compressed, the result might look overly smooth or artificial. AI “guesses” textures and details, which can sometimes lead to slightly off results, especially around text or faces.
Still, for quick fixes and day-to-day use, tools like GStory’s AI Image Enhancer make high-resolution editing and 4K pixel upscaling accessible to everyone, no Photoshop required.
Method 2: Manual Sharpening in Photoshop with High Pass Filter
If AI tools are the fast food of image enhancement, Photoshop and Lightroom are the gourmet kitchen. Instead of relying on automation, these tools give you full control over how sharp your photo looks—down to the pixel.
In Photoshop, one of the most popular and effective sharpening techniques is the High Pass Filter method. It doesn’t increase the resolution or pixel count, but it dramatically improves the perceived clarity of your image.
Here’s how it works:
- Duplicate your image layer
- Go to Filter > Other > High Pass
- Choose a radius between 1.0–2.5 pixels depending on how much sharpening you want
- Set the blending mode of the High Pass layer to Overlay, Soft Light, or Hard Light
- Optionally reduce opacity to fine-tune the strength
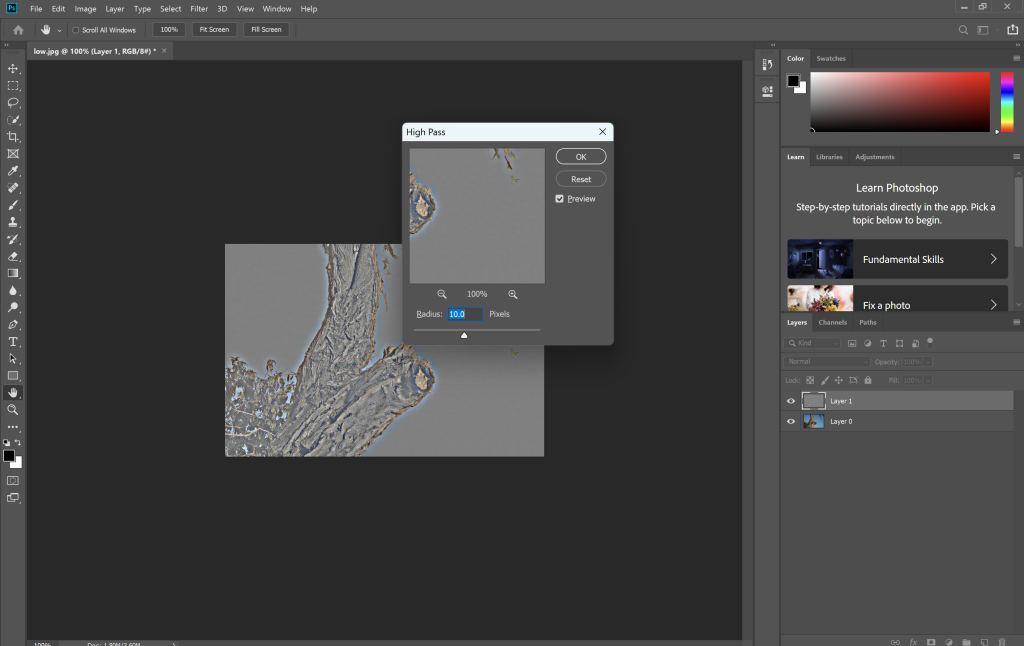
This creates an edge-enhancing effect that makes photos look sharper—without introducing obvious halos or noise. It’s especially useful for portraits, product photos, and anything where texture matters.
You can also combine it with traditional sharpening filters like Unsharp Mask or Smart Sharpen:
- Filter > Sharpen > Unsharp Mask
- Recommended settings: Amount ~100–150%, Radius ~1.0px, Threshold ~0
- Or try Smart Sharpen for more control over shadows and highlights
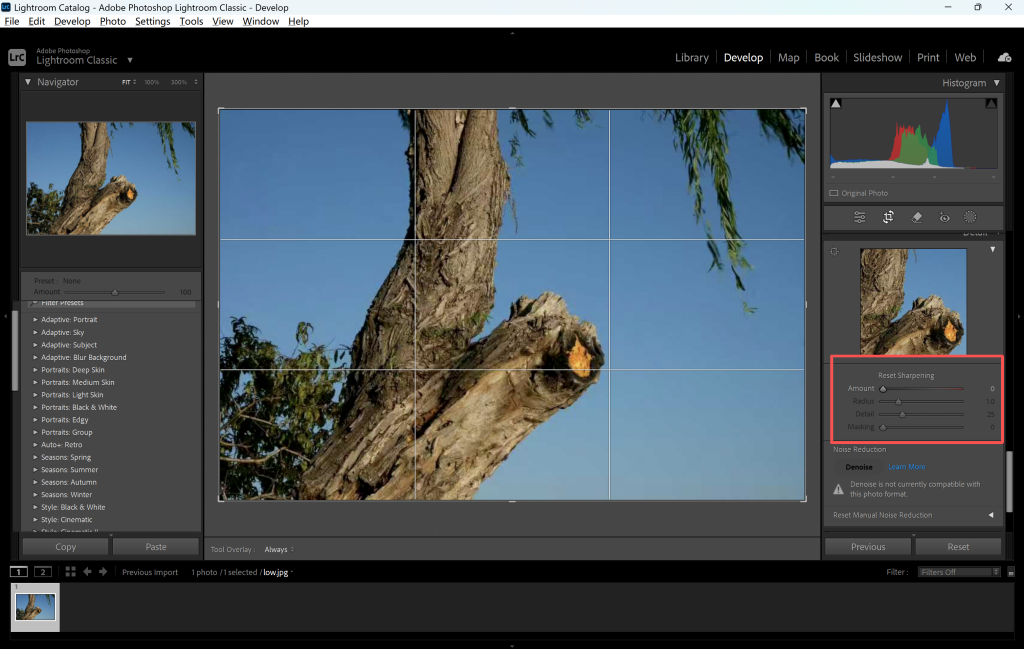
In Lightroom, while you don’t have access to High Pass, you still get a full Detail panel where you can adjust:
- Sharpening amount
- Radius and detail sliders
- Masking (to protect smoother areas from being over-sharpened)
These manual methods don’t invent new pixels, but they enhance the pixels that are already there—which is often what you really need.
The key advantage of this approach? Control. You decide where to sharpen, how much to sharpen, and how to balance it with noise reduction or exposure tweaks. That kind of precision is something AI tools just can’t match—at least not yet.
AI vs Photoshop: What’s Actually Better?
Here’s the honest answer: it depends on your goal.
If you’re fixing a blurry Instagram post, AI tools will do the job faster than you can open Photoshop. They’re beginner-friendly, browser-based, and surprisingly effective when the input image is decent.
But if you’re preparing a photo for large-format printing, or you’re working with a RAW file from a DSLR, you’ll probably want the precision and quality control of Photoshop or Lightroom. Especially when it comes to detail retention, skin texture, or color accuracy, Adobe’s tools are in a league of their own.
A Hidden Trick: Turn Video Into High-Res Photos
Here’s something most people overlook. If you’re trying to rescue a low-res photo, you might already have a better version hidden in your video library.
Let’s say you’ve got a grainy frame from a wedding clip or a blurry action shot from a vlog. Don’t just screenshot and upscale. Use GStory’s AI Video Enhancer first to clean and sharpen the entire video. Then pause at the perfect frame, take a screenshot, and—voilà—you’ve got a high-resolution photo, ready to print, post, or edit further in Photoshop.
This trick works especially well for creators who live in video-first platforms like TikTok, YouTube, or Instagram Reels. Your content already exists—AI just helps you extract the best possible image from it.
What Most People Get Wrong About Resolution
Here are a few common misconceptions to clear up:
- Changing DPI doesn’t actually increase resolution. You need to add pixels, not just change the print settings.
- Not all resampling methods are equal. Photoshop gives you several options for a reason—some preserve edges better, others are smoother.
- Upscaling a terrible photo won’t make it good. AI isn’t magic. It needs something to work with. Start with the highest-quality source possible.
- Format matters. JPEGs lose data every time you edit and save. If possible, work with PNGs, TIFFs, or RAW files.
So, Which Should You Use?
Here’s a simple framework:
- Use AI tools when you need something fast, social-ready, or you’re working with average quality images.
- Use Photoshop or Lightroom when quality is non-negotiable—or when the image is going to live offline, in print, or in your portfolio.
- Use GStory if your image came from a video in the first place. Let the video enhancer do the cleanup, and then turn that footage into a high-res image.
Final Thoughts
The good news? You don’t have to choose just one tool.
There’s nothing stopping you from using GStory to enhance a video, grabbing a still frame, refining it in Photoshop, and then doing a final upscale in Pixelcut. Great results come from smart workflows—not just smart tools.
In a world where pixels mean performance, knowing how to boost your photo’s resolution isn’t just a skill—it’s an advantage.
Want to Try It for Free?
You can start with your own video. Try GStory’s AI Video Enhancer, grab a frame, and see what a true high-resolution image looks like—even if it started off blurry.