Last Updated on January 5, 2026 by Leslie
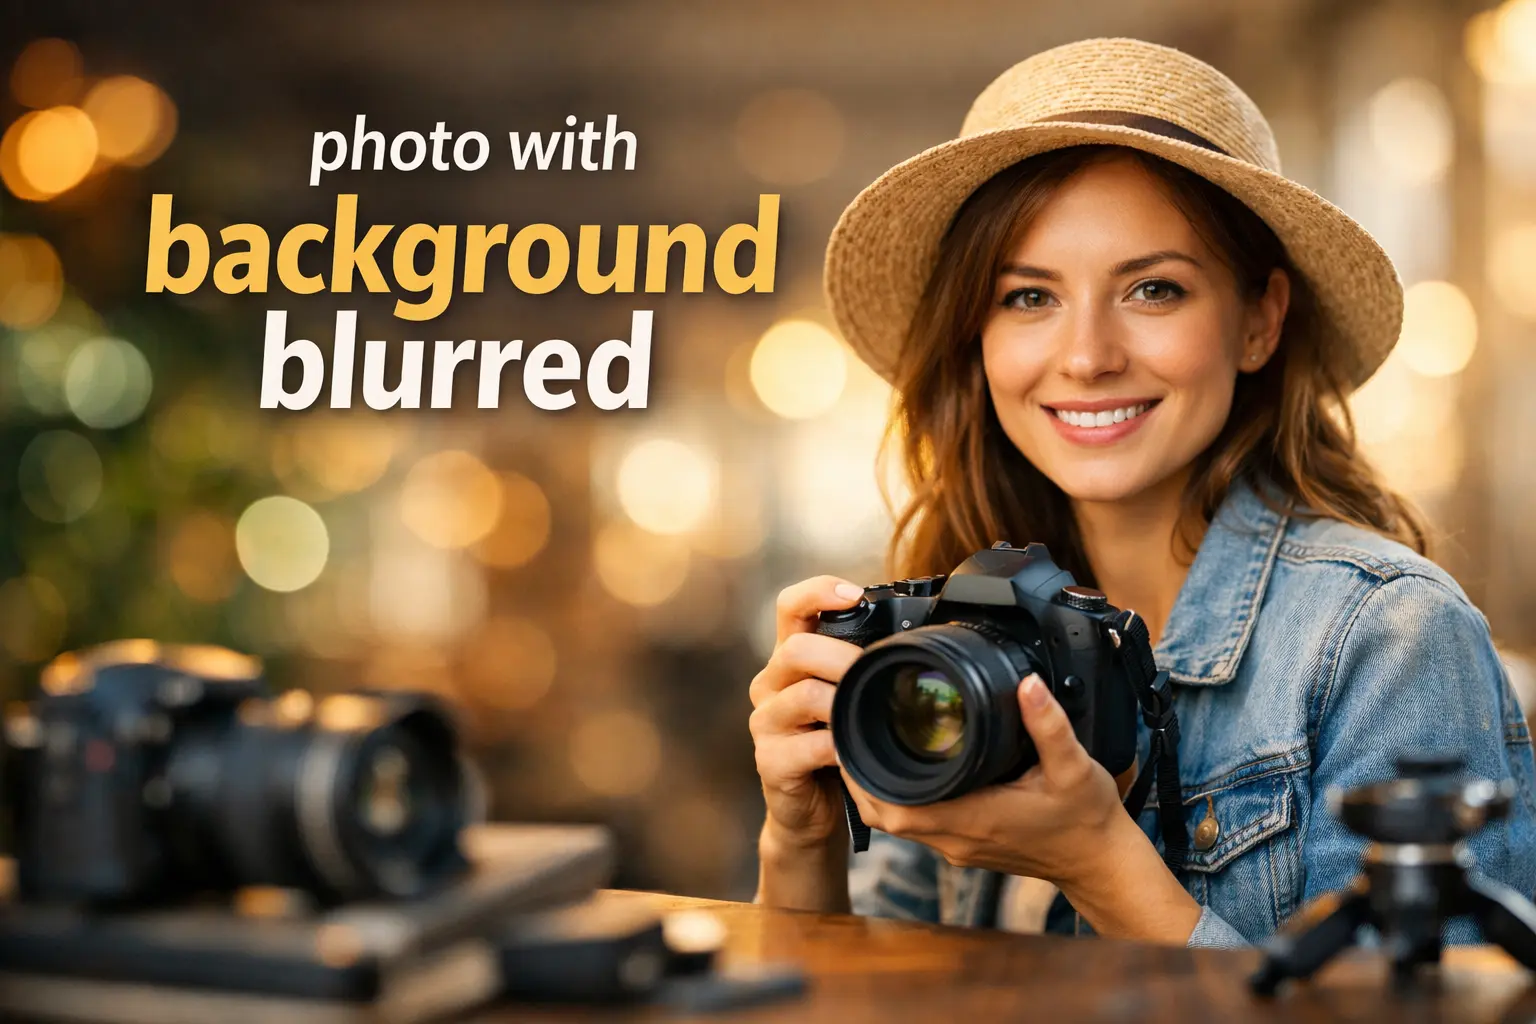
You know that moment when you take what should be a great photo… and then realize the background is basically a documentary about your life? Random cables. Laundry. A stranger mid-yawn. One rogue trash bin photobombing like it pays rent.
That’s why blurred background in photos is so popular. A blurry background pulls attention to the subject (your face, your kid, your product) and makes the whole shot feel more “pro,” even if you took it in your kitchen.
Photographers often call that pleasing out-of-focus look bokeh—the aesthetic quality of blur in out-of-focus areas, not just “any blur.”
This guide covers both paths:
- Do it at capture time (camera / Portrait mode)
- Do it after (online tools that blur background photo in seconds)
How to Take a Photo With the Background Blurred
If you’re searching how to take a photo with the background blurred, here’s the real answer: you’re trying to create shallow depth of field—the subject is sharp, the background falls out of focus.
You can get there with three simple levers:
1) Move the subject away from the background
More distance = more blur. Put your subject a few steps forward from the wall instead of hugging it.
2) Get closer to your subject
The closer you focus on the subject, the more the background softens.
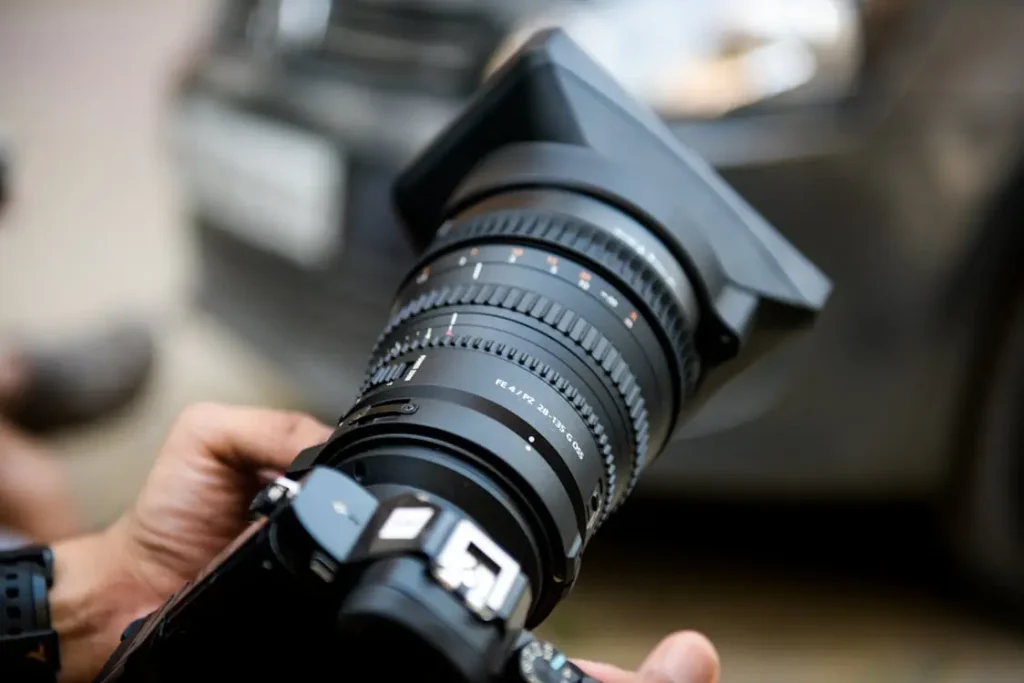
3) Use Portrait mode or a wide aperture
Portrait modes simulate depth blur using computational photography. On iPhone, Portrait mode is designed specifically for that background “depth effect,” and Apple notes you can adjust the blur level afterward on compatible Portrait shots.
How to take a photo with the background blurred on iPhone
If your photo was captured in Portrait mode, you can edit it later: Apple’s guide shows using the Depth Control slider in the Photos app to increase/decrease background blur.
Quick “make it work” checklist (no jargon, just results):
- Find clean light (window light beats ceiling light)
- Put your subject forward (don’t pin them to the background)
- Use Portrait mode if available
- Tap to focus on the subject’s eyes/face
- Don’t zoom digitally if you can avoid it (it can soften detail)
If you’re asking how do you take a picture and blur the background, this is the fastest camera-side formula.
Blur Background in Photos Online
If the photo is already taken (or Portrait mode didn’t cooperate), online tools can still blur background in photos by doing something very specific:
- Detect the subject (AI cutout/segmentation)
- Apply blur to the background layer
- Let you adjust intensity and sometimes refine edges
This “subject detection” step is the difference between “wow” and “why do I have a glowing outline?”
The 5 criteria to compare blur background photo tools
When you compare tools for blur photo background, these five things decide the outcome:
- Free: truly free vs “free preview, pay to export”
- Login: no login vs account required
- Edge handling: hair, glasses, shoulders clean or crunchy
- Controls: blur strength + brush/erase/refine options
- Export clarity: HD? compressed? watermark? limited?
Quick picks for blur photo background tools
These are solid options people use for “how to make pictures blurry in the background” without learning Photoshop:
- Canva (fastest, easiest for social content)
Canva promotes a “blur backgrounds” tool for quick shallow depth-of-field style results. - Adobe Express (good all-rounder for quick depth + design)
Adobe Express offers a dedicated “blur background” tool to highlight your subject and create depth online. - SnapEdit (simple workflow + adjustable intensity)
SnapEdit’s blur background page describes auto blurring with a default intensity and lets you adjust it. - Magic Studio (one-click + “no signup required”)
Magic Studio explicitly says it’s free and “no signup required” for background blur. - PicWish (AI one-click background blur)
PicWish says it can identify the subject and blur the background “with one click.” - Cutout.Pro (blur level selection; credits for full quality)
Cutout.Pro describes selecting blur levels and notes full download may require credits. - Pixlr (manual brush control)
Pixlr’s blur tool focuses on blurring specific areas with brush size control—great when auto blur misses.
A small “decision guide”
- Want speed for a casual post? Start with Canva or Magic Studio.
- Want “auto blur + intensity slider”? Try SnapEdit.
- Want a one-click AI blur background? Try PicWish.
- Want multiple blur levels + ecosystem tools? Cutout.Pro.
- Want precise “paint where to blur”? Pixlr.
That’s the practical answer to how can we blur the background of a picture without turning it into a 12-app research project.
Make Pictures Blurry in the Background Without Looking Fake
Most “how do you blur the background in a photo” tutorials skip the part that actually matters: realism.
A believable blur usually has two traits:
- The subject edges stay clean (no halo / no jagged cutout)
- The blur doesn’t look like it was applied with a paint roller
Here are the three most common failure cases—and how to fix them.
1) Hair and flyaways
What happens: halo outlines, hair gets “eaten,” shoulders look cut out.
Fix:
- Zoom in and check hairline at 100–200%
- If the tool has a refine brush, use it lightly
- Lower blur strength a bit—strong blur makes edge errors louder
2) Transparent objects (glasses, veils, glassware)
What happens: lenses look broken, frames get weird, transparency becomes “background.”
Fix:
- Check glasses edges before export
- Use a tool that lets you refine the subject selection (or do a clean cutout first)
3) Foreground obstructions (hands, props, rails)
What happens: something in front gets blurred like it’s behind, so depth feels wrong.
Fix:
- Lock the subject first
- Manually paint back foreground items that should stay sharp (Pixlr-style brush workflows help here).
One more realism tip: true camera blur isn’t always perfectly “uniform.” If everything behind the subject is blurred equally, your brain can notice it. (This is why “lens blur/bokeh” style effects often feel nicer than basic blur.)
Blur Background in Photos Online vs App
Use an app when:
- You’re editing on your phone and posting immediately
- You don’t need pixel-peeping perfect edges
Use an online tool when:
- You need cleaner edges (hair, glasses, objects)
- You want more control and sharper exports
And here are the “upgrade triggers” that are actually worth paying attention to:
- You need HD export (no compression surprises at download time)
- You’re doing e-commerce or profile photos where edges matter
- You’re blurring lots of images and need consistent results
If your goal is “clean enough to zoom in,” edge quality + export clarity matter more than the brand name.
Blur Background Photo With Cleaner Edges Using GStory
Here’s a workflow that consistently produces better results—especially for hair, glasses, and tricky outlines:
Clean cutout first → blur second
That’s because many “background blur” tools are only as good as the subject selection. If the cutout is messy, the blur will always look slightly fake.
Two GStory links that fit naturally (and match real user behavior):
- If you want a practical guide that covers blur types (quick blur vs mask/brush blur, and how to avoid halos), start here: blur background in photos.
- If your blur tool keeps producing halos around hair/glasses, do a cleaner separation first with blur background photo (cut out the subject cleanly, then drop it onto a blurred background layer in your editor). GStory’s tool page describes removing the original background and supports processing multiple photos.
This keeps the mention of GStory honest and useful: you’re not pretending it’s magic blur sauce—you’re using it where it actually improves results.
How Do You Blur the Background in a Photo FAQ
Can you blur the background after taking a photo?
Yes. That’s exactly what online background blur tools do: detect the subject, then blur the background layer.
How to blur background on iPhone after taking photo without Portrait Mode?
If the photo wasn’t captured with Portrait depth data, the Photos app may not offer Depth Control. But if it is a Portrait photo, Apple shows you can adjust blur with the Depth Control slider.
What is a blurred background called?
Often “bokeh,” meaning the aesthetic quality of out-of-focus blur.
Conclusion
A blurred background isn’t complicated—it’s just easy to do badly.
If you want it to look real:
- Use camera basics (distance + Portrait mode when possible)
- Pick online tools based on edges + controls + export clarity
- Fix the three common failures (hair, transparency, foreground obstructions)
- When edges keep failing, use the clean-cutout shortcut—GStory → blur tool is a surprisingly reliable combo.
Leave a Reply