Last Updated on September 13, 2025 by gaojie
Removing colors from an image might sound like something only professionals do, but trust me—it’s way more approachable than it looks.
I remember the first time I tried this: I had a product photo with a messy blue background, and no matter how hard I cropped, it still looked off. Once I learned how to remove that background color cleanly, it felt like magic—the image instantly looked studio-ready.
This guide is here to give you that same “aha” moment.
We’ll walk through three beginner-friendly methods to remove colors using desktop software, online tools, and even mobile apps. Along the way, I’ll also explain why things work (not just what buttons to click), show you common mistakes to avoid, and share pro tips that save hours of frustration.
So if you’ve ever opened a photo editor and thought, “Where do I even start?”—this is for you.
Why You Might Want to Remove a Color from an Image
Hook: Before you learn the how, it’s worth knowing the why—removing colors can make your images cleaner, more versatile, and far more professional-looking.
Let’s be clear—removing a color isn’t just for making an image “prettier.”
It’s about making your visuals more versatile, polished, and professional.
Here are a few real-life situations where this trick is incredibly useful:
- 🛒 Ecommerce sellers: Removing colored backgrounds helps your product photos look consistent. Many marketplaces like Amazon and eBay actually require white or transparent backgrounds.
- 🎨 Graphic designers: Removing a brand color from stock images helps them blend into new layouts without clashing with the brand’s palette.
- 📱 Social media creators: Making reusable stickers or memes becomes effortless when you can remove the background in seconds.
- 🎬 Photographers and video editors: When using green screens, removing the green color allows you to replace it with any scene you like.
💡 Why this matters: Once you remove colors, your images become reusable building blocks. You can drop them onto new backgrounds, layer them in videos, or use them across multiple marketing platforms.
Use Adobe Photoshop to Remove Background Color from Image
Hook: If you want full control and razor-sharp edges, Photoshop gives you the precision that quick tools can’t match—perfect for detailed or complex images.
Let’s start with the most precise option: Adobe Photoshop.
Yes, it’s more advanced than an online tool—but don’t worry. If you follow these steps, you’ll see it’s not as scary as it sounds. And the payoff? Crisp edges, perfect shadows, and total control over what gets removed.
Here are two beginner-friendly methods inside Photoshop:
Remove Color from Image Photoshop — Using the Color Range Tool
What it does: The Color Range tool scans your image and selects every pixel similar to the color you click on. It’s like a smart paint detector.
Best for: Complex images with gradients, soft shadows, or multiple objects.
Steps:
- Open your image and duplicate the layer.
Right-click the background layer and choose Duplicate. This keeps your original intact. - Go to Select ▸ Color Range.
Use the eyedropper to click the color you want to remove. You’ll see white areas highlight where that color appears. - Adjust the Fuzziness slider.
Low fuzziness selects only exact matches. Higher values include similar tones (great for smooth shadows). - Click OK, then add a Layer Mask.
The selected color disappears, leaving transparent areas behind. - Export as PNG.
Go to File ▸ Export ▸ Quick Export as PNG to keep the transparency.
💡 Pro tip: Use Select and Mask to clean any fuzzy edges. It lets you refine hair, fabric, or semi-transparent areas without destroying detail.
Pros:
- Very precise
- Keeps image quality
- Works on complex photos
Cons:
- Takes longer than quick tools
- Needs a bit of practice
Remove Specific Color from Image with the Magic Wand Tool
What it does: The Magic Wand selects large blocks of a single color with one click. It’s faster but less precise than Color Range.
Best for: Simple backgrounds or flat icons/logos.
Steps:
- Choose the Magic Wand (W) from the toolbar.
- Click the color you want to erase.
- Adjust Tolerance (start at 30) to control how many shades are included.
- Press Delete or click Add Mask.
- Use Select ▸ Modify ▸ Feather (1–2px) to smooth the edges.
Pros:
- Quick and simple
- Easy for beginners
- Works well on solid color areas
Cons:
- Struggles with soft shadows or gradients
- Might leave jagged edges
Use Online Tools to Remove Colors from Image
Hook: Don’t have Photoshop? No problem—these browser-based AI tools can erase unwanted colors in seconds, even if you’ve never edited before.
Not everyone owns Photoshop—or wants to spend hours learning it.
That’s where online tools come in. They’re fast, free, and don’t require installation.
If your image is a product shot, logo, or flat graphic with clear color boundaries, an AI-based web tool can handle it beautifully in under a minute.
Select by Color and Remove from Image Generato Tools
Many web tools offer a “click-to-remove” feature. They detect color areas automatically and erase them with AI.
Typical steps:
- Upload your image to the site.
- Use a color picker to select the color you want gone.
- Adjust the tolerance if available to catch similar shades.
- Click Erase / Remove.
- Download your image as a PNG with transparency.
Popular tools:
- Dzine.ai — Simple UI, fast results
- Erase.bg — Good edge detection
- Fotor — Offers editing tools after removal
- GStory.ai — Clean background removal for product images
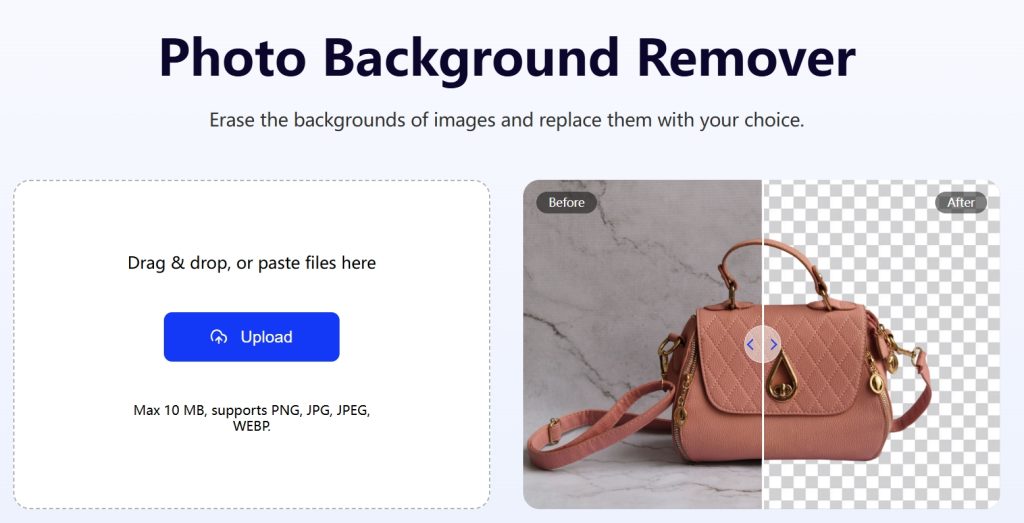
🎯 Sub-tool Highlight: GStory.ai — Free Photo Background Remover
One tool worth checking is GStory.ai’s “Remove Photo Background”.
It doesn’t just erase backgrounds—it can also help when your goal is to remove a clean background color, which makes it useful for many “remove color from image” workflows.
What makes GStory.ai useful:
- Completely browser-based: Upload your photo, hit remove, and download—no installs required.
- Free to try: Ideal for quick tasks when you don’t want to download big apps.
- Fast processing: For simple images with one dominant background color, it often removes it perfectly in seconds.
What to watch out for:
- It may struggle with complex edges, soft shadows, or gradient backgrounds (where Photoshop does better).
- Always export as PNG to keep transparency—avoid JPG which removes it.
Best use-case:
Use GStory.ai when you have a product photo or social media graphic with a clean single-color backdrop. It’s perfect for batch-cleaning visuals for your shop or social channels when speed matters more than pixel-perfect detail.
⚖️ Tool Comparison — Best Options for Removing Colors
| Tool | Platform | Supports Transparency | Precision | Free Plan | Best For |
| Adobe Photoshop | Desktop | ✅ | ⭐⭐⭐⭐⭐ | ❌ | Designers |
| Dzine.ai | Web | ✅ | ⭐⭐ | ✅ | Quick product photos |
| Erase.bg | Web | ✅ | ⭐⭐⭐ | ✅ | Ecommerce sellers |
| Fotor | Web | ✅ | ⭐⭐ | ✅ | Social media graphics |
| Picsart | Mobile | ✅ | ⭐⭐ | ✅ | On-the-go creators |
| GStory.ai | Web | ✅ | ⭐⭐⭐ | ✅ | Fast background removal |
💡 Quick advice: If you care about sharp details, stick with Photoshop. If you want speed and zero learning curve, use an online tool like GStory.ai, Dzine.ai or Erase.bg.
Use Mobile Apps as a Color Remover from Image
Hook: Need something fast and phone-friendly? Mobile apps let you remove colors on the go—ideal for social media stickers, thumbnails, and memes.
Sometimes you don’t want to open your laptop at all—you just need something quick while scrolling on your phone. That’s where mobile apps shine.
They’re ideal for creators who want to make Instagram stickers, TikTok thumbnails, or YouTube Shorts covers without touching a computer.
Try Mobile Apps to Remove Color Blender from Image
Apps like Picsart, Canva, and Snapseed make this easy—even if you’ve never edited before.
Steps:
- Open your image in the app.
- Tap the Background Remover or Color Picker tool.
- Tap on the color you want to erase.
- Adjust tolerance if available.
- Export as PNG to keep the transparent background.
Bonus tip: After removal, drop the image onto a new background inside the same app. In a few taps, you can create a ready-to-post social media graphic.
Pros:
- Fast and simple
- Works anywhere
- Great for social media graphics
Cons:
- Less precise on complex photos
- Limited advanced settings
Pro Tips to Get Clean Edges When You Remove Colors from Image
Hook: These small tricks make a big difference—follow them to avoid jagged cutouts, preserve shadows, and keep your images looking smooth.
- Use feathering (1–2px): Smooths sharp edges so your cutouts look natural.
- Lower tolerance for complex images: Prevents erasing parts of your subject.
- Preserve shadows on separate layers: Keeps your subject from looking flat.
- Work on a duplicate layer: Gives you a safety net if something goes wrong.
- Always export as PNG: This format supports transparency; JPG does not.
FAQs About Removing Colors from Images
Hook: New to editing? These quick answers will save you from common beginner mistakes (and some hidden time-wasters too).
Can I remove multiple colors at once?
Yes, but do one color at a time to avoid damaging nearby details.
Will it lower my image quality?
Not if you use masks instead of deleting pixels directly.
Can I save with a transparent background?
Yes—always export as PNG.
How do I avoid removing colors I want to keep?
Lower the tolerance/fuzziness setting, and mask out protected areas first.
Final Thoughts — Pick the Right Method for Your Image Editing Needs
Hook: Whether you want speed, simplicity, or studio-level accuracy, here’s how to choose the right approach—and grow your skills step by step.
Removing colors isn’t just about cleaning up an image—it’s about unlocking creative freedom.
- If you want pixel-perfect accuracy, use Adobe Photoshop.
- If you need speed and simplicity, try GStory.ai, Dzine.ai or Erase.bg.
- If you prefer editing on mobile, go for Picsart or Canva.
🎯 Here’s a smart learning path:
Start with an online tool (instant results), then try a mobile app for quick creative projects, and finally move to Photoshop once you’re comfortable and want more control. This way, you build skills gradually without getting overwhelmed.
Once you master this skill, you’ll be able to turn any photo into a clean, reusable design asset—ready for your shop, your social feeds, or just for fun.