Last Updated on August 15, 2025 by yun
Introduction
An AI video enhancer is one of the most powerful tools available today for content creators looking to improve video quality quickly and efficiently. Whether you’re working on YouTube videos, social media clips, or personal recordings, high-resolution, sharp, and well-lit footage is now the expectation, not the exception. Traditional editing software can be time-consuming and complex, but AI-powered solutions automate tasks like upscaling, denoising, color correction, and frame interpolation. With dozens of tools on the market, each offering unique features and performance levels, it’s essential to choose the one that best suits your goals, platform, and technical skill level.
Why Use an AI Video Enhancer?
Traditional video editing software can be complex and time-consuming, often requiring technical skills and manual adjustments to fix poor-quality footage. Enhancing videos with tasks like noise reduction, frame interpolation, and color correction usually demands significant effort and expertise.
This is where AI video enhancers offer a transformative advantage. Powered by deep learning and intelligent algorithms, these tools can:
- Denoising footage by removing grain and blur while preserving detail,
- Interpolating frames for smoother motion,
- Automatically adjusting color, brightness, and contrast for better visual quality.
Best of all, these enhancements can often be done with a single click—no editing experience needed.
In short, AI video enhancers remove the barriers between creators and high-quality content—allowing anyone to produce sharper, cleaner, and more engaging videos, faster than ever before.
How to Choose the Right AI Video Enhancer for You
Identify Your Enhancement Goals
Before selecting an AI video enhancer, it’s important to first understand what kind of improvements your videos require. Some users may need to clean up noisy, low-light footage, while others want to sharpen soft details or restore older clips to a more watchable state.
If your content involves fast motion—like action scenes or gaming—you might prioritize smoother playback. For creators focused on social media, optimizing clarity and aspect ratio across different platforms can be a major factor.
By clearly defining your needs—whether it’s boosting clarity, enhancing color, or simply making a blurry video look better—you can choose a tool that matches your workflow and delivers the results you expect.
Evaluate Core AI Capabilities
Once you’ve clarified your video enhancement goals, the next step is to assess what features each tool offers—and how well they align with your needs.
Some AI video enhancers are better at smoothing motion in fast-paced footage, while others excel at restoring clarity to older or low-resolution videos. Look for tools that can intelligently adjust brightness and contrast, reduce visual noise, or enhance fine details—without requiring manual tweaks.
If you’re working with fast-motion footage like sports or gaming content, support for video frame interpolation can be a game changer, making playback smoother and more cinematic.
Ultimately, the best tools combine speed, accuracy, and automation—handling technical improvements behind the scenes so you can focus on storytelling.
Ease of Use vs. Professional Control
When choosing an AI video enhancer, it’s important to consider your own editing experience and comfort level with video tools.
If you’re a beginner, you may prefer software with a simple, user-friendly interface and one-click enhancement features. Many AI tools today offer fully automated processing—just upload your video, select a preset, and let the algorithm handle the rest. This “plug-and-play” approach is ideal for users who want fast results without spending time learning complex controls.
Also, don’t overlook the user interface. A cluttered or outdated layout can slow you down—even if the software is powerful. Look for a well-designed, intuitive interface that matches your workflow style, whether you’re editing casually or as part of a production pipeline.
In short, choose a tool that matches your skill level, but also allows room to grow as your editing needs evolve.
Pricing and Subscription Models
Cost is a major factor when choosing the right AI video enhancer. While there are both free and paid tools available, the features you get can vary significantly.
Free AI video enhancers are a good starting point for casual users or those testing the waters. However, these versions often come with limitations such as lower resolution output, fewer enhancement options, limited file sizes, or watermarks on exported videos. They may also restrict the number of videos you can process per day or month.
Paid tools, on the other hand, usually offer access to full-resolution exports, advanced features like batch processing, GPU acceleration, and professional-level enhancement settings. Some platforms operate on a monthly or yearly subscription model, while others offer one-time payment plans.
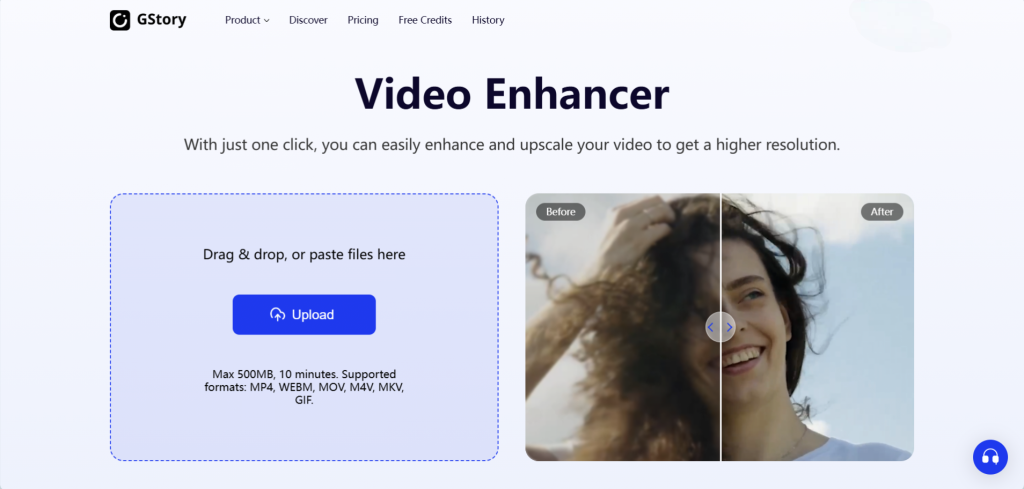
It’s also worth checking whether the tool offers a free trial. For example, GStory offers 50 free credits upon registration, allowing you to try out its features before making a decision. This is a great way to explore the software’s capabilities and see if it meets your needs.Be sure to read the fine print-some tools may appear affordable but charge extra for features like watermark removal, HD exports, or additional credits for processing videos. Knowing these details in advance helps you avoid unexpected costs. Ultimately, choose a pricing plan that aligns with your usage frequency and performance expectations.
Conclusion
Choosing the right AI video enhancer isn’t just about picking the most powerful tool—it’s about finding the one that fits your unique needs, goals, and workflow. Throughout this guide, we’ve covered key factors to consider: your enhancement goals, must-have features, ease of use and pricing.
Remember, there’s no one-size-fits-all solution. That’s why it’s important to take advantage of free trials or starter credits—like the 50 free credits GStory offers upon registration—to test a few options before committing.
Start by identifying what matters most to you: Do you want simplicity or advanced control? Do you prioritize speed, visual quality, or affordability? Once you’ve clarified your priorities, shortlist a few tools, try them out, and evaluate the results.
GStory, for example, is not only beginner-friendly but also offers features powerful enough for content creators on platforms like YouTube. Whether you’re enhancing vlogs, tutorials, or cinematic footage, it’s a strong option worth considering.
Ready to enhance your videos?
👉 Try GStory today and see how easy it is to create sharper, cleaner, and more professional-looking videos—on any device.
It even includes the ability to remove unwanted watermarks—perfect for cleaning up previously edited footage or reclaiming visual space for your own branding.