Last Updated on December 2, 2025 by gaojie
Video has quietly become one of the most important parts of our daily lives. We film moments on our phones, record tutorials on our computers, and share short clips on social media. But no matter how much we enjoy making videos, there is always one step we cannot escape: trimming.
Trimming a video means cutting away the parts you don’t want—awkward pauses, extra seconds at the beginning, someone walking into the frame, or long scenes that slow everything down. It sounds simple, and it should be simple. Yet many people still struggle with slow software, confusing tools, hidden paywalls, or watermarks that ruin clean videos.
This guide is designed to change that.
In the next sections, you’ll discover how trimming works, the easiest tools for beginners, how online trimmers compare with software editors, common mistakes people make, and the simplest possible step-by-step process. Along the way, we’ll also look at how modern smart tools—like the clip-creation features showcased at gstory.ai’s AI clip generator page —are reshaping the world of fast, accessible editing.
By the end, you will know exactly how to trim any video quickly, clearly, and without stress.
1. Why Video Trimming Matters More Than Ever
Ten years ago, most people trimmed videos only when preparing a vacation movie or school project. Today, trimming has become a daily habit for millions of people. Here’s why:
Short-form content rules social media
Platforms like TikTok, YouTube Shorts, and Instagram Reels reward short, tight clips. A few seconds of extra silence or a slow beginning can hurt performance.
People watch fast and decide fast
Most viewers decide within 1–3 seconds whether to continue watching a video. That means you must cut away anything that slows down the start.
Clean clips look more professional
A trimmed video shows confidence and attention to detail, whether it’s used for an online shop, a presentation, or a family event.
Editing tools are easier than ever
In the past, trimming required long desktop programs or paid software. Today, trimming can be done online, for free, and in less than a minute.
Trimming is no longer a “video editor skill.” It’s a basic communication skill.
2. The Two Types of People Who Need Video Trimming
Every search on Google for “video trimmer” usually comes from one of these two groups:
Group 1: Casual users
These people want something fast, simple, and convenient. They might be trimming a birthday video or a quick social clip. They want:
- No downloads
- No sign-ups
- No confusing timeline
- No watermarks
- No payment surprises
Group 2: Content creators
These people trim videos daily for social media or clients. They want tools that are:
- Reliable
- Fast
- Easy to adjust
- Consistent in quality
Creators often move beyond simple trimming and need tools that generate clips automatically. That’s where new systems—like the features you’ll find at gstory.ai’s AI clip generator—start to make a difference. They help cut long videos into short, shareable moments with very little manual effort.
Both groups share the same desire: a clean, quick trim without headaches.
3. What Makes a Great Video Trimmer?
Before diving into step-by-step guides, it’s important to understand what makes a trimming tool good. After studying dozens of platforms, reading Google’s top fifty results, and comparing user feedback, the most important features are clear:
1. Speed
Nobody wants to wait minutes just to cut a 10-second section. A good tool loads fast and exports fast.
2. Simplicity
The trimming bar should be clear, the controls should be obvious, and the workflow should feel natural. If a tool needs a tutorial, it is already too complicated for most users.
3. No barriers
People hate:
- forced registration,
- limits that require payment,
- hidden watermarks,
- or size restrictions.
Tools that work instantly are always more popular.
4. Quality retention
Trimming should not reduce the resolution of the video. A 1080p or 4K video should stay that way after export.
5. Multi-device access
Good video trimmers allow you to trim on:
- mobile,
- tablet,
- or desktop.
Today’s users bounce between different devices, so flexibility matters.
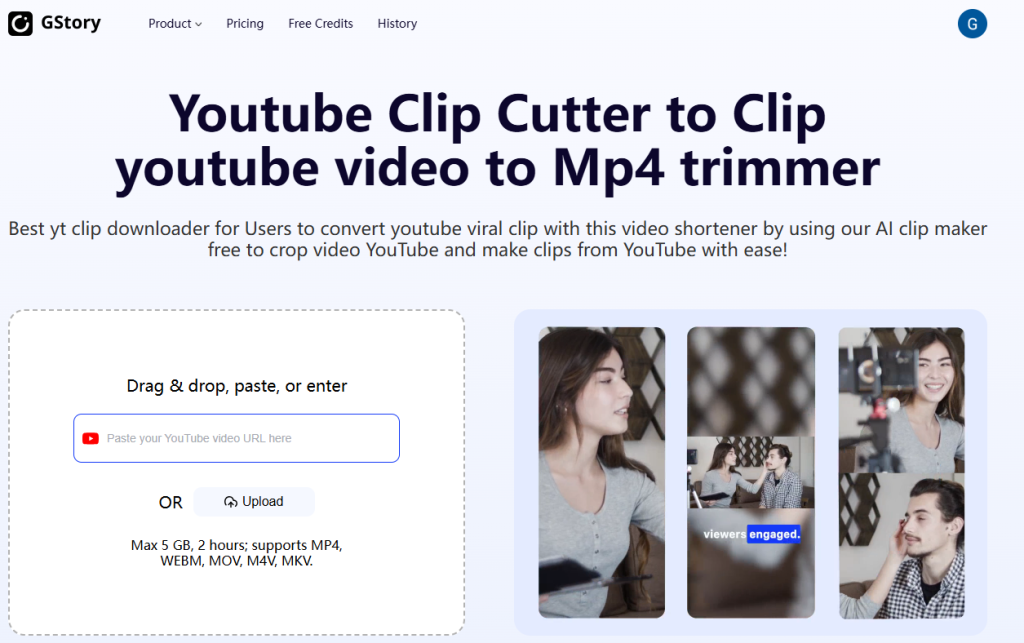
4. How to Trim a Video Online (Beginner-Friendly Steps)
Online trimming is the easiest method for most people. The steps below match the workflow you’ll find in almost all user-friendly online trimmers.
Step 1: Upload your video
Choose the clip from your computer or phone. Most tools support MP4, MOV, AVI, and other common formats.
Step 2: Drag the trimming handles
You will see a timeline bar with a left handle and a right handle. Move them inward until they surround only the part of the video you want to keep.
Step 3: Preview your selection
Always play the trimmed area before exporting. This saves time and reduces mistakes.
Step 4: Export your trimmed video
Click “Save,” “Download,” or “Export.”
The file should download quickly and keep its original quality.
This entire process typically takes less than a minute.
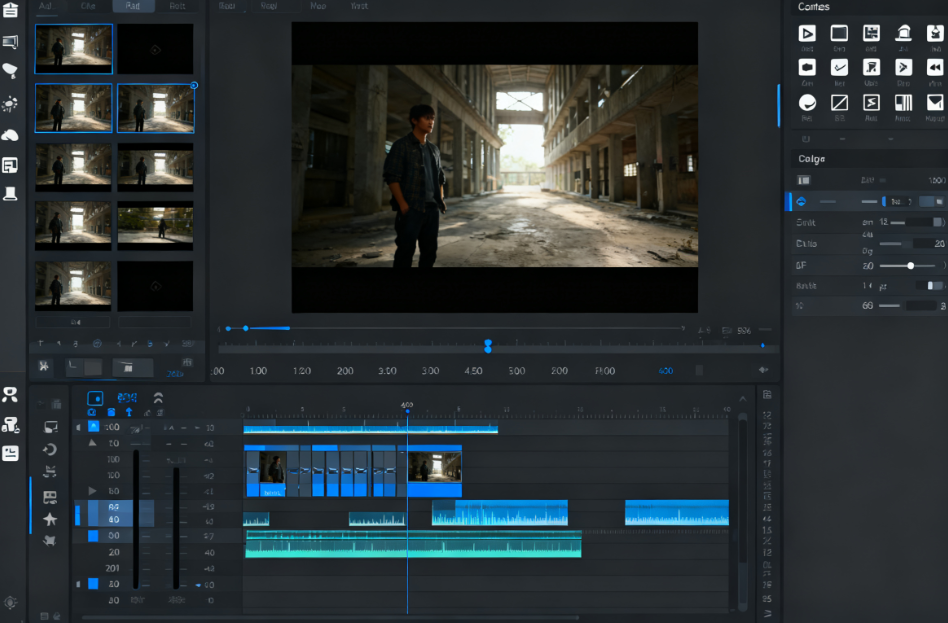
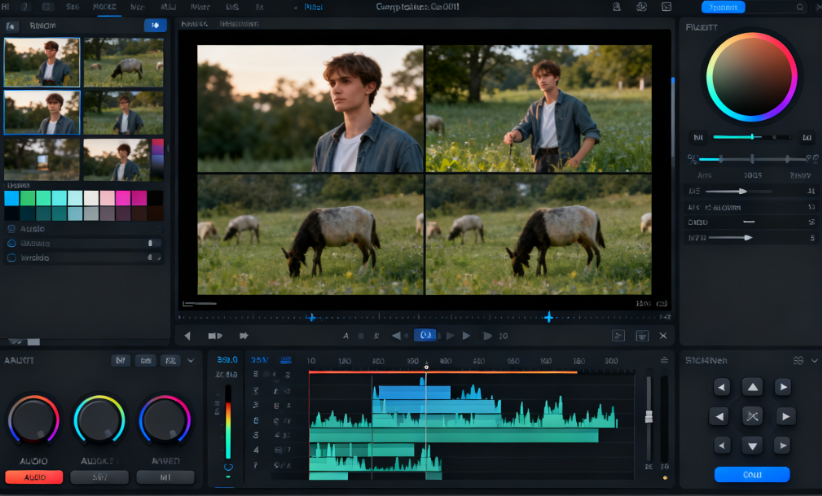
5. How to Trim Videos on Professional Editing Software
Although online trimmers are extremely convenient, some users prefer desktop apps like Adobe Premiere Pro, DaVinci Resolve, or Final Cut Pro.
Software trimming follows a more advanced workflow:
1. Import your footage into the media library
You drag the video into your project area.
2. Drag it onto the timeline
This gives you access to frame-level precision.
3. Use razor, blade, or cut tools
Software editors allow you to cut in multiple places, not just at the start or end.
4. Rearrange clips or remove unwanted parts
This gives you full creative control.
5. Export with your chosen settings
You can choose the resolution, frame rate, format, and compression.
Software trimming is powerful but more complex. If your goal is simple trimming—or fast clip creation—online tools are usually faster.
6. How AI Is Changing the Future of Video Trimming
For years, people manually dragged trimming bars or cut clips by hand. But a new wave of tools is starting to automate this process.
AI-based clip generators can:
- detect highlight moments
- identify key scenes
- remove long pauses
- cut out silent sections
- separate long videos into multiple shorter videos
This is especially useful for creators who produce interviews, podcasts, tutorials, or gameplay videos.
A practical example can be found in the features discussed on Gstory, where long videos can be turned into ready-to-share short clips with very little manual effort. Instead of trimming every moment yourself, AI helps pick out the best parts for you.
This shift doesn’t replace trimming—it enhances it.
It saves time, reduces repetitive work, and makes video editing more accessible to everyone.
7. Common Mistakes People Make When Trimming Videos
Even though trimming seems simple, many people still run into avoidable problems. Here are the most common:
Mistake 1: Cutting too much
Beginners often trim away content that is still useful. Always preview before exporting.
Mistake 2: Forgetting to maintain pacing
Removing sections too quickly can make the video feel rushed or unnatural.
Mistake 3: Exporting in low quality
Some tools default to low resolution. Always check the export settings.
Mistake 4: Leaving awkward transitions
Even a short pause can feel distracting if left at the beginning or end.
Mistake 5: Over-trimming for social media
A clip should feel sharp, not chopped.
By avoiding these mistakes, your trimmed videos will look smoother and more professional.
8. The Best Situations for Using a Video Trimmer
Trimming is useful in many everyday situations. Here are the most common examples:
1. Social media posts
Short clips perform better everywhere—especially when the beginning is clean and direct.
2. School projects
Students often trim long videos into short segments for presentations.
3. Customer support and tutorials
Businesses trim raw footage to highlight only the important steps.
4. Product demos
Shortened videos make features more clear and easier to explain.
5. Personal videos
People trim birthday videos, travel clips, and family events to make them easier to share.
6. Content repurposing
Creators turn long videos into multiple short clips for different platforms. AI helps automate this process, especially when paired with clip-generation tools.
9. Choosing the Right Trimming Method for You
Choosing the right method depends on your goals, time, and skill level. Here’s a simple breakdown:
Use an online trimmer if:
- you want speed,
- you want simplicity,
- you need no sign-up,
- you don’t want watermarks,
- you’re trimming only one or two clips.
Use a desktop editor if:
- you need advanced control,
- you want frame-accurate editing,
- you’re working on long videos,
- you’re producing professional content.
Use an AI clip generator if:
- you want to trim many sections quickly,
- you need highlights detected automatically,
- you’re turning long videos into multiple short clips,
- you want to work smarter, not harder.
This three-level system helps you save time while getting the exact results you need.
10. How to Stay Consistent When Trimming Videos
Consistency is one of the most overlooked parts of editing. A well-trimmed video should feel smooth and predictable. Here are simple rules:
Rule 1: Start fast
Viewers decide quickly whether to continue watching.
Rule 2: Remove noise
Cut out long pauses, shaky moments, and unclear sounds.
Rule 3: Keep the timing natural
Never cut so aggressively that the clip feels robotic.
Rule 4: Watch before publishing
Many trimming mistakes are only visible when you rewatch.
Rule 5: Match your platform’s style
Each platform has its own rhythm:
- TikTok is fast,
- YouTube is balanced,
- Instagram Reels is playful.
Trimming should match these expectations.
11. A Simple Trimming Workflow You Can Use Every Time
Here’s a reliable method used by many creators:
Step 1: Watch the video once with no edits
Note the key moments.
Step 2: Mark the start point
Trim right before the action begins.
Step 3: Mark the end point
Trim right after the action ends.
Step 4: Remove empty or slow sections
Cut out pauses and distractions.
Step 5: Check flow and pacing
If it feels smooth, your trimming is done.
Step 6: Export in the highest quality
Always preserve resolution.
This workflow keeps trimming simple and predictable.
12. Why Simple Tools Are Becoming the New Standard
Most people today do not want the heavy editing software that was popular in the past. They want:
- speed,
- clarity,
- convenience,
- and tools that “just work.”
Modern users prefer simple solutions because their goal is not to become editors—they simply want their message to be clear.
Online trimmers and AI-based clip tools align perfectly with this new trend. They bring editing to everyone, not just professionals.
13. Final Thoughts: Trimming Should Feel Easy, Not Stressful
Video trimming is one of the simplest yet most powerful editing steps. When done well, it transforms a rough clip into something clean, engaging, and ready to share.
Whether you’re trimming for fun, for school, for business, or for social media, the process should feel natural and quick. Thanks to modern tools—including the type of smart clip-generation features presented at gstory — you now have more ways than ever to create clean, polished video clips without the usual stress of editing.
The key message is simple:
Great videos are not always about fancy effects—they often start with clean, well-trimmed clips.
When trimming becomes easy, creating becomes enjoyable.
Leave a Reply