Last Updated on May 13, 2026 by Leslie
You open CapCut, ready to make a quick video. You search around the app, tap Templates, check the AI tools, maybe even update it once. Still, the AutoCut button is nowhere to be found.
That is exactly why so many people search for AutoCut CapCut. Some users want to know what the feature actually does. Some are trying to figure out how to use AutoCut in CapCut. Others are confused because CapCut has Templates, AI Clipper, and several AI editing tools that all sound similar.
This guide gives you the clear version. We’ll explain what CapCut AutoCut is, where you may find it, how to use it for a quick CapCut auto edit, and what to try if AutoCut does not show up in your app.
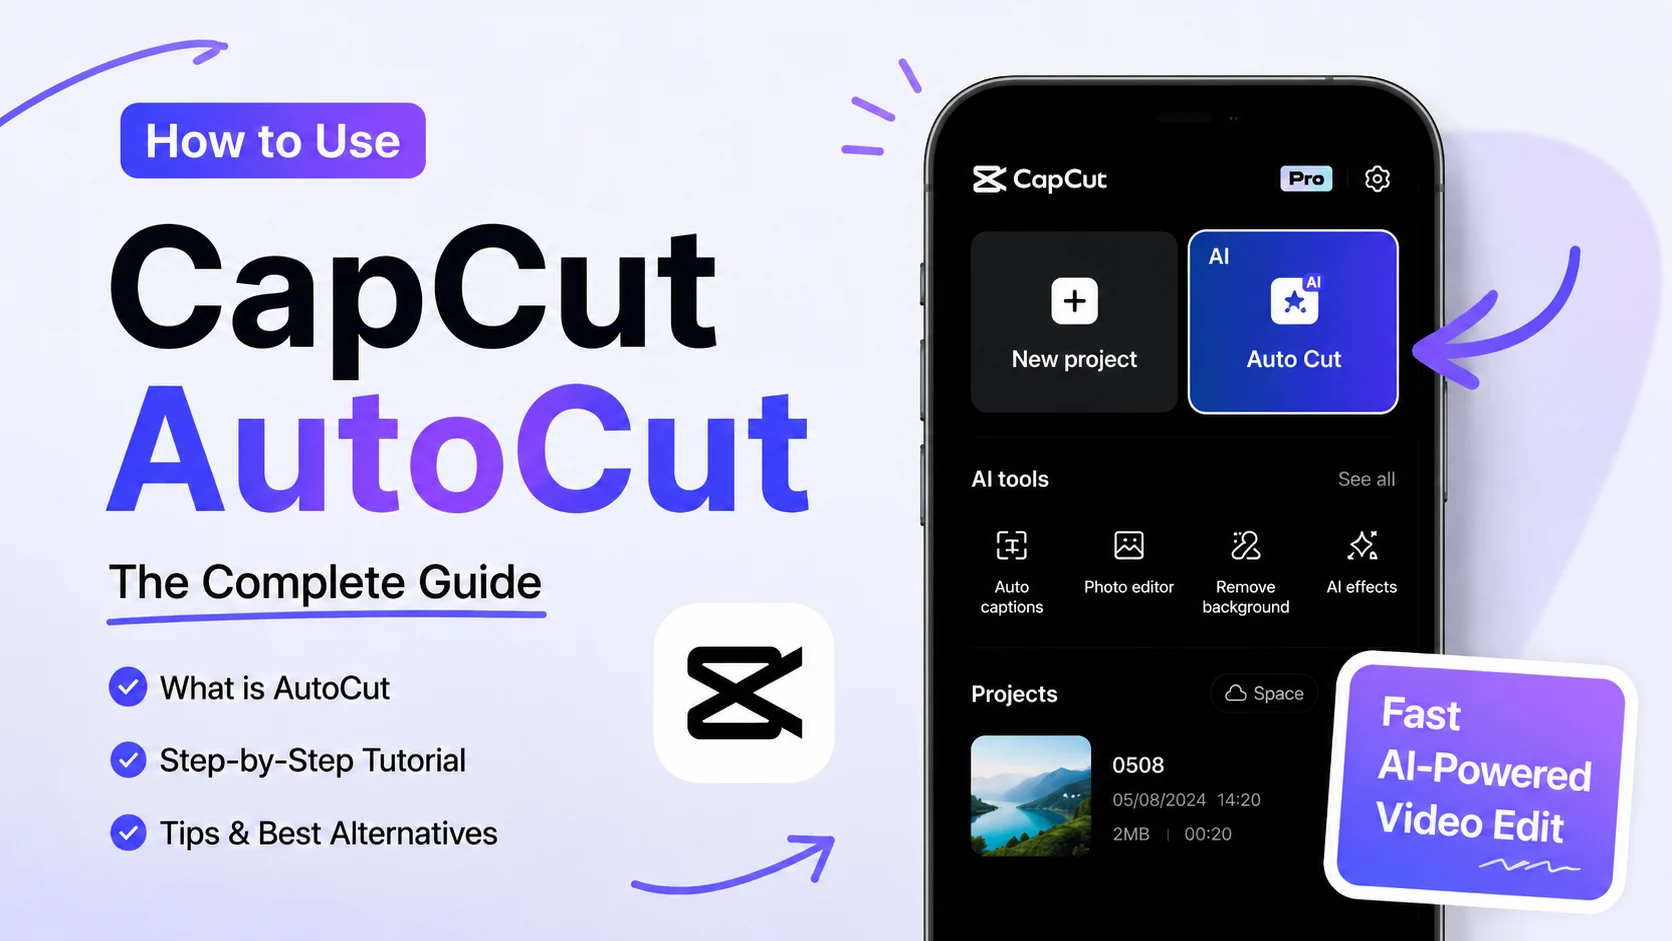
What Is AutoCut in CapCut?
CapCut AutoCut is an AI editing feature that turns your photos or short video clips into a ready-to-edit social video. Instead of placing every clip on the timeline yourself, you choose your media, pick a style, and let CapCut create a quick first cut.
It is mainly made for short-form content, such as TikTok videos, Instagram Reels, YouTube Shorts, travel recaps, product clips, and casual lifestyle edits. AutoCut can arrange clips, sync them with music, add simple transitions, and help you create a fast CapCut auto edit from raw footage.
But AutoCut is not a full editor. It is better used as a rough-cut tool. The AI can help with speed, but you should still review the result, replace weak clips, fix awkward cuts, and adjust the pacing before exporting.
AutoCut vs Templates vs AI Clipper
CapCut has several AI editing tools, and this is where many users get confused. Here is the simple difference:
| Feature | Best For | Main Difference |
| AutoCut | Turning several clips or photos into a short video | CapCut automatically arranges your media |
| Templates | Copying a preset video style | You replace clips inside a fixed template |
| AI Clipper | Cutting highlights from one long video | Better for podcasts, interviews, vlogs, or long videos |
Use AutoCut when you have several short clips and want a quick montage. Use Templates when you want to follow a specific viral style or AutoCut CapCut template look. Use AI Clipper when you have one long video and want to pull out the best moments.
How to Use AutoCut in CapCut
The easiest way to use CapCut AutoCut is on the mobile app. The feature may appear in different places depending on your app version, but it is usually found under Templates, AI Creation, or a similar AI editing section.
Before you start, choose your media carefully. AutoCut works best with short, clear clips that have a similar format, lighting, and style. For TikTok, Reels, or Shorts, vertical 9:16 clips usually give the cleanest result. Mixing blurry clips, horizontal footage, dark videos, and screenshots can make the final edit feel messy.
How to Use AutoCut on Mobile
Here is how to use AutoCut in CapCut based on the mobile workflow:
- Open CapCut on your phone.
- Stay on the main Edit page.
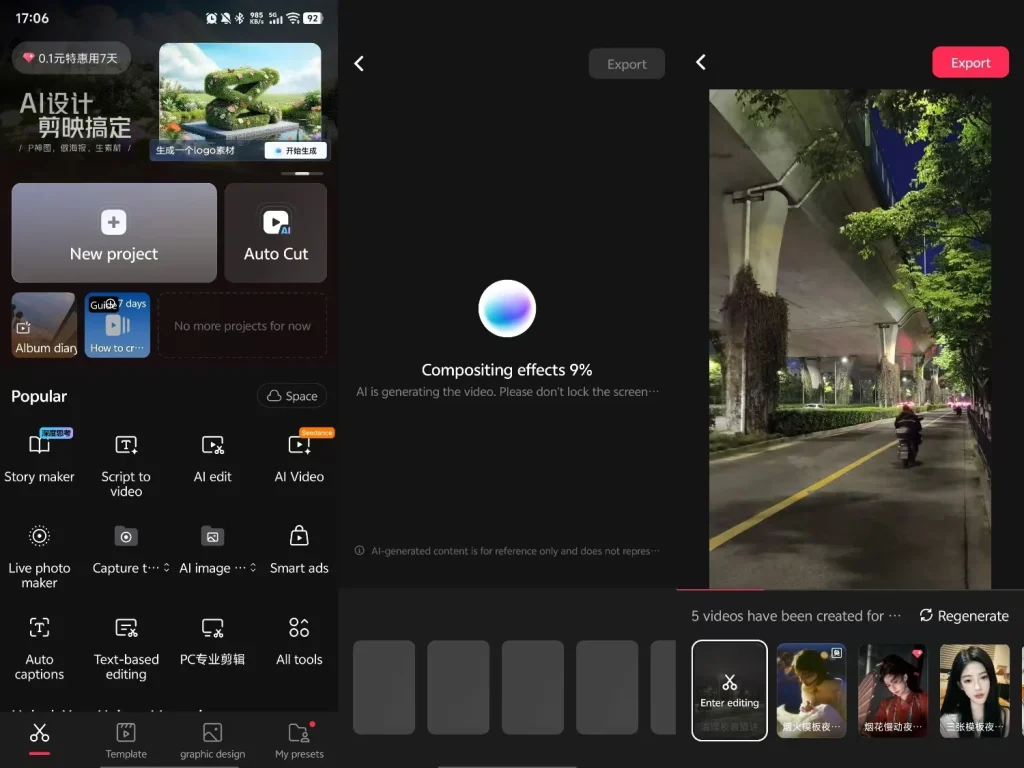
- Tap the Auto Cut card next to New project.
- Select the photos or video clips you want to use.
- Wait while CapCut generates the video. You may see a progress screen such as “Compositing effects.”
- Preview the generated results. CapCut may create several video options for the same set of clips.
- Choose the version you like, or tap Regenerate if the result does not look right.
- Tap Enter editing if you want to adjust the video manually.
- When you are happy with the result, tap Export.
Do not export the first version too quickly. CapCut AutoCut can create a fast CapCut auto edit, but the result still needs a human check. Watch the generated video once or twice. Make sure the opening seconds are strong, the clips feel connected, and the music or effects do not distract from the main content.
How to Use AutoCut on CapCut Desktop
If you are using CapCut Desktop, the AutoCut feature may appear under AI tools or smart editing options. The exact wording can change between versions, so update CapCut first if you do not see the feature.
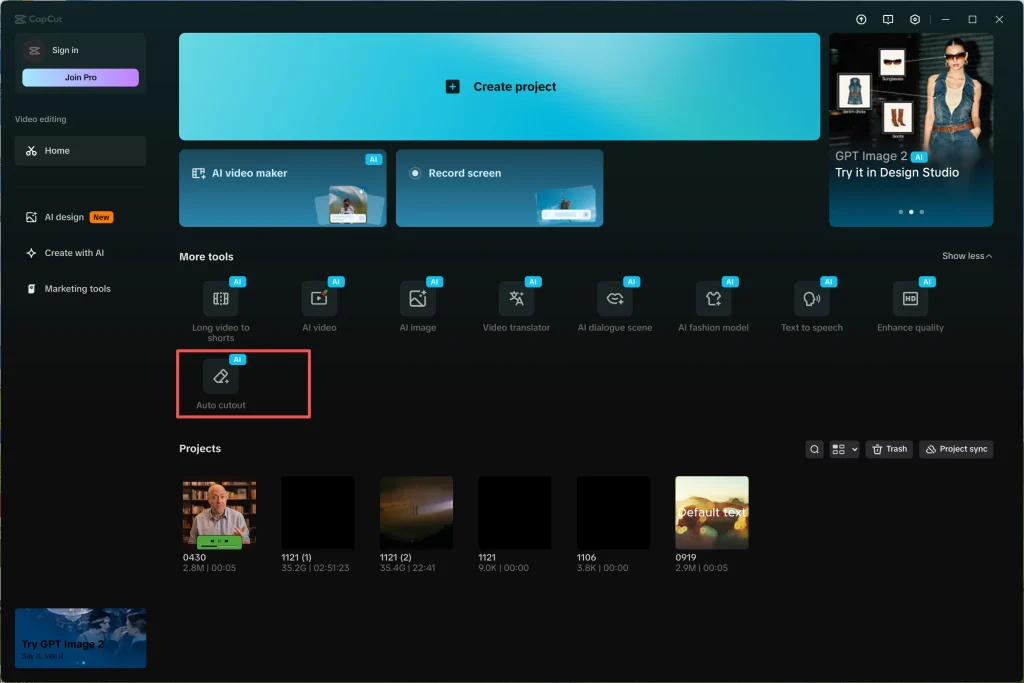
- Open CapCut Desktop on Windows or macOS.
- Create a new project or open an existing project with video clips on the timeline.
- Look for the AI button in the top toolbar, or go to Edit > AI Tools > Auto Cut if that option is available in your version.
- Select the Auto Cut or Auto-Clipping option.
- Choose the cutting style if CapCut gives you options, such as beat-based cuts, speech pause detection, or smart highlight editing.
- Adjust available settings, such as clip length, sensitivity, or transition style, if your version supports them.
- Click Generate, Apply, or the equivalent action button.
- Review the generated timeline, remove weak cuts, adjust pacing, and add captions or final edits before exporting.
Desktop AutoCut can be useful when you want more control after the AI creates the first draft. Compared with mobile, the desktop timeline is easier for reviewing cuts, replacing clips, adjusting audio, and polishing the final video before export.
How to Get Better AutoCut Results
AutoCut is a shortcut, not magic. The better your source clips are, the better the final video will look.
For better results, use clips that are short and focused. A quick product shot, face reaction, movement, or scene detail usually works better than a long shaky recording. Keep the lighting consistent where possible, and avoid mixing too many unrelated visuals in one edit.
After CapCut creates the video, spend a few minutes polishing it. Move the best clip closer to the beginning, cut slow moments, replace awkward shots, and adjust the music volume. If your video needs context, add captions before exporting.
A simple rule: let AutoCut handle the first cut, but let yourself decide what actually deserves to stay.
Where is AutoCut on CapCut Desktop?
If you cannot find AutoCut in CapCut, it does not always mean you are doing something wrong. The feature may not appear on every device, region, or app version. It may also move after an update.
First, check the mobile app instead of desktop. AutoCut is mainly a mobile-based feature. On desktop, you may see tools like AI Clipper or scene detection, but not the same AutoCut workflow.
Next, update CapCut and check Templates, AI Creation, or related AI editing tabs again. If you are looking for an AutoCut CapCut template style, Templates may still help you create a similar quick edit even when AutoCut itself is missing.
If AutoCut still does not appear, choose based on your goal. Use Templates for preset-style edits, AI Clipper for one long video, or manual editing when you need more control. In that sense, CapCut can still work as a simple CapCut auto video editor, even if AutoCut is not available in your app.
Conclusion: Is CapCut AutoCut Worth Using?
CapCut AutoCut is worth using if you want a fast way to turn photos or short clips into a social video. It is especially helpful for TikTok, Instagram Reels, YouTube Shorts, travel recaps, lifestyle edits, and simple product videos.
But AutoCut works best when you understand its limits. It may not appear on every device, and the first result is not always ready to publish. Use it as a shortcut for the rough cut, then adjust the clips, timing, music, captions, and final quality yourself. For example, an auto subtitle generator can help make speech easier to follow, while an AI video enhancer can improve blurry or compressed exports.
If AutoCut is missing or too limited, you still have options. Use Templates for preset styles, AI Clipper for long videos, or desktop editors for more control.
FAQs About CapCut AutoCut
What is CapCut AutoCut?
CapCut AutoCut is an AI editing feature that helps turn your clips or photos into a quick edited video. It can arrange footage, match cuts to music or pacing, and create a first draft faster than manual editing. However, it is still best used as a rough-cut tool, not a final one-click editor.
How do I use CapCut AutoCut on desktop?
To use CapCut AutoCut on desktop, open CapCut Desktop, import your clips, and look for Auto Cut under the AI tools, AI features, or smart editing area. The exact menu name may change by version, so update CapCut first if you cannot find it. After AutoCut generates the edit, check the timeline manually before exporting.
Why is CapCut AutoCut missing on desktop or mobile?
CapCut AutoCut may be missing because your app version is outdated, the feature has not rolled out to your region or account, your device does not meet the requirements, or the AI tools panel is hidden in your current layout. Try updating CapCut, checking the mobile and desktop apps separately, signing in again, and looking under AI Tools, Templates, or Smart Editing.
Is AutoCut available on CapCut Web?
No. As of 2026, CapCut AutoCut is available on mobile and desktop, but not on CapCut Web. You can still use CapCut Web for basic editing or sharing, but if you need AutoCut, create the edit in the mobile app or desktop app first.
What is the CapCut AutoCut limit? Can I use more than 16 clips?
The CapCut AutoCut limit can vary by app version, device, region, and the type of media you upload. Some users may run into limits when selecting many clips, such as more than 16 items. If AutoCut refuses to process your media, try using fewer clips, shortening long videos, removing blurry footage, or splitting the project into two smaller edits.
Does CapCut AutoCut post your videos automatically?
No. CapCut AutoCut can help create an edited video automatically, but it does not post the video for you. You still need to review the result, export it, and choose whether to upload it to TikTok, Instagram Reels, YouTube Shorts, or another platform.
After using CapCut AutoCut for a quick first edit, you can also explore more AI tools for subtitles, video enhancement, background editing, and content creation on GStory.
Leave a Reply