Last Updated on December 26, 2025 by Xu Yue
How to remove background from picture on iPhone in seconds: Photos & Files (iOS 16+), plus GStory for iOS 15/14—clean transparent PNG exports.
If you’re a bit newer to iOS system, here’s the fastest way to remove background from a picture on iPhone: on iOS 16+ you can simply press and hold the subject in the Photos app to lift it and save/share it, and if your iPhone doesn’t support that (or the menus feel hidden), you can remove the background in seconds using GStory‘s online tool right in Safari.
How to Remove Background from Picture on iPhone: Check Your Version and Goal First
iOS 16+ vs iOS 15/14: What Works Natively
The built-in background removal / photo cutout feature is available in iOS 16 and later.
So if you’re on:
- iOS 16+ → you can use Photos “lift subject” + Files “Remove Background” Quick Action.
- iOS 15/14 → you likely won’t see these native options reliably; you’ll want an online remover like GStory.
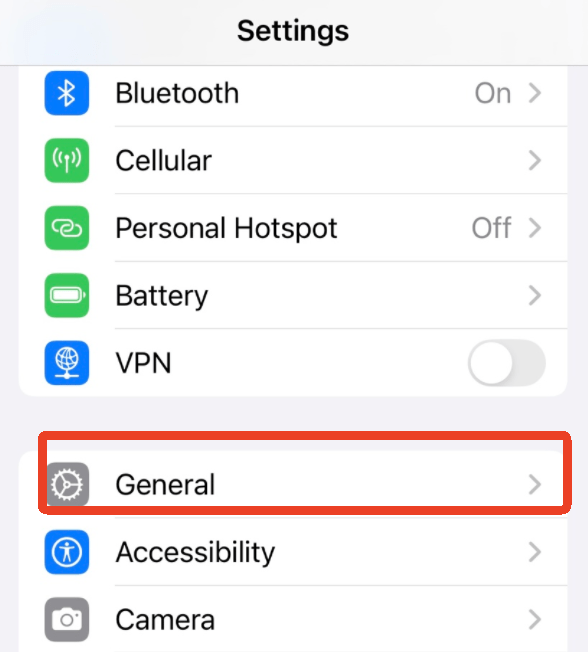
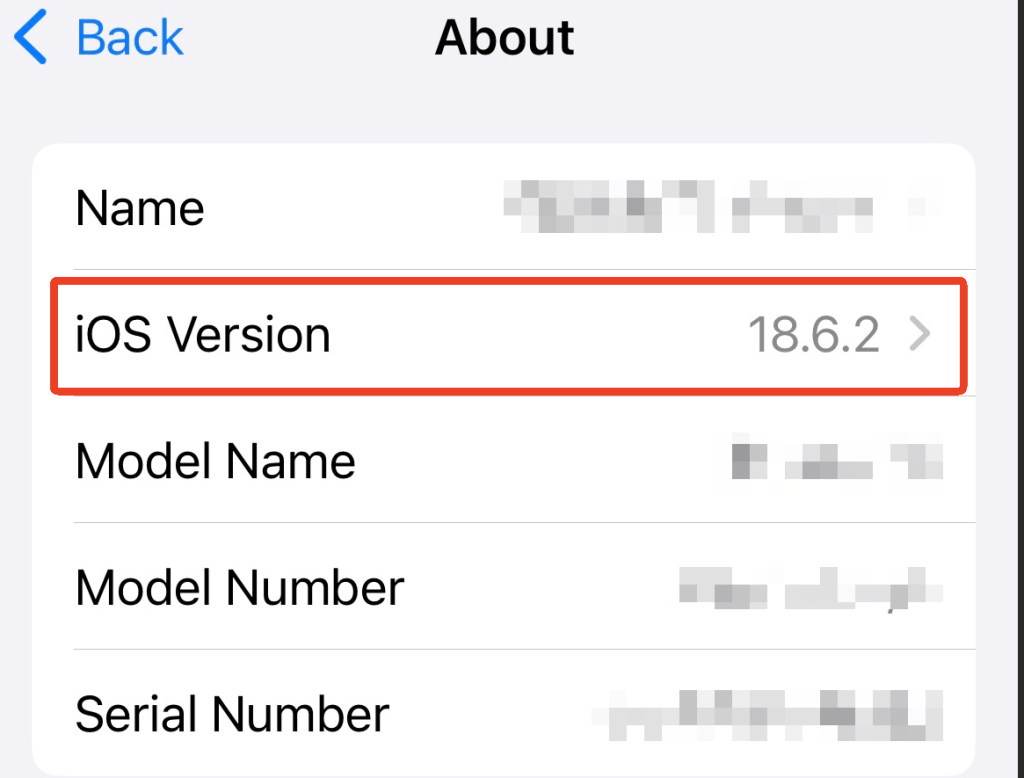
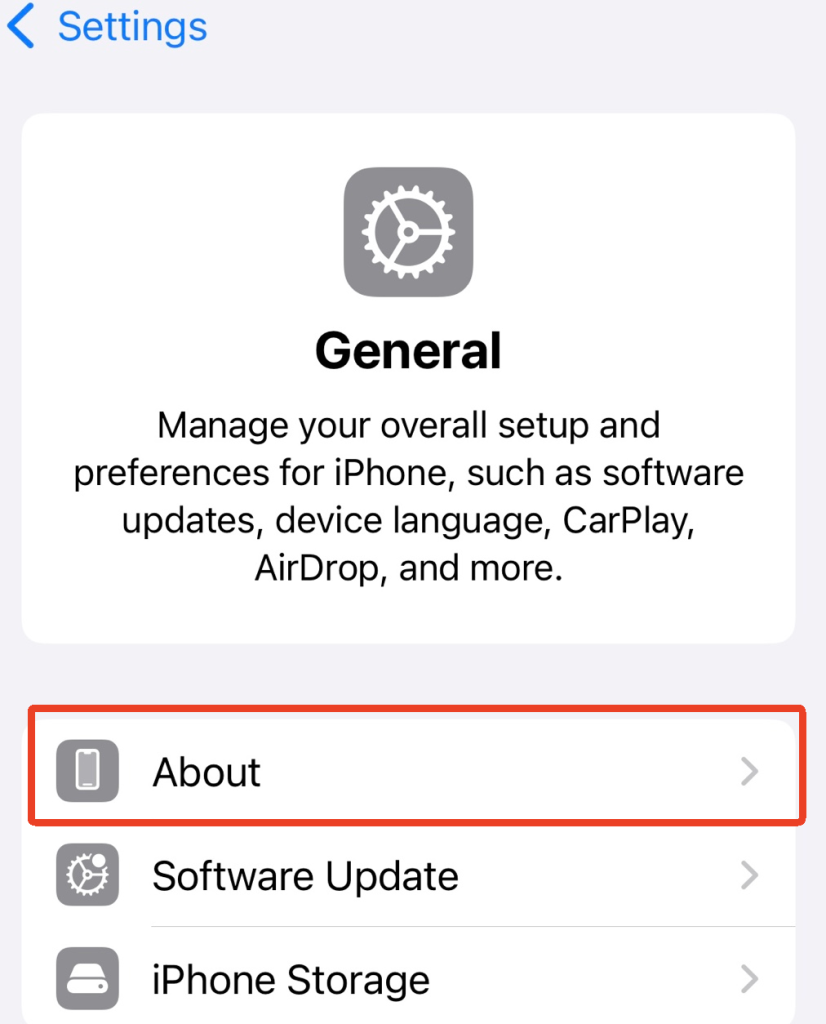
(Quick check: Settings → General → About → iOS Version.)
Choose Your Output: Sticker/Copy vs Transparent PNG File or Clean Export for Design
Here’s the part most tutorials skip, and it’s why people get confused:
- If you only need a quick cutout for casual use—like making an iOS-style sticker, dropping it into Messages/Notes/Instagram Stories, or doing a “good enough” fun edit—the Photos app method is the fastest, but it’s mainly designed for quick copy/paste and simple sharing. If you want a real reusable file—specifically a transparent PNG you can keep and upload again for things like e-commerce listings, logos, or design work—save the photo to Files and use Quick Actions → Remove Background, which generates a proper background-removed PNG.
- If your goal is cleaner edges / consistent results / batch work → use GStory Photo Background Remover in Safari (no app download).
Method 1 — Photos App: Lift Subject From a Picture
This is the fastest “how to remove background from picture on iPhone” method when you want to use the cutout immediately.
Step-by-Step: Lift Subject, Copy/Share, and Save Image
Apple’s official flow is: touch & hold subject → outline appears → Copy / Add Sticker / Share.
Steps (with screenshot checkpoints):
- Open Photos → open your image full screen.

- Touch and hold the main subject (person/pet/object).
- When you see the outline/glow, release.
- You can see Copy, Add Sticker, and Share.

- If you just need a sticker, tap “Add Sticker“. Then it will be added to your “Stickers” immediatly. You can also further edit it by applying “Add Effect“.
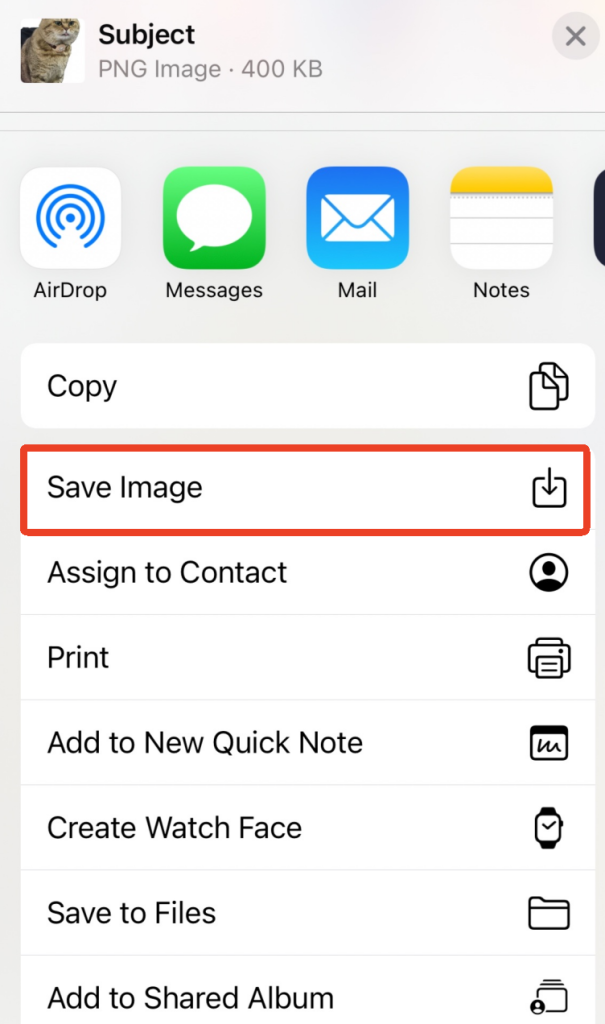
- If you want a “saved result”, try Share → Save Image.
Speed tip: If your goal is “fastest way,” don’t overthink “transparent PNG” yet. Just Copy and paste into the app you’re already using.
Drag & Drop vs Paste: The Fastest Way to Use the Cutout in Other Apps
Apple supports two fast workflows:
- Drag & Drop (fastest if you’re multitasking): keep holding the subject → with another finger, switch apps → drop into Messages/Notes/design app.
- Copy/Paste (fastest if you’re single-app focused): tap Copy → go to your target app → Paste.
Practical examples:
- Put a product cutout into Canva on iPhone: copy subject → paste into Canva design.
- Make a quick meme sticker in Messages: lift subject → Add Sticker (if you want it as a sticker asset).
Best Use Cases: Stickers, Messages, and Quick Designs
This Photos method is perfect for:
- quick stickers
- quick social layouts
- quick “remove background from photo iPhone” moments where you don’t care about perfect hair edges
If you need a file you can upload repeatedly (Shopify listing image, Amazon product image, Etsy mockups), jump to Files or GStory.
Method 2 — Files App: Quick Actions
This is the method people look for when they mean:
“I want iPhone to remove the background and give me an actual background-removed image file.”
The walkthrough is basically: long press image in Files → Quick Actions → Remove Background. It’s also available as of iOS 16 / iPadOS 16.
Step-by-Step: Save to Files, Run Remove Background, and Share/Save the Result
- In Photos, open the image → tap Share (bottom left corner)→ Save to Files.

- Open the Files app → navigate to the folder where you saved it.

- Important: don’t open the image—long press the thumbnail in the folder view, and find Quick Actions.
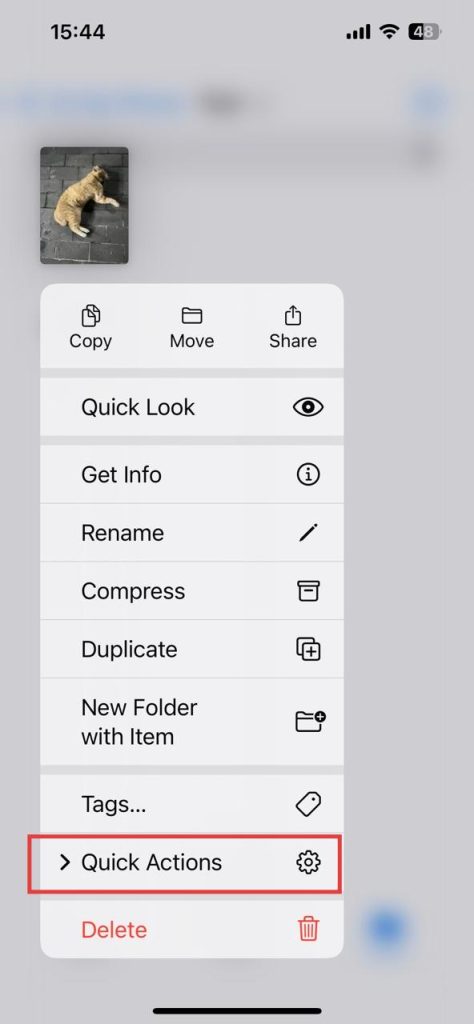
- Tap Quick Actions → Remove Background
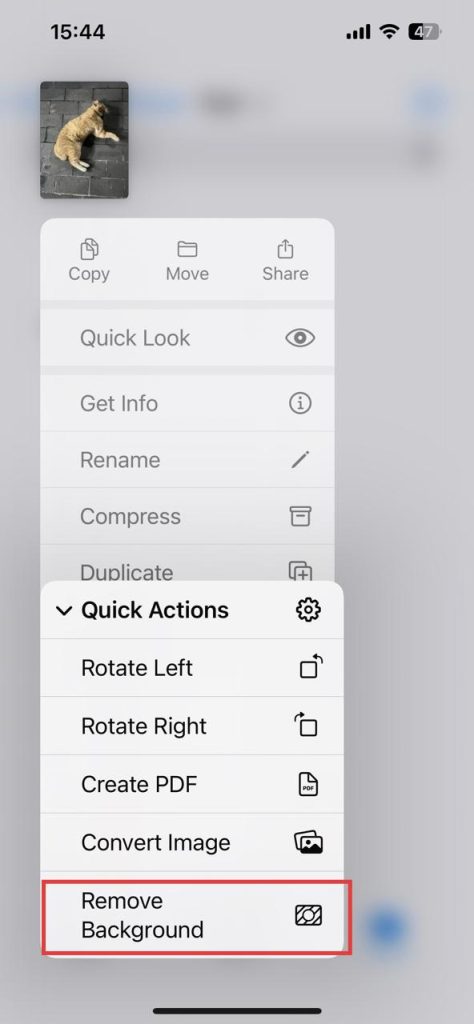
- Then Files creates a new duplicate with the background removed immediately.
Where the Output Goes: Finding the Background-Removed Duplicate
Usually, the background-removed version appears:
- in the same folder, as a new file (duplicate) with a modified filename.
If you can’t find it:
- sort by Date
- look for a file that appeared “just now”
- try the action again on a simpler photo to confirm the pipeline works
Removing Background from Multiple Pictures: What iPhone Can (and Can’t) Batch
People often ask “how do I remove background from multiple photos on iPhone?” because they’re doing product listings.
Reality check:
- Files can batch in some cases (select multiple files, then run Quick Actions).
- But it’s not a professional batch pipeline: results can vary per image, and it’s easy to lose track of duplicates.
If you need consistency across 20–200 images (adjust-available, clean export, faster repeat workflow), that’s where an online tool like GStory becomes the sane option.
Tips for Better Cutouts
Photos That Work Best: Clean Edges, Good Light, Simple Backgrounds
Best results happen when:
- subject is sharp
- lighting is even
- background is simple (sky, wall, clean table)
Hard Cases: Hair, Fur, Glass, Motion Blur, and Busy Backgrounds
Hardest cases for iPhone cutouts:
- wispy hair/fur
- transparent objects (glass, veils)
- motion blur
- busy backgrounds (trees, crowds, patterned wallpaper)
These are exactly the scenarios where users feel like the output is “lower resolution,” even if it’s mostly an edge-masking issue.
Quick Improvements: Crop, Retake, or Switch to a Cleaner Removal Tool
If you want a “fastest way” mindset:
- Crop tighter (more subject pixels)
- Retake with simpler background (Portrait mode can help with separation, but it’s not the same as true background removal)
- Switch tools when the edge quality matters
Remove Background on iPhone with GStory Without Download
If you’re on iOS 15/14, or your iPhone’s cutout looks rough, or you need clean exports for business: do it in Safari with no app download.
GStory has a dedicated Photo Background Remover page designed for this workflow.
When to Use GStory Instead of the Built-In Tool
Use GStory when:
- you don’t have iOS 16+ (or the feature doesn’t show up)
- you need a consistent transparent PNG for design/e-commerce
- hair/fur edges matter (you need adjust the automated effect)
- you’re doing repeated batch assets (listings, catalogs, brand kits)
Step-by-Step: Remove Background with GStory on iPhone and Export a Transparent PNG
- Open Safari and go to GStory Photo Background Remover.
- Tap Upload (or the main CTA like “Process Now” depending on the UI).
- Choose your image from Photos / Files.
- Wait a few seconds for the AI to remove the background.
- Export/download the result as a transparent PNG (or the provided transparent format option).
Batch and Consistency: Product Photos, Listings, and Reusable Assets
If you’re doing product photos:
- the win is consistency—similar edge style across images and predictable exports
- plus you avoid the “where did my duplicate file go?” confusion in Files
That’s why many creators keep iPhone’s built-in cutout for quick messaging—and use GStory when it’s “real work.”
FAQ: How to Remove Background from a Picture on iPhone
Can I remove a background on iPhone for free?
Yes—iOS 16+ includes free built-in ways via Photos cutouts and Files Quick Actions.
If you’re on older iOS or need cleaner edges, you can use an online remover like GStory Photo Background Remover.
Which iPhones support background removal, and what iOS version do I need?
Apple’s photo cutout feature works in iOS 16 and later.
Your exact iPhone model matters less than whether it can run iOS 16+ reliably.
Where is “Remove Background” in iPhone Photos or Files?
- In Photos: touch & hold the subject → Copy / Share appears.
- In Files: long press the image thumbnail → Quick Actions → Remove Background.
Why does my cutout look blurry or have a white outline?
Often it’s the edge masking (especially hair/fur) rather than the entire file being low quality.
Try a cleaner photo, crop tighter, or use GStory Photo Background Remover when edge quality matters.
How do I remove background from multiple photos on iPhone?
If you are using built-in Files Quick Actions, I’m afraid that you’ll have to long-press each image, select it, and then remove the background one by one. For repeat workflows, just use GStory Photo Background Remover for consistency and time saving. You can upload all the pictures you want to deal with and press the button “Process” only with one click.
Leave a Reply