Last Updated on November 7, 2025 by Xu Yue
Let’s be honest — if you’ve ever uploaded a crisp, high-definition 1080p video to YouTube only to find it looks softer, blurrier, or somehow less “cinematic”, you’re not imagining things. YouTube is a compression machine. It squeezes every pixel of your video until it fits its bandwidth-friendly pipeline. The result? The sharp video you saw in your editing software looks a bit dull and fuzzy online.
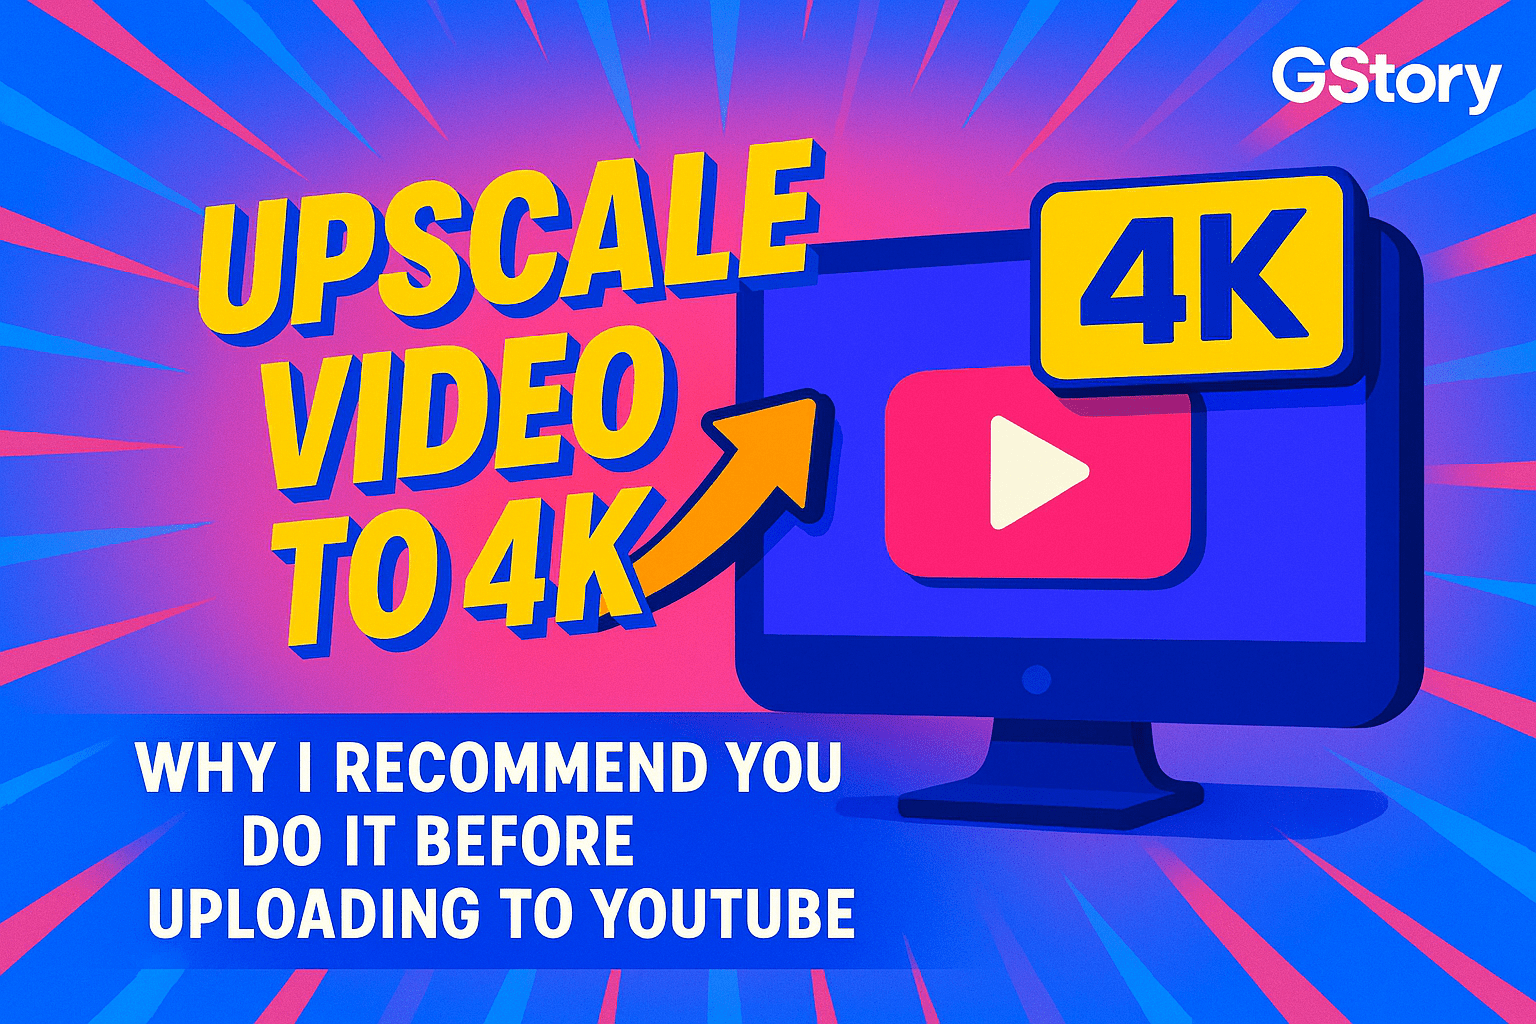
Here’s the secret most creators eventually discover: if you upscale video to 4K before uploading, YouTube treats your file differently. Your content gets encoded with a higher-quality codec, more bitrate, and ends up looking better — even for viewers watching in 1080p. Sounds like a cheat code? Kind of is. But it’s a smart one.
So in this guide, I’ll explain why resolution matters, when upscaling helps, how AI tools like GStory’s AI Video Enhancer can boost your footage before you upload, and how to avoid common pitfalls that can make your “4K” video worse than your 1080p original.
Why YouTube Creators Should Care About Video Resolution
If you’re wondering why “resolution” has become such a big deal for YouTubers, the answer lies in how YouTube processes and displays your uploads. Every video you post gets re-encoded — YouTube converts your file into several resolutions (144p through 4K or higher) so it can stream smoothly on any device. Unfortunately, this process compresses your video‘s bitrate, which means fewer data per frame and less visual detail.
When you upload a 1080p video, it’s usually encoded with the AVC (H.264) codec — decent, but quite compressed. When you upload in 4K, however, YouTube switches to VP9 or the newer AV1 codec, which provides a much higher bitrate and better preservation of color and sharpness. That’s why many creators report their “fake 4K” uploads actually look cleaner than their native 1080p files.
In short: upscaling to 4K doesn’t just add pixels — it earns you access to a better codec.
When It Makes Sense to Upscale Video to 4K
Before you rush to upscale everything you’ve ever filmed, let’s be real — not all footage needs 4K treatment. The trick is knowing when it makes sense.
If you’re producing for YouTube, smart TVs, or large-screen displays, upscaling absolutely helps. On these platforms, higher-resolution files benefit from improved compression and a sharper viewing experience. On mobile devices, the difference is smaller but still noticeable, especially for text or fine patterns that often look pixelated at 1080p.
Another common issue — the dreaded “4K pixelated” look. This happens when your 4K video doesn’t actually have enough underlying data; the upscaler just stretches the pixels. To fix it, you need an AI video upscaler that analyzes motion, edges, and textures to rebuild missing detail rather than simply enlarging frames. Tools like GStory’s AI Video Enhancer do this automatically, so your upscaled result looks like it was filmed in 4K.
That said, don’t upscale low-quality, heavily compressed footage from ancient devices — you’ll just get a bigger, blurrier file. The golden rule: if your source is clean 720p or 1080p, upscaling can genuinely improve video quality. If it’s shaky or grainy, focus on stabilizing or denoising first.
How AI Upscaling Improves Video Quality Before Upload
Traditional upscaling methods — like resizing in Premiere Pro or applying a sharpen filter — can’t actually add detail. They simply enlarge pixels, creating artificial edges or halos. AI upscaling, on the other hand, uses machine learning models trained on thousands of high- and low-resolution video pairs. The algorithm “learns” what details should exist at higher resolutions and intelligently reconstructs them.
Think of it as upgrading your footage’s DNA instead of just stretching its skin.
An AI video quality enhancer analyzes each frame, detects faces, objects, and patterns, then predicts how they should look in 4K. It also performs denoising, color correction, and edge restoration simultaneously — resulting in footage that looks naturally sharper, not over-processed.
This is where GStory’s AI Video Enhancer stands out. It doesn’t just upscale — it enhances. It fixes motion blur, smooths noise, and restores contrast in a single pass. For creators working with older cameras, dim lighting, or smartphone clips, this is the difference between a “just okay” upload and something that pops off the screen.
How to Upscale Video to 4K Step by Step
If you’re ready to enhance video quality before uploading, here’s the workflow that most pros follow:
- Prepare your footage. Make sure it’s stable, properly exposed, and exported in a high-quality intermediate format (like ProRes or DNxHR). Avoid re-compressed MP4s.
- Run your AI upscaler. Upload your file to a tool like GStory’s AI Video Enhancer. Choose “Upscale to 4K” and let the AI analyze and rebuild each frame. Depending on length, this can take a few minutes.
- Preview and compare. Check for over-sharpening or artifacts. AI does a great job, but subtle color tweaks may still be needed.
- Export with YouTube-friendly settings. Use H.264 or HEVC (H.265), 60–100 Mbps bitrate for 4K, and a constant frame rate. Upload speeds will be slower, but the payoff is cleaner playback and better algorithmic treatment from YouTube.
Pro tip: 4K files take longer to upload, so render overnight or schedule during low-traffic hours.
Platform Strategy — Why Upscaled 4K Performs Better on YouTube
Now, here’s the technical truth YouTube doesn’t advertise: 4K uploads trigger better encoding. YouTube applies its high-quality VP9 or AV1 codecs to 4K files, whereas 1080p videos are stuck with the older AVC codec, which has a lower bitrate and more compression artifacts.
That means even if your viewer selects 1080p on playback, they’re watching a downsampled version of your 4K file — which looks cleaner and less pixelated than a native 1080p upload. In other words, you win twice: higher source quality and better compression handling.
Creators have also noted that 4K videos rank higher in YouTube’s algorithm. Why? Higher-resolution content often has longer watch times and better retention, partly because it just looks more professional. And when you combine that with AI-enhanced clarity, your channel’s perceived production value skyrockets.
So if you’re serious about standing out visually, upscaling your 1080p videos to 4K before uploading is one of the simplest “pro-level” moves you can make.
Choosing the Right AI Video Upscaler Tool
There are dozens of “AI video upscaler” options on the market — Topaz, Runway, HitPaw, and more. But for YouTube creators, the key isn’t just raw resolution; it’s workflow efficiency. You need something fast, browser-based, and designed for online creators rather than post-production studios.
Here’s what to look for in a video quality enhancer:
- Resolution support (up to 4K or higher).
- Smart denoising that doesn’t smudge textures.
- Speed and stability (no random crashes mid-render).
- No watermark on exports.
While free tools like Video2X or Waifu2x exist, they’re often slow, inconsistent, and difficult to configure. Paid tools are more stable and produce better color and detail recovery. GStory’s AI Video Enhancer offers a great balance — it’s cloud-based, uses advanced AI models, and doesn’t require a high-end GPU. You can upscale, enhance, and export directly from your browser — perfect for busy YouTubers.
Common Mistakes to Avoid When Upscaling Video to 4K
AI can do a lot, but it’s not magic. The biggest mistake creators make is over-sharpening. Pushing the AI or enhancement filters too far can introduce halos or “plastic” textures. Always preview before exporting.
Another common issue is ignoring bitrate and codec settings. If you upscale beautifully but export at a low bitrate (say, under 30 Mbps for 4K), you’ll lose most of your improvements once YouTube recompresses it. Stick with 60–100 Mbps and use 4:2:0 color sampling for online delivery.
Finally, don’t upload unoptimized files straight from your editing software. Large uncompressed files can trigger YouTube’s secondary compression passes, which may degrade visual quality further. Always test a short clip first to confirm how it looks online.
Final Thoughts — 4K as the New Standard for Online Video
We’re in an era where 4K isn’t just for professionals — it’s quickly becoming the new default. YouTube, TikTok, and even Instagram Reels are now prioritizing high-resolution uploads. As screen sizes grow and internet speeds improve, AI upscaling is bridging the gap between amateur and pro-quality content.
The takeaway? Even if your camera can’t shoot in 4K, you can still enhance video quality and stay competitive using AI. Tools like GStory let you upscale video to 4K effortlessly, fix lighting, and reduce noise — all without expensive hardware or editing expertise.
If you’re serious about your YouTube presence, don’t let compression dull your work. Upscale before you upload, and let your content shine the way it deserves.
Leave a Reply